
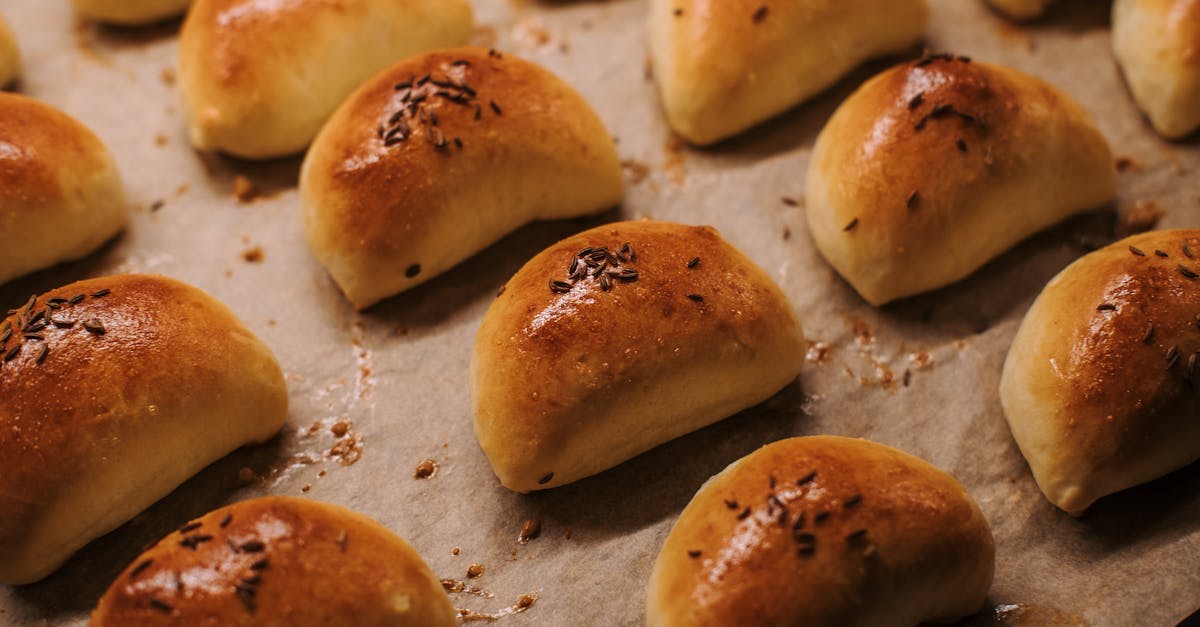
Rye bread rolls bring a hearty twist to classic bread baking. Known for their rich flavor and dense texture rye rolls have been a staple in many European kitchens for centuries. They offer a unique taste that pairs perfectly with savory sandwiches or as a side to soups and stews.
In this recipe we’ll guide you through making soft and flavorful rye bread rolls right at home. Using simple ingredients and straightforward steps we’ll help you achieve that perfect balance of chewiness and crust. Whether you’re a seasoned baker or just starting out these rolls are sure to become a favorite in our kitchen. Let’s dive into crafting these delicious rye bread rolls that will elevate any meal.
Ingredients
To create the perfect Rye Bread Rolls, we rely on a careful blend of key ingredients that balance robust flavor with tender texture. Below are the essential components divided into dry and wet categories to simplify our preparation process.
Dry Ingredients
Our dry ingredients form the structure and provide the distinctive earthy taste of rye bread. Each measurement is precise to ensure consistent results.
- 2 cups rye flour (whole grain preferred for authenticity)
- 1 ½ cups all-purpose flour (for elasticity and lightness)
- 1 tablespoon instant yeast (activates the rise)
- 2 teaspoons salt (enhances flavor)
- 1 tablespoon brown sugar (balances the sourness of rye)
- 1 teaspoon caraway seeds (optional but traditional for aroma)
| Ingredient | Measurement | Notes |
|---|---|---|
| Rye flour | 2 cups | Whole grain for best flavor |
| All-purpose flour | 1 ½ cups | Adds elasticity |
| Instant yeast | 1 tablespoon | Ensures good rise |
| Salt | 2 teaspoons | Flavor enhancer |
| Brown sugar | 1 tablespoon | Balances sour notes |
| Caraway seeds | 1 teaspoon (optional) | Traditional topping/aroma |
Wet Ingredients
The wet ingredients hydrate the dough and help activate yeast to create our soft, chewy rye rolls.
- 1 ¼ cups warm water (105°F to 110°F, perfect for yeast activation)
- 2 tablespoons olive oil (adds moisture and tenderness)
- 1 tablespoon apple cider vinegar (balances the rye’s natural heaviness)
Using warm water is crucial—we want it just right to “wake up” the yeast without killing it. The vinegar works behind the scenes to enhance texture and flavor complexity.
With these ingredients on hand, we prepare to combine rustic flavors with a soft crumb for our homemade rye bread rolls that promise satisfying chew and rich aroma.
Equipment Needed
To craft perfect rye bread rolls, having the right equipment is essential. This ensures each step runs smoothly and our dough develops the ideal texture and flavor.
Here’s what we recommend:
- Mixing Bowl: Choose a large bowl to combine dry and wet ingredients comfortably without spills.
- Measuring Cups and Spoons: Precise measurement is key. Use standard measuring cups for flour and liquids and spoons for small quantities like yeast and salt.
- Dough Scraper: Helps us handle sticky rye dough efficiently and keeps work surfaces clean.
- Stand Mixer with Dough Hook (optional): For effortless kneading, a stand mixer speeds up the process while developing gluten.
- Kitchen Scale: For accuracy, especially weighing rye and all-purpose flours, which impacts texture.
- Proofing Basket or Bowl: A warm spot for dough to rise properly, covered with a damp cloth or plastic wrap.
- Baking Sheet or Cast Iron Skillet: To bake the rolls evenly, use parchment paper or a silicone baking mat.
- Oven Thermometer: Ensures the oven temperature is consistent for perfect crust formation.
- Cooling Rack: Allows the rolls to cool evenly, preventing sogginess on the bottom.
| Equipment | Purpose | Notes |
|---|---|---|
| Mixing Bowl | Combine ingredients | Large size to avoid spills |
| Measuring Cups & Spoons | Accurate measurement | Standard sets preferred |
| Dough Scraper | Handle sticky dough | Keeps surfaces clean |
| Stand Mixer & Dough Hook | Kneading | Optional for ease |
| Kitchen Scale | Weighing precise ingredients | Recommended for flour |
| Proofing Basket/Bowl | Dough rising | Covered and warm environment needed |
| Baking Sheet/Skillet | Baking | Use parchment or silicone mat |
| Oven Thermometer | Check oven temp | Ensures correct baking temperature |
| Cooling Rack | Cooling rolls | Prevents soggy bottoms |
Prep Work
Before we start baking our rye bread rolls, proper preparation is key. This ensures we get the perfect combination of flavor, texture, and rise.
Preparing the Dough
- Activate the Yeast
Begin by mixing the instant yeast with warm water (around 110°F or 43°C) and a pinch of brown sugar. Let it sit for 5-10 minutes until it becomes frothy. This step kickstarts fermentation, vital for the dough’s rise and flavor.
- Combine Dry Ingredients
In a large mixing bowl, whisk together rye flour, all-purpose flour, salt, and optionally, caraway seeds. Mixing the dry ingredients well distributes the yeast evenly once combined.
- Mix Wet Ingredients
Add olive oil and apple cider vinegar to the yeast mixture. These liquids hydrate the flours, contribute to softness, and enhance the depth of the rye bread rolls flavor.
- Form the Dough
Gradually pour the wet mixture into the dry ingredients while stirring with a wooden spoon or dough scraper. When it becomes difficult to stir, knead the dough by hand or with a stand mixer fitted with a dough hook for 8-10 minutes. The dough should feel slightly sticky but elastic.
| Ingredient | Measurement | Notes |
|---|---|---|
| Instant Yeast | 2 1/4 teaspoons | One packet |
| Warm Water | 1 1/4 cups | Around 110°F (43°C) |
| Brown Sugar | 1 tablespoon | For activating yeast |
| Rye Flour | 2 cups | Freshly sifted if possible |
| All-Purpose Flour | 1 1/2 cups | Adds structure to the rolls |
| Salt | 1 1/2 teaspoons | Enhances flavor |
| Caraway Seeds (optional) | 1 teaspoon | Adds traditional rye aroma |
| Olive Oil | 2 tablespoons | For moisture and softness |
| Apple Cider Vinegar | 1 tablespoon | Boosts flavor and dough texture |
Proofing the Dough
- Shape the Dough into a Ball
After kneading, shape the dough into a smooth ball. Lightly oil the surface to prevent drying.
- First Proof
Place the dough in a large, lightly oiled bowl. Cover it with a damp cloth or plastic wrap. Leave it to rise in a warm draft-free spot for 1 to 1.5 hours or until it has doubled in size.
- Punch Down and Rest
Gently punch down the dough to release excess air. Let it rest for 10 minutes before shaping into individual rolls.
- Final Proof
Shape into rolls and place them on a baking sheet lined with parchment paper. Cover them again and proof for another 30-45 minutes until puffed and nearly doubled.
Instructions
Follow these detailed steps to craft soft and flavorful rye bread rolls with the perfect texture and crust. Each stage builds on the previous one to guarantee consistent results.
Mixing the Dough
- In a large mixing bowl, combine the dry ingredients: rye flour, all-purpose flour, instant yeast, salt, brown sugar, and optional caraway seeds.
- In a separate container, mix the wet ingredients: warm water, olive oil, and apple cider vinegar.
- Gradually add the wet mixture to the dry ingredients. Stir with a wooden spoon or dough scraper until a shaggy dough forms.
- Scrape the sides of the bowl to incorporate all flour evenly. The dough should be slightly sticky but hold together.
Tip: Using a stand mixer with a dough hook at low speed can simplify this step.
Kneading the Dough
- Transfer the dough onto a lightly floured surface.
- Knead firmly for 10-12 minutes. Push the dough forward with the heel of your hand, fold it back, and rotate it 90 degrees.
- Continue until the dough becomes smooth, elastic, and slightly tacky but no longer sticky.
- If using a stand mixer, knead on medium speed for 8 minutes.
| Kneading Stage | Description | Dough Texture |
|---|---|---|
| Initial | Sticky and shaggy | Loose and uneven |
| Midway | Less sticky, starting to smooth | More cohesive |
| Final | Smooth and elastic | Slightly tacky, strong gluten development |
First Rise
- Shape the kneaded dough into a tight ball.
- Lightly oil a large bowl and place the dough inside, turning once to coat all sides.
- Cover the bowl with a clean, damp cloth or plastic wrap.
- Allow the dough to rise in a warm, draft-free area until it doubles in size, about 1 to 1½ hours.
- The dough should feel airy and have visible bubbles when properly risen.
Shaping the Rolls
- Gently punch down the risen dough to release excess gas.
- Turn the dough onto a floured surface and divide it into equal pieces (about 10-12 for medium size rolls).
- Shape each piece into a smooth round by tucking edges underneath.
- Place the shaped rolls onto a baking sheet lined with parchment paper or a lightly greased cast iron skillet.
- Ensure space between rolls for expansion during the final rise.
Second Rise
- Cover the shaped rolls loosely with a damp kitchen towel or plastic wrap.
- Let them rise in a warm place for 30 to 45 minutes until puffed and nearly doubled.
- Preheat the oven to 375°F (190°C) during the last 15 minutes of proofing.
- Just before baking, optionally brush the rolls with water or olive oil for crust enhancement.
| Stage | Duration | Environment | Expected Result |
|---|---|---|---|
| First Rise | 1-1½ hours | Warm, draft-free spot | Dough doubles, airy texture |
| Second Rise | 30-45 minutes | Warm, covered | Rolls puffed, nearly doubled |
| Oven Preheating | Last 15 minutes | 375°F (190°C) | Ready for baking |
Baking Directions
Let’s dive into the critical baking stage where our rye bread rolls transform into warm, golden bites of comfort. Precise temperature and timing will help us achieve the perfect crust and crumb every time.
Preheating the Oven
We always preheat our oven to create a consistent environment essential for even baking. Set your oven to 425°F (220°C) at least 20 minutes before placing the rolls inside. Using an oven thermometer ensures we hit the ideal temperature for baking our rye bread rolls.
Pro tip: Position your rack in the middle to allow balanced heat circulation and avoid uneven browning.
Baking Time and Temperature
Once the oven is hot and the rolls are proofed and ready, transfer them to a baking sheet lined with parchment paper or a lightly greased cast iron skillet. Here’s the ideal baking profile for our rich and hearty rye rolls:
| Step | Temperature | Duration | Notes |
|---|---|---|---|
| Initial Bake | 425°F (220°C) | 12 minutes | Creates a crispy, golden crust |
| Lower Temperature | 375°F (190°C) | 10-12 minutes | Cooks through without burning |
Halfway through baking, you can spritz the rolls lightly with water to boost crust development or place a small oven-safe bowl of water underneath for steam. This enhances the chewy exterior and soft crumb we’re aiming for.
Cooling the Rolls
Once baking is complete, remove the rolls from the oven promptly and transfer them to a cooling rack. Cooling on a rack prevents moisture buildup and keeps the bottom crust crisp rather than soggy.
Allow the rolls to cool for at least 30 minutes before slicing. This resting period lets the interior crumb set, ensuring your rye bread rolls have the signature tender texture and rich flavor often lost if cut too soon.
Serving Suggestions
Our Rye Bread Rolls shine in their versatility. Their rich flavor and firm texture complement a variety of dishes. Here are some delicious ways to serve them:
Classic Accompaniments
- Butter and Herb Spread: Serve the rolls warm with softened butter mixed with fresh herbs like dill or parsley. The smooth butter melts into the crumb adding richness and fresh notes.
- Cheese Platter: Pair rolls with a selection of sharp cheeses such as aged cheddar, gouda, or a creamy brie. The dense texture of rye rolls balances the creaminess of cheeses perfectly.
- Cold Cuts and Mustards: Use these rolls for an open-faced sandwich topped with smoked turkey, pastrami, or ham. Add whole grain mustard or horseradish sauce for a tangy kick.
Hearty Meals
Our Rye Bread Rolls work wonderfully alongside soups and stews because their dense crumb soaks up broths while holding their shape. Try these combinations:
| Dish | Suggested Pairing |
|---|---|
| Beef Stew | Warm rye bread rolls to dip in savory gravy |
| Lentil Soup | Rolls with a side of tangy pickled vegetables |
| Mushroom Soup | Spread with garlic butter for a flavorful enhance |
Sandwich Ideas
Transform the rye bread rolls into sandwiches to enjoy for lunch or picnics:
- Smoked Salmon and Cream Cheese: Add capers and red onion for an elegant treat.
- Roast Beef and Horseradish Sauce: Layer with arugula for peppery freshness.
- Vegetarian Delight: Fill rolls with roasted vegetables, hummus, and fresh spinach for a filling plant-based option.
Breakfast Options
Kickstart your day by slicing a warm rye roll and topping it with:
- Avocado, a squeeze of lemon, and poached eggs.
- Natural yogurt and honey drizzled over toasted rye slices for a sweet contrast with the bread’s earthiness.
“The dense texture and robust flavor of our Rye Bread Rolls make them an ideal foundation for both savory and sweet flavors, elevating any meal from simple to exceptional.”
Storage Tips
Proper storage of our rye bread rolls is essential to preserve their freshness, texture, and rich flavor. Here are our top tips to keep your rolls tasting their best for as long as possible.
Room Temperature Storage
- Wrap rolls tightly in clean kitchen towels or place them in a paper bag to allow slight airflow and prevent moisture buildup.
- Store in a bread box or a cool, dry place away from direct sunlight.
- Consume within 2 days for optimal softness and flavor.
Refrigeration
- While refrigeration slows mold growth, it can cause the rolls to dry out faster.
- To refrigerate, wrap rolls tightly in plastic wrap or place in an airtight container.
- Consume within 4 to 5 days.
- Before eating, bring back to room temperature and optionally warm in the oven for a few minutes to revive softness.
Freezing for Longer Storage
- Freezing is the best method to maintain freshness beyond a few days.
- Wrap each roll individually in plastic wrap, followed by aluminum foil or place in freezer-safe bags.
- Label with the date to track storage time.
| Storage Method | Wrapping Recommendation | Storage Duration | Tips |
|---|---|---|---|
| Room Temperature | Kitchen towel or paper bag | 2 days | Keep in bread box or cool, dry place |
| Refrigerator | Plastic wrap or airtight container | 4-5 days | Warm before serving |
| Freezer | Plastic wrap + foil or freezer bags | Up to 3 months | Thaw overnight at room temp |
Thawing and Reheating Frozen Rolls
- Remove rolls from the freezer and unwrap.
- Let them thaw at room temperature for 1 to 2 hours.
- For best texture, warm rolls in a preheated oven at 350°F (175°C) for 5 to 10 minutes.
- Avoid microwaving as it can make them chewy or rubbery.
Additional Tips
- Avoid storing rolls in plastic bags at room temp as condensation may cause sogginess.
- Keep rolls away from strong odors as rye flour can absorb surrounding smells easily.
- If rolls become slightly stale, toast them lightly to rejuvenate their flavor and texture.
By following these storage tips we ensure our rye bread rolls remain soft, flavorful and ready to enhance every meal.
Conclusion
Mastering rye bread rolls at home brings a satisfying blend of tradition and flavor to our kitchens. With the right ingredients, tools, and techniques, we can create rolls that perfectly complement any meal.
Baking these rolls allows us to enjoy fresh, wholesome bread that’s both versatile and delicious. Whether for a simple snack or a hearty dinner, rye bread rolls add a unique touch that’s hard to beat.
Let’s keep experimenting and savoring the rich taste and texture that only homemade rye bread rolls can offer.
Frequently Asked Questions
What makes rye bread rolls different from other bread rolls?
Rye bread rolls have a rich, slightly tangy flavor and a dense texture due to the use of rye flour. This gives them a distinctive taste and chewiness, setting them apart from lighter wheat-based rolls.
What are the key ingredients for making rye bread rolls?
The key ingredients include rye flour, all-purpose flour, instant yeast, salt, brown sugar, warm water, olive oil, and apple cider vinegar. Optional caraway seeds add extra flavor.
Do I need special equipment to bake rye bread rolls?
Basic equipment like a mixing bowl, measuring tools, and a baking sheet is necessary. A stand mixer with a dough hook, a kitchen scale, and a proofing basket can make the process easier but are optional.
How long should I let the dough rise?
The dough should rise in a warm place until it doubles in size, usually about 1 to 2 hours. After shaping, allow a final rise of 30 to 60 minutes before baking.
What’s the ideal oven temperature for baking rye bread rolls?
Preheat the oven to 425°F (220°C) for the initial bake, then reduce to 375°F (190°C) to finish baking. This helps create a good crust without burning the rolls.
How can I get a crusty exterior on my rye bread rolls?
Spritzing the rolls with water before baking or introducing steam in the oven can enhance crust development, giving the rolls a crispy outer layer.
How should I store rye bread rolls to keep them fresh?
Store at room temperature in a sealed bag for up to 2 days, refrigerate for up to 5 days, or freeze for up to 3 months. Reheat or thaw properly to maintain texture.
What are some good serving suggestions for rye bread rolls?
Serve with butter, herb spreads, cheese, cold cuts, or mustard. They pair well with soups, stews, and can be used for sandwiches or topped with avocado and eggs for breakfast.
Can beginners successfully bake rye bread rolls at home?
Yes, the recipe is simple and uses common ingredients. Following the step-by-step process and tips for kneading and rising helps beginners achieve great results.
Why is apple cider vinegar added to rye bread dough?
Apple cider vinegar helps improve dough texture and flavor by activating the yeast and contributing to the bread’s rustic tangy taste.