
Ramps are a wild onion celebrated for their bold garlicky flavor and vibrant green leaves. This seasonal delicacy shines brightest in early spring when foraged fresh from the forest floor. Transforming ramps into ramp salt is a simple way to preserve their unique taste and add a punch of flavor to any dish year-round.
Making ramp salt lets us capture the essence of ramps in a versatile seasoning that enhances everything from roasted veggies to grilled meats. It’s easy to prepare and stores well, making it a must-have in our kitchen. With just a few ingredients and a little patience, we can create a flavorful salt that brings a fresh, herbal twist to everyday cooking.
Ingredients
To create our bold and flavorful Ramp Salt, we use just a few simple ingredients that highlight the vibrant taste of ramps while ensuring longevity and versatility. Here is what we need to gather:
- Fresh ramps (wild leeks) with both leaves and bulbs, washed and thoroughly dried
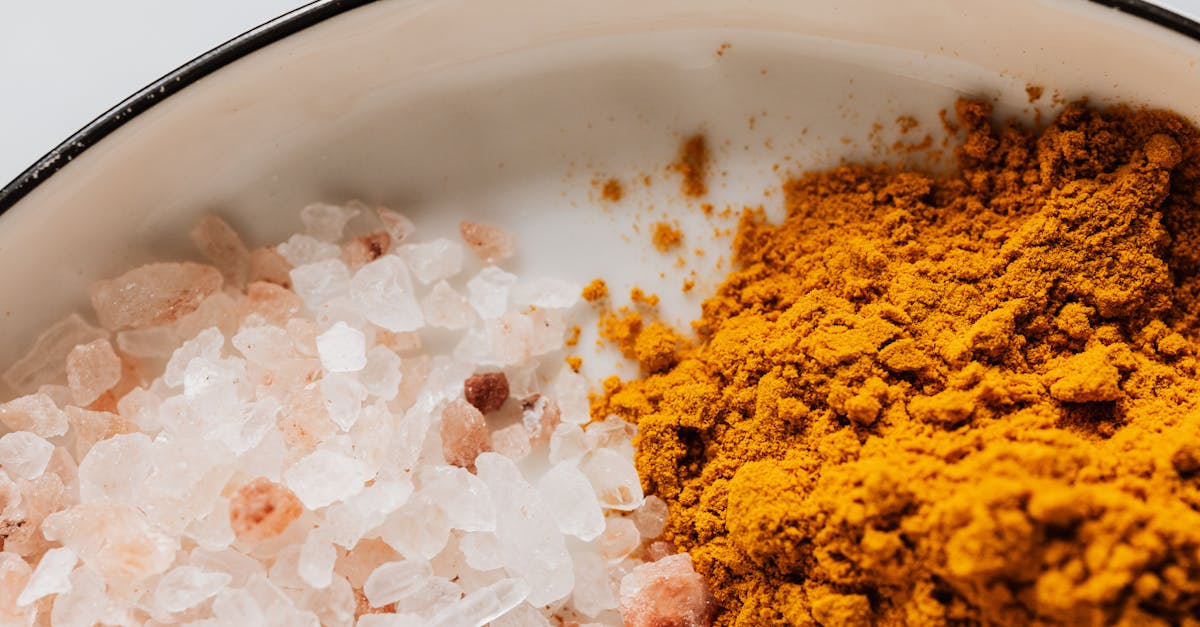
- Coarse sea salt as the preservative base, which draws out moisture and intensifies flavor
- Optional: Lemon zest or black pepper for an extra layer of seasoning (depending on your taste preference)
| Ingredient | Quantity | Preparation |
|---|---|---|
| Fresh ramps | 1 cup (about 25 ramps) | Washed, trimmed, dried |
| Coarse sea salt | ½ cup | Measured precisely |
| Optional additives | To taste | Zest finely grated or pepper freshly ground |
By balancing the green garlic burst of the ramps with the mineral-mined flavor of the coarse sea salt, our Ramp Salt promises an aromatic punch perfect for seasoning.
Equipment Needed
To prepare our bold and flavorful Ramp Salt, having the right equipment ensures a smooth and efficient process. Here is what we need:
- Sharp Chef’s Knife
Essential for finely chopping the ramps’ leaves and bulbs to release their full flavor.
- Cutting Board
Provides a stable surface for precise chopping and easy cleanup.
- Mixing Bowl
A medium-sized bowl to thoroughly combine the chopped ramps and coarse sea salt.
- Measuring Cups and Spoons
For accurate measurement of coarse sea salt and any optional flavor add-ins like lemon zest or black pepper.
- Baking Sheet or Tray
Optional but recommended if you want to dry your ramp salt slightly before storing to enhance shelf life.
- Food Processor (Optional)
If preferred, a food processor can speed up chopping and create a finer texture, but we must pulse carefully to avoid turning it into a paste.
- Airtight Storage Container or Jar
Essential for preserving the aromatic qualities and freshness of the ramp salt. Glass jars with tight-fitting lids are ideal.
Equipment Overview Table
| Equipment | Purpose | Notes |
|---|---|---|
| Sharp Chef’s Knife | Chop ramps finely | Use freshly sharpened for best results |
| Cutting Board | Stable cutting surface | Choose non-porous for hygiene |
| Mixing Bowl | Combine ramps and salt | Medium size for comfortable mixing |
| Measuring Cups & Spoons | Precise ingredient measurement | Accuracy is key to balance flavors |
| Baking Sheet or Tray | Dry ramp salt slightly (optional) | Use parchment paper for easy cleanup |
| Food Processor (Optional) | Faster chopping with control | Pulse, don’t puree |
| Airtight Storage Container | Preserve freshness and aroma | Glass preferred over plastic |
“Using the right equipment not only makes preparation easier but also helps capture the vibrant aromatic punch of ramps in our salt mixture.“
By having these tools ready, we ensure our ramp salt recipe turns out perfectly textured, richly flavored, and ready to elevate any dish throughout the year.
Prep Instructions
To make ramp salt that bursts with flavor, precise preparation is essential. We start with carefully cleaning and preparing the ramps before drying them to concentrate their bold garlicky aroma.
Cleaning and Preparing Ramps
First, rinse fresh ramps thoroughly under cold running water to remove dirt and grit trapped in the bulbs and leaves. We want to preserve the delicate flavor while ensuring cleanliness.
- Separate the bulbs from the leafy greens.
- Trim off tough root ends and any damaged leaves.
- Pat dry gently with a clean kitchen towel or paper towels to remove excess moisture.
- Using a sharp chef’s knife, chop the ramps roughly into 1/2-inch pieces to help salt absorb their flavor evenly.
| Step | Details |
|---|---|
| Rinse | Cold running water, gently |
| Separate bulbs and leaves | Keep whole for drying |
| Trim | Remove roots and damaged parts |
| Chop | Rough 1/2-inch pieces |
| Dry | Pat with towel to remove water |
Drying the Ramps
Drying the ramps before mixing with salt is key to preventing clumps and extending shelf-life.
- Spread the chopped ramps in a single layer on a baking sheet lined with parchment paper.
- Allow them to air dry for 1-2 hours in a well-ventilated area or near a cool fan to remove surface moisture.
- Alternatively, dry in an oven at the lowest temperature setting (around 150°F) for 20-30 minutes, checking frequently to avoid cooking or browning.
This step helps preserve the vibrant green color and bold garlic flavor we want in our ramp salt for long-lasting freshness and easy sprinkling.
Making the Ramp Salt
Now that our ramps are clean and dry, let’s transform them into a flavor-packed ramp salt. This process highlights the ramps’ garlicky boldness perfectly balanced with mineral-rich sea salt.
Chopping the Ramps
We start by chopping the ramps to release their aroma and ensure even distribution in the salt.
- Separate the bulbs from the leaves if not already done.
- Using a sharp chef’s knife, chop both leaves and bulbs into roughly 1/2-inch pieces. This size helps the salt capture the ramps’ essence without turning into a paste.
- Be sure to use a steady cutting board surface to maintain safety and precision.
- If you want a finer texture, pulse the chopped ramps briefly in a food processor, but avoid overprocessing as it can turn mushy.
Mixing with Salt
Balancing the robust flavor of ramps with the salt is critical to creating a versatile seasoning.
- In a mixing bowl, combine:
| Ingredient | Quantity | Notes |
|---|---|---|
| Fresh ramps | 1 cup chopped (both leaves and bulbs) | Well dried |
| Coarse sea salt | 1 cup | Adjust for taste and preservation |
| Optional: Lemon zest | 1 teaspoon | Adds citrus brightness |
| Optional: Black pepper | 1/2 teaspoon | Adds subtle heat |
- Stir the ramps and salt thoroughly but gently, ensuring every piece is coated.
- Let the mixture rest for 30 minutes at room temperature. This allows the salt to draw moisture from the ramps, concentrating the flavors.
- For a drier salt, spread the mixture on a baking sheet and dry in a low oven (170°F / 75°C) for 1-2 hours until crisp, stirring occasionally.
- Cool completely before storing in an airtight container to retain aroma and freshness.
By carefully chopping and mixing the ramps with salt, we create a vibrant seasoning that captures the unique essence of ramps ready to elevate any dish.
Drying and Storing Ramp Salt
Proper drying and storage are essential to preserve the vibrant flavors and aroma of our ramp salt. This ensures the seasoning stays fresh and ready to elevate our dishes anytime.
Drying Methods
To lock in the bright garlicky punch of ramps while preventing clumping or spoilage, we must thoroughly dry the salt mixture. Here are the most effective methods:
| Drying Method | Instructions | Temperature/Time | Benefits |
|---|---|---|---|
| Air Drying | Spread the ramp salt in an even layer on a baking sheet or shallow dish in a cool, dry place. | 12-24 hours | Preserves delicate flavors naturally |
| Oven Drying | Preheat the oven to its lowest setting (around 150°F / 65°C). Spread salt on a baking sheet and place in oven. Stir occasionally. | 2-3 hours | Speeds up drying, maintains texture |
| Dehydrator | Spread evenly on a dehydrator tray. Set temperature and dehydrate until crisp and dry. | 95-115°F (35-46°C), 1-3 hours | Gentle drying, retains aroma |
Tip: Whichever method we choose, it’s vital the ramp salt dries completely to prevent mold or spoilage. The mixture should feel dry and crumbly before storage. Avoid overheating to preserve the bright green hue and pungent flavor.
Storage Tips
To maintain the fresh essence and pungency of our ramp salt, we must store it correctly. Here’s how to keep our creation vibrant and shelf-stable:
- Use Airtight Containers: Glass jars with sealed lids or quality plastic containers prevent moisture from seeping in and dulling the flavors.
- Keep in a Cool, Dark Place: Store in a pantry or cupboard away from direct sunlight and heat sources to slow flavor degradation.
- Label with Date: Note the preparation date on the container. For optimal freshness, use within 6 months.
- Avoid Cross-Contamination: Use a dry spoon each time we scoop out the salt to prevent introducing moisture or contaminants.
By following these drying and storage steps, our ramp salt will remain a vibrant, flavor-packed seasoning that beautifully channels the seasonal zest of fresh ramps year-round.
How to Use Ramp Salt
Ramp salt is a versatile seasoning that bursts with the bold garlicky-onion flavor of ramps, making it an essential addition to our kitchen pantry. Here’s how we can incorporate it into our dishes to maximize its vibrant taste.
Sprinkle as a Finishing Touch
Add a pinch of ramp salt just before serving to:
- Elevate roasted or grilled vegetables
- Brighten salads and leafy greens
- Enhance the flavor of eggs, from scrambled to fried
- Season roasted nuts or popcorn for a unique snack
This final sprinkle preserves the robust aroma and ensures the bright ramp flavor shines through.
Season Meats and Seafood
Use ramp salt as a dry rub or seasoning before cooking. It pairs exceptionally well with:
| Protein Type | Application | Tip |
|---|---|---|
| Chicken | Rub under the skin | Let sit 15-30 minutes before cooking |
| Pork | Season chops or tenderloin | Combine with black pepper for extra kick |
| Fish | Sprinkle on fillets | Use before grilling or pan-searing |
| Beef | Salt steaks pre-sear | Pat dry before application for crust formation |
The salt draws out moisture and infuses meats with ramp’s unmistakable zing.
Incorporate Into Sauces and Dressings
Stir a teaspoon or two of ramp salt into:
- Vinaigrettes
- Creamy dips like sour cream or yogurt bases
- Marinades for extra depth
- Compound butters for spreading on bread or melting over hot dishes
Our favorite is combining ramp salt with olive oil and lemon juice for a quick salad dressing that packs a punch.
Enhance Grain and Legume Dishes
Mix ramp salt into:
- Cooked rice or quinoa
- Lentils or chickpeas
- Polenta or mashed potatoes
This seasoning adds an herbal, savory note that brightens bland basics.
Quick Reference Table
| Use Case | How to Apply | Recommended Quantity |
|---|---|---|
| Finishing Sprinkle | Directly onto cooked food | Pinch to 1/4 tsp per serving |
| Meat & Seafood Rub | Apply before cooking | 1/2 to 1 tsp per pound |
| Sauces & Dressings | Stir into liquids or pastes | 1 tsp per cup or batch |
| Grains & Legumes | Mix into warm cooked dishes | 1/2 to 1 tsp per cup |
“When using ramp salt, less is often more. The intense ramp flavor means a small amount can transform our dishes with bright, herby notes.”
By experimenting with these uses, we can truly appreciate the unique zest of ramp salt all year long, turning everyday meals into memorable experiences.
Conclusion
Ramp salt is a fantastic way to capture the vibrant flavor of ramps and keep it handy all year long. Its bold, garlicky punch adds depth and excitement to a wide range of dishes, from simple snacks to hearty meals.
With just a few ingredients and straightforward steps, making ramp salt is accessible and rewarding. Once prepared and stored properly, it becomes a versatile seasoning that elevates everyday cooking effortlessly.
We encourage you to experiment with ramp salt in your kitchen and discover new ways to bring that unique springtime zest to your table whenever you want.
Frequently Asked Questions
What are ramps, and why are they popular in cooking?
Ramps are wild onions known for their strong garlicky flavor and bright green leaves. They are prized for their bold taste and are typically foraged in early spring, making them a seasonal delicacy.
What is ramp salt, and why should I make it?
Ramp salt is a preserved seasoning made by mixing chopped ramps with coarse sea salt. It captures ramps’ unique flavor for year-round use and enhances a variety of dishes with a bold, aromatic punch.
What ingredients do I need to make ramp salt?
You need fresh ramps (both bulbs and leaves), coarse sea salt, and optional add-ins like lemon zest or black pepper for extra flavor.
What kitchen tools are essential for preparing ramp salt?
A sharp chef’s knife, cutting board, mixing bowl, measuring tools, and an airtight container are essential. Optional tools include a food processor and baking sheet for quicker prep and drying.
How should I clean and prepare ramps before making ramp salt?
Rinse ramps under cold water, separate bulbs from leaves, trim tough ends, and chop into ½-inch pieces. Dry them thoroughly by air drying or low-heat oven drying to preserve color and flavor.
How do I mix and dry the ramp salt?
Chop ramps evenly, combine with coarse salt and optional ingredients, then let rest for 30 minutes. For dryer salt, spread on a baking sheet and dry gently in a low oven before cooling and storing.
What are the best methods to dry ramp salt?
Air drying for 1-2 hours, oven drying at low temperature, or using a dehydrator are effective methods. Complete dryness prevents spoilage and preserves flavor.
How should I store ramp salt for maximum freshness?
Store ramp salt in an airtight container placed in a cool, dark area. Label with the date and avoid contamination to maintain aroma and quality over time.
How can I use ramp salt in cooking?
Use ramp salt as a finishing seasoning for roasted vegetables, salads, eggs, meats, seafood, and snacks. It also works well in sauces, dressings, grains, and legumes for added zest.
How much ramp salt should I use when seasoning dishes?
A little ramp salt goes a long way. Start with a pinch or ½ teaspoon per serving and adjust to taste, depending on the dish and desired intensity.