
There’s something truly special about homemade plum cider that captures the essence of late summer and early fall. This refreshing drink combines the natural sweetness and tartness of ripe plums with the crispness of traditional cider, creating a unique flavor that’s both vibrant and comforting. Whether you’re looking to impress guests or enjoy a cozy evening at home, making plum cider is easier than you might think.
We love how this recipe uses simple ingredients and straightforward steps to bring out the best in fresh plums. Plus, crafting your own cider lets you control the sweetness and spice, tailoring it perfectly to your taste. Ready to discover a delicious twist on classic cider? Let’s dive into our plum cider recipe and enjoy a homemade treat that’s bursting with flavor.
Ingredients
To craft our Plum Cider with the perfect balance of sweet and tart, we gather the following essentials. Each ingredient plays a vital role in achieving the refreshing flavor and aroma unique to this late summer and early fall delight.
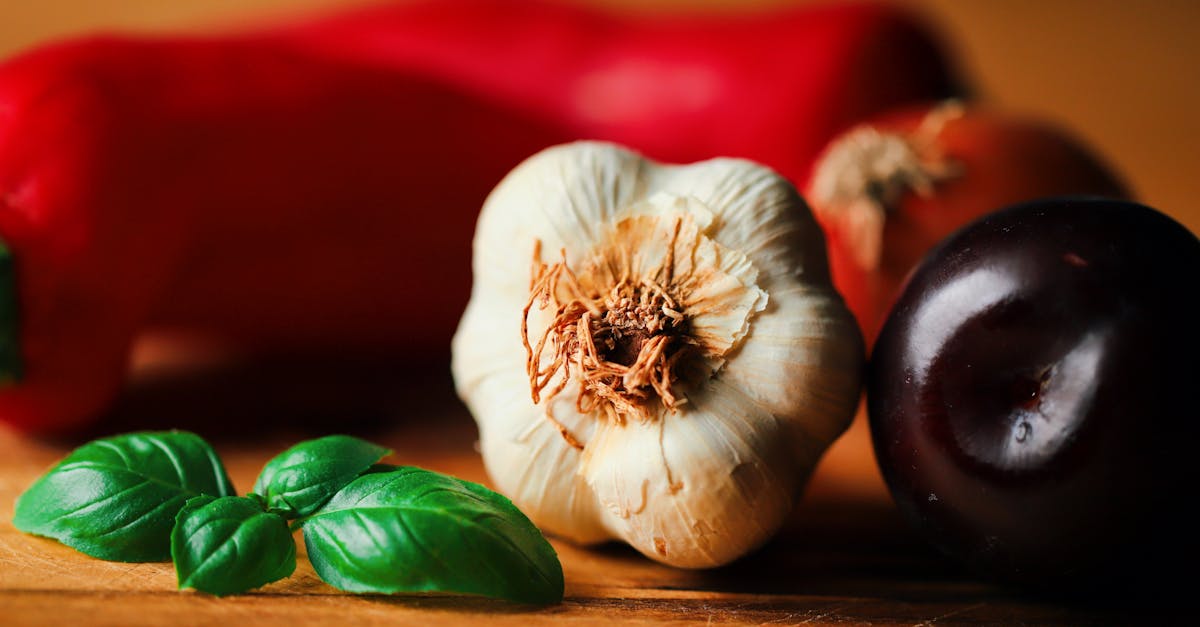
- Fresh plums – 4 pounds (preferably ripe and juicy, washed and pitted)
- Apple cider – 1 gallon (unsweetened, to serve as the base)
- Brown sugar – 1 cup (for natural sweetness)
- Cinnamon sticks – 3 (adds warm spice and depth)
- Whole cloves – 6 (for aromatic intensity)
- Allspice berries – 4 (optional, to enhance complexity)
- Fresh ginger – 1-inch piece (thinly sliced for subtle zing)
- Lemon juice – 2 tablespoons (to balance sweetness with acidity)
- Water – 2 cups (for simmering plums and spices)
| Ingredient | Quantity | Preparation Notes |
|---|---|---|
| Fresh plums | 4 pounds | Washed and pitted |
| Apple cider | 1 gallon | Unsweetened |
| Brown sugar | 1 cup | Adjust to taste if preferred |
| Cinnamon sticks | 3 sticks | Whole sticks for infusion |
| Whole cloves | 6 cloves | Poke in cheesecloth or sachet |
| Allspice berries | 4 berries (optional) | Adds complexity |
| Fresh ginger | 1-inch piece | Thinly sliced |
| Lemon juice | 2 tablespoons | Freshly squeezed |
| Water | 2 cups | For simmering |
“Using fresh, high-quality plums really makes our plum cider stand out. The aroma and natural sweetness are unmatched when you start with the best ingredients.”
The combination of these carefully selected ingredients guarantees a plum cider that delights the senses and perfectly captures the essence of the season.
Equipment Needed
To create our delicious Plum Cider, having the right equipment is essential for a smooth and enjoyable process. Here’s what we need to prepare our kitchen for crafting this refreshing homemade drink.
- Large Stockpot (at least 4 quarts)
We use this to simmer our plums, apple cider, and spices. A heavy-bottomed pot helps evenly distribute heat and prevents sticking or burning.
- Cutting Board and Sharp Knife
For slicing the fresh, ripe plums cleanly and efficiently. Precision helps in extracting maximum flavor.
- Wooden Spoon or Silicone Spatula
To stir the cider mixture gently, ensuring even heat distribution and spice infusion without damaging the fruit.
- Fine Mesh Strainer or Cheesecloth
We strain the plum solids and spices from the cider to achieve a smooth, clear beverage.
- Measuring Cups and Spoons
Accurate measurements of cider, spices, and any optional sweeteners ensure consistent taste.
- Large Heatproof Pitcher or Container
To transfer and store the finished cider. Glass or stainless steel containers are ideal for maintaining freshness.
- Stove or Heat Source
A reliable burner to simmer our mixture at a steady low heat essential for perfect flavor extraction.
| Equipment | Purpose | Notes |
|---|---|---|
| Large Stockpot (4+ quarts) | Simmer plums, cider, and spices | Heavy-bottomed preferred |
| Cutting Board & Knife | Slice fresh plums | Sharp, for clean cuts |
| Wooden Spoon / Silicone Spatula | Stir mixture gently | Prevents fruit breakage |
| Fine Mesh Strainer / Cheesecloth | Strain solids from cider | Achieve smooth texture |
| Measuring Cups & Spoons | Measure ingredients | Ensure recipe accuracy |
| Heatproof Pitcher / Container | Store finished cider | Glass or stainless steel best |
| Stove / Heat Source | Simmer cider mixture | Must maintain low steady heat |
By gathering these essential tools, we set ourselves up to make a perfectly balanced Plum Cider that highlights the natural sweetness and vibrant aroma of fresh plums combined with warm, comforting spices.
Prep Work
Before we start brewing our plum cider, proper preparation of ingredients sets the foundation for a flavorful and aromatic drink. Let’s focus on selecting the best plums and prepping all other components precisely.
Selecting and Preparing Plums
Choosing ripe, high-quality plums is crucial because they provide the signature sweet-tart balance in our plum cider. Here’s how we prepare them:
- Select 4 pounds of fresh, ripe plums with a deep color and slight softness to the touch.
- Wash the plums thoroughly under cold water to remove any dirt or residues.
- Pat dry with a clean towel to avoid excess water diluting the cider.
- Cut the plums in halves, removing all pits carefully.
- For a richer flavor and easier extraction, roughly chop the plums into smaller pieces about 1-inch chunks.
Preparing Additional Ingredients
Our blend of spices and other ingredients enhances the depth and warmth of the plum cider. Proper measurement and prep ensures balance:
| Ingredient | Quantity | Preparation |
|---|---|---|
| Unsweetened apple cider | 1 gallon | Ready to use |
| Cinnamon sticks | 3 sticks | Use whole, no chopping needed |
| Whole cloves | 6 – 8 cloves | Use whole |
| Fresh ginger | 1 tablespoon sliced | Peel and slice thinly |
- Measure each spice accurately using measuring spoons.
- Peel the fresh ginger carefully to avoid bitterness, then slice thinly to release maximum flavor.
- Keep the spices whole or sliced to allow easy straining later without losing flavor.
By handling plums and spices with care, we prepare for a refreshing plum cider that perfectly marries fruity brightness with cozy, warming notes.
Making the Plum Cider
Now that our plums and spices are perfectly prepped, it’s time to transform these vibrant ingredients into delicious homemade plum cider. We’ll guide you through extracting the plum juice, mixing the key components, and managing the fermentation process for optimal flavor.
Extracting Plum Juice
To capture the concentrated flavor of the plums, start by placing the 4 pounds of chopped plums into a large stockpot.
- Simmer the plums gently over medium heat without boiling, stirring occasionally with a wooden spoon or silicone spatula.
- Allow the fruit to soften for about 20 minutes. This releases the plum juices while preserving their sweet and tart character.
- Next, carefully press the softened plums through a fine mesh strainer or cheesecloth into a heatproof pitcher or container. Use the back of a spoon to extract all the juice, leaving behind the solid pulp.
- Set the strained juice aside; this rich plum essence will be the heart of our cider.
Mixing Ingredients
With the plum juice ready, now we combine it with our unsweetened apple cider and warming spices to build the complex, inviting flavor profile we want.
| Ingredient | Quantity | Notes |
|---|---|---|
| Plum juice | Extracted amount | From simmered plums |
| Unsweetened apple cider | 1 gallon | Base for cider |
| Cinnamon sticks | 2-3 sticks | Adds warmth and spice |
| Whole cloves | 6-8 cloves | Infuses cozy aromatic notes |
| Fresh ginger | 1-inch piece, sliced | Lends subtle spicy brightness |
- Pour the plum juice and 1 gallon of apple cider back into the cleaned stockpot.
- Add cinnamon sticks, cloves, and sliced fresh ginger.
- Stir gently to blend everything well.
- Heat the mixture over low heat until it is just steaming, not boiling, to preserve delicate flavors. Simmer for an additional 15 minutes to allow the spices to infuse fully.
Fermentation Process
To create a lightly fermented plum cider with depth and a refreshing effervescence, carefully manage the fermentation stage.
- Transfer the warm spiced cider into a sanitized fermentation vessel, such as a glass carboy or food-grade bucket.
- Add a cider yeast starter or natural wild yeast from organic apple cider if you prefer a traditional method.
- Cover the vessel with an airlock or clean cloth secured with a rubber band to allow gases to escape while preventing contamination.
- Store the cider in a cool, dark place between 60-70°F (15-21°C).
- Allow fermentation to proceed for 5-7 days, checking daily. The cider should develop light bubbles and a subtle tartness as natural sugars convert to alcohol.
- When fermentation slows and bubbles subside, transfer the cider into clean bottles using siphoning to avoid disturbing sediment.
- Seal and refrigerate. Chill for at least 24 hours before serving to let flavors meld perfectly.
Our homemade plum cider balances the juicy sweetness of ripe plums with the comforting warmth of spices and the gentle tang of fermentation. This attention to each step ensures a refreshing and flavorful seasonal beverage perfect for late summer and early fall gatherings.
Bottling and Storage
Proper bottling and storage are crucial to preserve the vibrant flavors and carbonation of our homemade plum cider. Follow these steps to ensure a clean, safe, and flavorful final product.
Preparing Bottles for Plum Cider
- Choose the Right Bottles
Use clean glass bottles designed for carbonation, such as swing-top bottles or capped beer bottles. Plastic bottles may not hold pressure well, and unsealed containers can spoil the cider.
- Sanitize Thoroughly
Sanitize bottles, caps, and any equipment that will contact the cider. We recommend using a no-rinse sanitizer to avoid altering the flavor.
“Sanitation preserves the taste and prevents unwanted bacteria from spoiling our cider.”
Transferring and Filling the Bottles
- Transfer with Care
Using a siphon or funnel, carefully transfer the fermented plum cider into bottles, leaving about 1 inch of headspace to accommodate carbonation expansion.
- Seal Immediately
Cap or seal bottles tightly to trap carbonation and prevent oxygen exposure. This step is critical for creating sparkling cider and preventing oxidation.
Carbonation and Conditioning
If you want a sparkling plum cider, add a small amount of priming sugar (about 1 ounce per gallon) before bottling to feed remaining yeast and encourage natural carbonation.
| Priming Sugar Amount | Suggested Bottle Conditioning Time | Storage Temperature |
|---|---|---|
| 1 oz per gallon | 1 to 2 weeks | 60-70°F (15-21°C) |
Tip: Test carbonation after 7 days by chilling one bottle and gently opening it. Adjust storage time if needed.
Storage Conditions
Store bottled plum cider in a cool, dark place away from direct sunlight and temperature fluctuations. Ideal conditions are:
- Temperature: 50-60°F (10-15°C) for long-term storage
- Avoid heat to preserve flavor and prevent over-carbonation
Shelf Life and Serving
- Shelf Life: Properly bottled and stored plum cider can last up to 6 months.
- Serving: Chill bottles before opening to enjoy crisp, refreshing cider. Pour gently to avoid disturbing sediment.
Serving Suggestions
To fully enjoy our Plum Cider, we recommend serving it chilled or gently warmed depending on your mood and the season.
Chilled Plum Cider
- Pour the cider over ice cubes in a clear glass to highlight its beautiful autumnal deep amber color.
- Garnish with a thin slice of plum or a cinnamon stick for an elegant presentation.
- Pair chilled cider with light appetizers such as sharp cheeses, roasted nuts, or fresh fruit to balance its fruity tartness.
Warmed Plum Cider
- Heat the cider gently on the stove or in a slow cooker until it reaches a cozy 130°F to 140°F (54°C to 60°C), avoiding boiling to preserve delicate flavors.
- Stir occasionally with a cinnamon stick or a few whole cloves for extra aroma.
- Serve in heat-resistant mugs or glasses to warm hands and spirits on cool evenings.
- Complement warmed cider with spiced baked goods, pumpkin bread, or hearty stews to enhance the cozy season vibe.
Cocktail Mixes
Elevate your cider experience by using it as a base in cocktails:
| Cocktail Name | Ingredients | Instructions |
|---|---|---|
| Plum Cider Mule | 4 oz plum cider, 1.5 oz vodka, 0.5 oz lime juice, ginger beer | Combine vodka and lime juice over ice. Add cider. Top with ginger beer and garnish with mint. |
| Spiced Plum Sangria | 1 cup plum cider, 1 cup red wine, sliced oranges, cinnamon stick | Mix ingredients and chill for 2 hours. Serve over ice with fruit slices. |
Glassware Recommendations
- Use stemmed glasses or classic pint glasses to showcase the cider’s clarity and color.
- For warm servings, double-walled glass mugs retain heat while allowing hands to stay comfortable.
By following these serving suggestions, our Plum Cider Recipe transforms from a handcrafted beverage to a versatile centerpiece for any gathering or personal relaxation time.
Tips for the Best Plum Cider
To master our plum cider recipe, we focus on key tips that bring out the cider’s full potential. These pointers ensure a balanced flavor, optimal fermentation, and a beautifully clear final product.
Choose the Right Plums
Select ripe, juicy plums with vibrant color and slight softness to the touch. Avoid overripe or bruised fruit, as they can introduce off-flavors or unwanted bitterness. Using fresh, quality plums enhances the natural sweetness and tartness that define our plum cider.
Prepare Ingredients with Precision
Accurate measurements of ingredients keep the flavors harmonious. For spices like cinnamon, cloves, and fresh ginger, use the exact quantities to avoid overpowering the cider’s delicate fruit notes.
| Ingredient | Recommended Quantity | Purpose |
|---|---|---|
| Fresh ripe plums | 4 pounds | Core flavor and sweetness |
| Unsweetened apple cider | 1 gallon | Base liquid and balance |
| Cinnamon sticks | 2-3 sticks | Warmth and aromatic depth |
| Whole cloves | 4-6 cloves | Subtle spice accent |
| Fresh ginger slices | 1-2 inches | Bright, slightly spicy undertone |
Extract Maximum Flavor
When simmering the plum chunks, stir occasionally with a wooden spoon or silicone spatula. This ensures even heat distribution and maximizes juice extraction. After simmering, press the plums firmly through a fine mesh strainer or cheesecloth to capture every drop of vibrant juice.
Control Fermentation Environment
Ferment the cider in a clean, sanitized vessel with a tight-fitting airlock or cover to prevent contamination. Maintain a consistent temperature between 65-75°F (18-24°C) for optimal yeast activity. This range encourages steady fermentation without producing off-flavors.
Sanitize Everything
Before bottling, we emphasize thoroughly sanitizing bottles, lids, and any equipment that contacts the cider. Unsanitized equipment can cause spoilage or undesirable fermentation, ruining weeks of effort.
Perfect Carbonation
For natural carbonation, add priming sugar precisely measured for your batch size. Too much sugar may cause excessive pressure in bottles, leading to breaks or gushers. We recommend:
| Batch Size | Priming Sugar Amount (corn sugar) |
|---|---|
| 1 gallon | 3/4 teaspoon |
| 5 gallons | 3/4 cup |
Storage and Serving
Store bottled cider upright in a cool dark place, ideally between 50-60°F (10-16°C). Let carbonation develop for 2-3 weeks before chilling and serving. For an elevated experience, serve chilled in clear glassware to showcase the cider’s rich color or warmed with a cinnamon stick garnish for cozy enjoyment.
As we craft our plum cider, these tips help us marry perfect sweetness, spice warmth, and a refreshing tang into an unforgettable seasonal drink.
Conclusion
Crafting plum cider at home opens up a world of rich flavors and creative possibilities. With the right ingredients, tools, and attention to detail, we can enjoy a refreshing beverage that perfectly captures the spirit of the season.
Whether served chilled or warmed, plum cider offers a unique taste experience that’s both comforting and invigorating. By following the steps and tips shared, we’re set to impress friends and family with a delicious homemade treat that’s truly our own.
Frequently Asked Questions
What are the main ingredients for homemade plum cider?
The primary ingredients include 4 pounds of fresh ripe plums, 1 gallon of unsweetened apple cider, and spices like cinnamon sticks, whole cloves, and fresh ginger.
How do I select the best plums for cider?
Choose ripe, high-quality plums that are juicy and fragrant. Avoid underripe or overly soft fruits to ensure the best sweetness and flavor.
What equipment do I need to make plum cider?
You’ll need a large stockpot, cutting board, knife, wooden spoon or silicone spatula, fine mesh strainer or cheesecloth, measuring tools, a heatproof container, and a reliable heat source.
How long does the fermentation process take?
Fermentation typically takes about 5 to 7 days to allow the mixture to develop its full flavor and slight tang.
How should I store the bottled plum cider?
Store the sealed bottles in a cool, dark place for up to six months to maintain freshness and carbonation.
Can I customize the sweetness and spice level?
Yes, you can adjust the amount of sugar and spices during preparation to suit your personal taste preferences.
Is it possible to serve plum cider warm and cold?
Absolutely. Plum cider can be enjoyed chilled or gently warmed, each enhancing different flavor notes.
How do I prevent spoilage during cider making?
Sanitize all equipment thoroughly and maintain a controlled fermentation environment to help prevent spoilage.
What are some cocktail ideas using plum cider?
Try mixing plum cider into a Plum Cider Mule or a Spiced Plum Sangria for a flavorful twist.
How can I ensure good carbonation in my cider?
Add the correct amount of priming sugar before bottling and seal bottles tightly to achieve natural carbonation.