
Peanut Butter Meltaways are the perfect treat when you’re craving something sweet and buttery with a rich peanut butter twist. These melt-in-your-mouth cookies deliver a delicate crumbly texture that simply disappears the moment you take a bite. They’re a nostalgic favorite that brings back memories of cozy afternoons and homemade goodies.
We love how simple ingredients come together to create such an irresistible snack. Whether you’re baking for a special occasion or just want to satisfy a peanut butter craving, these meltaways are quick to make and always impress. Let’s dive into a recipe that’s sure to become a staple in your cookie collection.
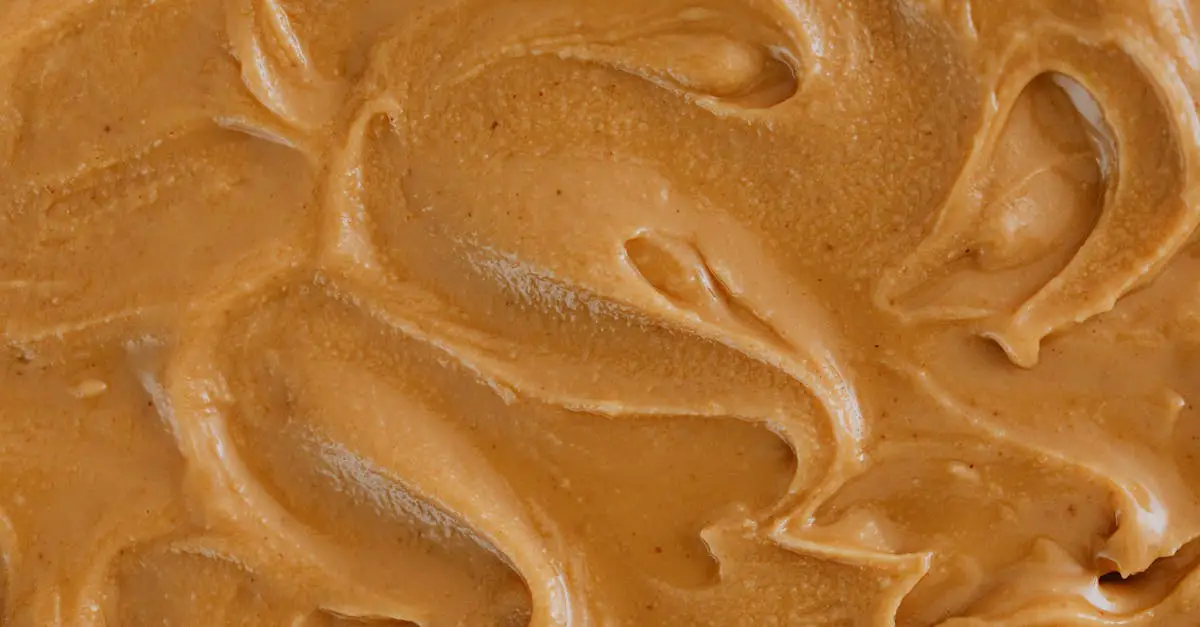
Ingredients
To create our Peanut Butter Meltaways, we rely on simple yet carefully selected ingredients that enhance the cookies’ rich, buttery flavor and melt-in-your-mouth texture. Below we break down each category for clarity and ease of use.
Dry Ingredients
These ingredients form the sturdy base of our cookies, providing structure and the perfect balance of sweetness and texture.
- All-purpose flour – 2 cups (measured accurately for consistent results)
- Powdered sugar – 1 cup (adds a delicate sweetness and helps with texture)
- Baking powder – 1/2 teaspoon (provides a slight lift for a tender crumb)
- Salt – 1/4 teaspoon (enhances the peanut butter flavor)
| Dry Ingredients | Quantity | Purpose |
|---|---|---|
| All-purpose flour | 2 cups | Structure and texture |
| Powdered sugar | 1 cup | Sweetness and smooth texture |
| Baking powder | 1/2 teaspoon | Light leavening |
| Salt | 1/4 teaspoon | Flavor enhancement |
Wet Ingredients
Our wet ingredients blend the distinctive peanut butter taste with rich butter to create that luscious meltaway experience.
- Creamy peanut butter – 1 cup (choose natural or smooth for best melting texture)
- Unsalted butter – 1 cup (softened to room temperature, contributes to meltability)
- Vanilla extract – 1 teaspoon (boosts flavor depth)
| Wet Ingredients | Quantity | Role |
|---|---|---|
| Creamy peanut butter | 1 cup | Key flavor and moisture |
| Unsalted butter | 1 cup | Softness and richness |
| Vanilla extract | 1 teaspoon | Flavor enhancer |
Optional Add-Ins
To give our Peanut Butter Meltaways a personalized twist, we can add:
- Chopped peanuts – 1/4 cup (for crunch and an intensified nutty bite)
- Mini chocolate chips – 1/4 cup (pairs beautifully with peanut butter)
- Sea salt flakes – a light sprinkle (to elevate the sweet and savory balance)
These additions are optional but highly recommended if you want to take your cookies to the next level of flavor and texture.
Tools and Equipment
To create perfect Peanut Butter Meltaways, having the right Tools and Equipment on hand makes all the difference. Our selection focuses on practicality and precision to ensure every step is smooth and every cookie comes out flawless.
Essential Tools for Mixing and Preparing
- Mixing Bowls: Use a medium glass or stainless steel bowl for combining wet ingredients separately and a large one for dry ingredients to facilitate thorough mixing.
- Electric Hand Mixer or Stand Mixer: This tool helps us cream the butter, peanut butter, and powdered sugar efficiently, ensuring a light and fluffy base that leads to a melt-in-your-mouth texture.
- Rubber Spatula: Perfect for scraping down the bowl sides to incorporate every bit of dough without wasting any.
- Measuring Cups and Spoons: Precise measurement of ingredients like flour, sugar, and baking powder ensures consistent results.
- Sifter or Fine Mesh Strainer: To sift powdered sugar and flour, which prevents lumps and guarantees a smooth dough.
Baking and Shaping Equipment
- Baking Sheet (Cookie Sheet): A flat, rimless baking sheet helps cookies bake evenly without edges curling.
- Parchment Paper or Silicone Baking Mat: These liners prevent sticking and promote even baking while simplifying cleanup.
- Cookie Scoop (1-tablespoon size): Ensures uniform cookie sizes for consistent baking and presentation.
- Cooling Rack: Allows cookies to cool evenly without becoming soggy on the bottom, preserving that sought-after meltaway texture.
| Tool | Purpose | Tips |
|---|---|---|
| Mixing Bowls | Combine wet and dry ingredients | Use separate bowls for dry and wet |
| Electric Hand Mixer | Cream butter and peanut butter mix | Low to medium speed works best |
| Rubber Spatula | Scrap dough and fold ingredients | Flexible to reach bowl edges |
| Measuring Cups/Spoons | Ingredient accuracy | Level off dry ingredients |
| Sifter | Remove lumps in powdered sugar/flour | Use gentle tapping motion |
| Baking Sheet | Bake cookies | Use light-colored sheet for even heat |
| Parchment Paper/Silicone Mat | Prevent stickiness | Reusable silicone mat is eco-friendly |
| Cookie Scoop | Uniform cookie portions | Use one with release trigger |
| Cooling Rack | Cool baked cookies | Wire racks allow airflow underneath |
Additional Helpful Tools
- Pastry Blender or Fork: Useful if you plan to incorporate optional chopped peanuts for a bit of crunch.
- Small Bowl for Optional Toppings: Ideal when adding mini chocolate chips or sprinkling sea salt flakes before baking.
Prep Instructions
To make our Peanut Butter Meltaways perfectly tender and flavorful, it is essential to follow each prep step with precision. Here is how we get started:
- Measure Ingredients Accurately
We begin by measuring all our ingredients meticulously. Use a sifter for the powdered sugar and all-purpose flour to eliminate lumps and ensure a smooth, delicate dough. Accurate measurements guarantee consistent results every time.
- Cream the Wet Ingredients
Place the unsalted butter and creamy peanut butter in a medium mixing bowl. Using an electric hand mixer or stand mixer set to medium speed, cream them together until the mixture becomes light and fluffy. This process incorporates air into the dough, ensuring a meltaway texture.
- Add Vanilla Extract
Once creamed, add the vanilla extract to the peanut butter and butter blend. Mix briefly to combine the rich flavors evenly.
- Incorporate Dry Ingredients Gradually
Slowly add the sifted dry ingredients—powdered sugar, all-purpose flour, baking powder, and salt—to the wet mixture. Use a rubber spatula to fold the ingredients gently. Avoid overmixing; the dough should come together without becoming tough.
- Optional Add-ins Preparation
If including chopped peanuts, mini chocolate chips, or sea salt flakes, prepare them now. Chop peanuts finely using a pastry blender or sharp knife. Measure the optional add-ins and set them aside in a small bowl.
- Form the Dough
With hands or a cookie scoop, shape the dough into round balls of uniform size. This ensures even baking and consistent melting texture.
| Step | Key Focus | Tools Needed |
|---|---|---|
| Measure Ingredients | Accuracy for texture and flavor | Sifter, measuring cups |
| Cream Wet Ingredients | Light and fluffy mixture | Electric mixer, mixing bowl |
| Add Vanilla Extract | Flavor integration | Mixing spoon or spatula |
| Fold in Dry Ingredients | Combine without overworking dough | Rubber spatula |
| Prepare Optional Add-ins | Enhance taste and texture | Pastry blender, small bowl |
| Form Dough Balls | Uniform size for even baking | Cookie scoop or hands |
By completing these prep steps carefully, we set the foundation for Peanut Butter Meltaways that melt smoothly in the mouth while bursting with rich, nutty flavor.
Directions
Follow these precise steps to create Peanut Butter Meltaways with a perfectly tender texture and rich peanut butter flavor that melts in your mouth.
Making the Cookie Dough
- Cream the Wet Ingredients
In a medium bowl, combine unsalted butter and creamy peanut butter. Use an electric mixer to beat on medium speed until the mixture is light and fluffy, about 2-3 minutes.
- Add Vanilla Extract
Stir in vanilla extract to deepen the flavor and mix thoroughly.
- Incorporate Dry Ingredients Gradually
In a separate bowl, sift together all-purpose flour, powdered sugar, baking powder, and salt.
Gradually add the dry mixture to the wet ingredients, beating on low speed until just combined. Avoid overmixing to maintain a tender crumb.
- Add Optional Mix-Ins
If desired, fold in chopped peanuts, mini chocolate chips, or sea salt flakes gently with a rubber spatula for added texture and flavor.
| Ingredient Group | Action | Notes |
|---|---|---|
| Wet Ingredients | Cream butter and peanut butter | Beat until light and fluffy |
| Dry Ingredients | Sift and gradually mix into wet | Avoid overmixing for tender cookies |
| Optional Add-Ins | Fold in after dough forms | For enhanced texture and taste |
Shaping the Meltaways
- Form Uniform Balls
Use a cookie scoop or tablespoon to portion out dough. Roll each portion between your palms into a smooth ball approximately 1 inch in diameter.
- Prep for Baking Surface
Line a baking sheet with parchment paper or a silicone baking mat. Place the balls 2 inches apart to allow room for gentle spreading.
- Optional Toppings
Lightly press a few additional chopped peanuts or a pinch of sea salt flakes on each dough ball for a gourmet touch.
Baking
- Preheat Oven
Set your oven to 350°F (175°C) and allow it to fully preheat before baking.
- Bake Cookies
Bake the shaped dough for 10 to 12 minutes until the edges set but the centers remain soft. The cookies will firm up as they cool.
- Avoid Overbaking
Remove the cookies as soon as the edges are lightly golden to preserve the meltaway texture.
| Step | Temperature | Time | Result |
|---|---|---|---|
| Oven Preheating | 350°F (175°C) | – | Ready for baking |
| Baking Time | 350°F (175°C) | 10-12 minutes | Soft centers with set edges |
Cooling and Setting
- Cooling on Sheet
Let the cookies cool on the baking sheet for 5 minutes to finish setting gently without breaking.
- Transfer to Rack
Use a spatula to move cookies onto a cooling rack. Allow them to cool completely, about 15-20 minutes, to develop their characteristic melt-in-your-mouth crumb.
- Storage Tips
Once cooled, store in an airtight container at room temperature. These Peanut Butter Meltaways stay fresh for up to one week or can be frozen for longer storage.
Storage Tips
To keep our Peanut Butter Meltaways fresh and flavorful, proper storage is essential. Follow these guidelines to preserve their melt-in-your-mouth texture and rich peanut butter taste.
- Cool Completely Before Storing
Allow the cookies to cool on a wire rack until completely at room temperature. Storing warm cookies traps moisture causing them to become soggy.
- Use an Airtight Container
Store the cookies in a tightly sealed container to maintain their tenderness. Avoid loosely covered containers that let air dry out the cookies.
- Layer with Parchment Paper
When stacking the cookies inside the container, place parchment paper between layers. This prevents sticking and preserves their delicate shape.
- Storage Duration Recommendations
| Storage Method | Duration | Notes |
|---|---|---|
| Room Temperature | Up to 1 week | Keep in airtight container |
| Refrigerator | Up to 2 weeks | Ensure airtight wrapping |
| Freezer | Up to 3 months | Use freezer-safe airtight bags |
- Freezing for Long-Term Storage
To freeze, place cookies in a single layer on a baking sheet and freeze until firm (about 1 hour). Transfer to a freezer-safe bag or container separating layers with parchment paper. Thaw at room temperature for 10–15 minutes before serving to enjoy the full meltaway effect.
- Avoid Refrigeration When Possible
Refrigerating can sometimes dry out the cookies and dull their texture. Use refrigeration only if the ambient temperature is very warm or if freezing is not an option.
“Proper storage ensures our Peanut Butter Meltaways stay just as delicious and tender as when they fresh out of the oven.”
By following these storage tips carefully, we can enjoy this classic treat any time with the same luscious, nutty flavor and perfect meltaway texture.
Serving Suggestions
We want to make sure our Peanut Butter Meltaways shine on any occasion. Here are some delicious ways to serve and enjoy these melt-in-your-mouth treats:
Classic Pairings
- Serve Peanut Butter Meltaways with a cold glass of milk to balance their rich, buttery flavor.
- Pair them with a hot cup of coffee or black tea for a comforting afternoon snack.
- For a decadent twist, enjoy them alongside a scoop of vanilla ice cream to enhance their creamy texture.
Creative Presentation Ideas
- Arrange cookies on a decorative platter and sprinkle lightly with sea salt flakes or a dusting of powdered sugar for a gourmet look.
- Stack a few cookies with layers of chocolate ganache or peanut butter frosting for an indulgent dessert tower.
- Create mini dessert sandwiches by spreading a thin layer of chocolate hazelnut spread or marshmallow fluff between two cookies.
Enhancing Flavor Combinations
- Add a handful of fresh berries such as raspberries or strawberries on the side to cut through the sweetness with a fresh zing.
- Serve with a drizzle of warm honey or maple syrup for extra sweetness and a sticky contrast.
- Complement the nuttiness by pairing with a small bowl of mixed nuts or dried fruit for a balanced snack board.
Serving Size and Occasion Table
| Occasion | Serving Style | Suggested Pairing | Portion Size per Person |
|---|---|---|---|
| Afternoon Tea | On a tiered cake stand | Coffee or black tea | 2-3 cookies |
| Birthday Party | Stacked dessert tower with frosting | Vanilla ice cream | 3-4 cookies |
| Casual Snack | Plated with mixed nuts | Cold glass of milk | 1-2 cookies |
| Holiday Gathering | Platter dusted with powdered sugar | Fresh berries and honey drizzle | 3-5 cookies |
“Peanut Butter Meltaways are as versatile as they are delicious. Choosing the right serving style enhances the experience and keeps everyone coming back for more.”
Conclusion
Peanut Butter Meltaways are a simple yet irresistible treat that brings warmth and nostalgia to any moment. With their rich peanut butter flavor and delicate texture, they’re sure to become a favorite in our cookie rotation. Whether we’re baking for a special occasion or just satisfying a sweet craving, these meltaways deliver every time.
By following the recipe and tips shared, we can enjoy perfectly tender cookies that stay fresh longer. Pairing them with milk, coffee, or ice cream adds an extra layer of enjoyment. Let’s keep these delightful cookies on hand to brighten up our day whenever we need a little comfort and sweetness.
Frequently Asked Questions
What are Peanut Butter Meltaways?
Peanut Butter Meltaways are soft, buttery cookies with a rich peanut butter flavor and a melt-in-your-mouth texture. They combine simple ingredients and evoke nostalgic homemade treats.
What ingredients do I need to make Peanut Butter Meltaways?
You’ll need all-purpose flour, powdered sugar, baking powder, salt, creamy peanut butter, unsalted butter, and vanilla extract. Optional add-ins include chopped peanuts, mini chocolate chips, and sea salt flakes.
What tools are essential for baking these cookies?
You’ll need mixing bowls, an electric mixer, measuring cups, a sifter, a baking sheet, parchment paper or a silicone mat, a cookie scoop, and a cooling rack. Optional tools include a pastry blender and small bowls for toppings.
How do I prepare the dough properly?
Measure ingredients accurately, cream wet ingredients until fluffy, gradually mix in dry ingredients without overmixing, and form uniform dough balls. Prepare any optional add-ins before mixing.
What is the baking temperature and time?
Preheat the oven to 350°F (175°C) and bake the cookies for 10–12 minutes until the edges are set but the centers remain soft.
How should I store Peanut Butter Meltaways?
Cool cookies completely, then store in an airtight container. Layer with parchment paper to prevent sticking. Keep at room temperature up to a week or freeze for longer storage. Avoid refrigeration to prevent drying.
What are some serving suggestions for these cookies?
Serve with cold milk, hot coffee, or vanilla ice cream. They also pair well with fresh berries, honey drizzle, or as dessert sandwiches with chocolate hazelnut spread.
Can I customize the Peanut Butter Meltaways?
Yes! Add chopped peanuts, mini chocolate chips, or sprinkle sea salt flakes on top for extra texture and flavor.
Are these cookies suitable for any occasion?
Absolutely. Their simple ingredients and delicious taste make them perfect for casual snacks, parties, or holiday gatherings.
How do I ensure even baking?
Use a cookie scoop to shape uniform dough balls and space them evenly on the baking sheet to promote consistent cooking.