
Who doesn’t love the creamy, dreamy delight of homemade ice cream? With a ball maker, whipping up this frozen treat becomes a fun and interactive experience for everyone. It’s not just about the end result—it’s about shaking, rolling, and turning the process into a memory worth savoring.
Ice cream ball makers are perfect for outdoor adventures, family gatherings, or even a cozy night in. They let us ditch the bulky machines and enjoy a hands-on approach to crafting our favorite dessert. Plus, we get to control the ingredients, making it as indulgent or as wholesome as we want.
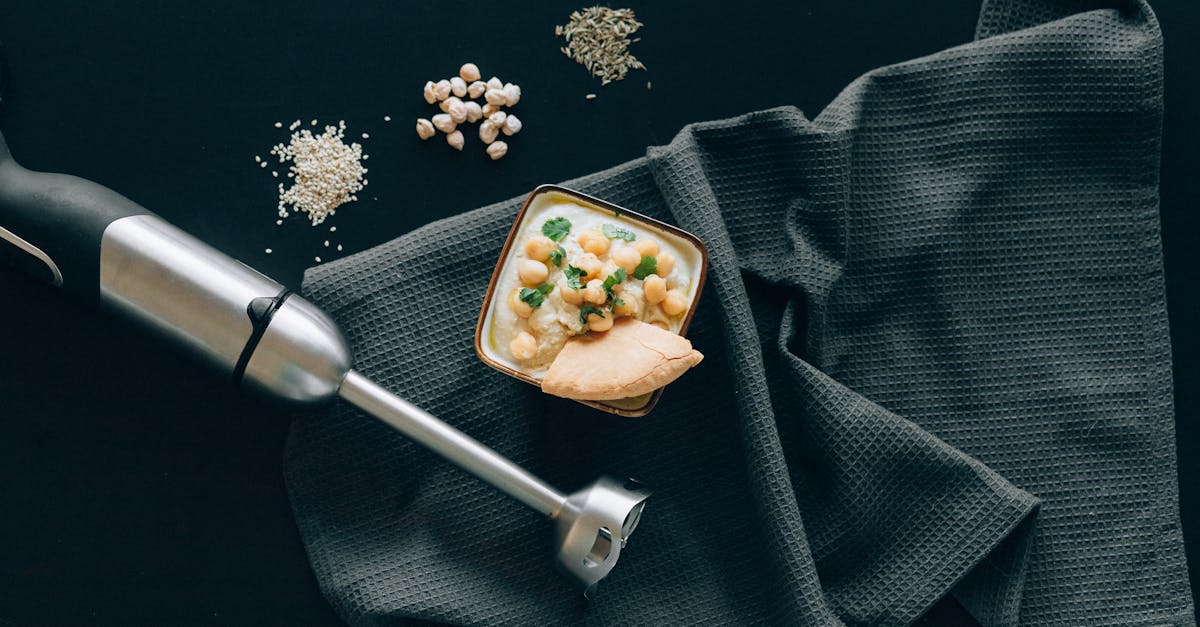
Ingredients
To make homemade ice cream with a ball maker, we need a handful of simple and fresh ingredients. These elements come together to deliver both creamy texture and balanced flavor. Here’s what we’ll use:
For the Ice Cream Base:
- 1 cup heavy cream (cold for maximum creaminess)
- 1/2 cup whole milk
- 1/4 cup granulated sugar
- 1 teaspoon pure vanilla extract (or any flavored extract of choice)
Optional Add-ins:
- 2 tablespoons mix-ins (like chocolate chips, crushed cookies, or fruit pieces)
- 1 pinch salt (for enhancing flavors)
For the Ice (External Use):
- 2 cups ice cubes (enough to fill the ice section of the ball)
- 1/3 cup rock salt (to regulate freezing temperature)
Tools And Equipment
To make delicious homemade ice cream with an ice cream ball maker, it’s crucial to gather the correct tools and equipment. Each item plays a role in ensuring the process is seamless and the results are perfect. Below is what we need:
Essential Tools
- Ice Cream Ball Maker: The star of the show! Choose a sturdy, high-quality ball maker that is durable and user-friendly.
- Measuring Cups and Spoons: For precise measurements of ingredients like heavy cream, sugar, and vanilla extract.
- Mixing Bowl: To combine the ice cream base efficiently before adding it to the ball.
- Whisk or Spoon: Needed to mix the ingredients into a smooth consistency.
- Ice Scooper or Spoon: Perfect for transferring the prepared ice cream from the ball maker to serving bowls or cones.
For the Freezing Process
- Ice Cubes: These are packed into the ball maker to initiate the freezing process.
- Rock Salt: Works alongside the ice to lower its temperature, ensuring the ice cream mixture freezes evenly.
- Towel or Gloves: Optional but helpful to protect our hands while rolling and shaking the ball, as the surface gets extremely cold.
Set-Up Checklist
Below is a quick overview table for handy reference during preparation:
| Tool/Equipment | Purpose |
|---|---|
| Ice Cream Ball Maker | Freezing and churning ice cream base |
| Measuring Cups/Spoons | Accurate measurement of ingredients |
| Mixing Bowl | Combines all ingredients efficiently |
| Whisk or Spoon | Ensures the ice cream base is smooth |
| Ice Cubes | Provides the cooling energy for the freezing process |
| Rock Salt | Lowers the ice temperature for a creamy texture |
| Towel or Gloves | Prevents hands from getting cold during shaking/rolling |
By keeping this equipment list ready, we ensure every step—from preparation to freezing—is enjoyable and efficient.
Directions
Let’s dive into the step-by-step process of making delightful ice cream using an ice cream ball maker. With a little preparation and hands-on fun, we’ll craft a decadent treat in no time!
Prep
- Gather Tools and Ingredients: Make sure you have the ice cream ball maker, a whisk or spoon, mixing bowl, measuring cups and spoons, ice cubes, and rock salt ready. Grab your base ingredients and any mix-ins you plan to use.
- Chill Ingredients: If possible, chill the heavy cream, milk, and mixing bowl ahead of time. Cold ingredients help the freezing process.
- Set Up a Rolling Space: Choose a flat, open area to roll the ball maker. Place towels or gloves nearby to protect hands from the cold ball surface.
Making The Ice Cream Mixture
- In a mixing bowl, combine:
- 1 cup of heavy cream
- 1 cup of whole milk
- ½ cup of granulated sugar (adjust to taste)
- 1 tsp pure vanilla extract
- Whisk the mixture until the sugar fully dissolves. The texture should feel smooth without any granules.
- Add your optional mix-ins like chocolate chips, crushed cookies, or fruit chunks if desired. Stir gently to incorporate.
Using The Ball Maker
- Open the two chambers of the ice cream ball maker.
- Pour the prepared ice cream mixture into the smaller inner chamber. Be careful not to overfill; leave a little space for expansion.
- In the larger chamber, add ice cubes and rock salt in alternating layers. Refer to the table below for quantities:
| Ingredient | Amount Required |
|---|---|
| Ice Cubes | Fill to ¾ of the chamber |
| Rock Salt | About ½ cup |
- Securely close both chambers, ensuring no leaks.
Freezing The Ice Cream
- Begin shaking and rolling the ball maker. Shake vigorously for 5 minutes, then roll it on the floor or a flat surface for 10-15 minutes.
- Open the ball maker and check the ice cream consistency. Scrape the mixture off the sides with a spoon or spatula if necessary.
- If needed, add more ice and rock salt to the larger chamber and roll again for another 5-10 minutes.
- Once frozen to your desired consistency, carefully scoop out the creamy ice cream and serve immediately.
Tips For Success
Making ice cream with an ice cream ball maker is as enjoyable as it is rewarding. Follow these expert tips to ensure your ice cream is irresistibly creamy, perfectly flavored, and easy to achieve every time.
Achieving The Perfect Consistency
To achieve the creamy and smooth restaurant-quality texture we all crave, precision and technique are key. Here are our top tips:
- Chill Ingredients: Always chill your base mixture in the refrigerator for at least 1-2 hours before pouring it into the ball maker. Cold ingredients freeze faster, reducing ice crystal formation.
- Proper Ice and Rock Salt Ratio: Maintain a ratio of 3 parts ice to 1 part rock salt in the outer chamber for optimal freezing efficiency. Here’s a quick reference:
| Ice Amount | Rock Salt Amount |
|---|---|
| 3 cups | 1 cup |
| 6 cups | 2 cups |
- Shake and Roll Evenly: Roll the ball continuously on a flat surface and shake it vigorously every 2-3 minutes to evenly freeze the mixture. Avoid letting the ball sit still for too long.
- Check Consistency Frequently: After about 10-12 minutes of rolling, open the chamber to check the texture. If the ice cream is not fully set, reseal and continue rolling for another few minutes.
Pro Tip: Use a towel or wear gloves while handling the ice cream ball. This prevents your hands from getting too cold while rolling and shaking.
Flavor Variations
Customizing your ice cream flavors is one of the most exciting parts of using a ball maker. Here’s how to jazz up your ice cream base:
- Fruity Twists: Add 1/2 cup of fresh fruit puree like strawberry, mango, or peach to the base mixture. For a chunky texture, fold in diced fruit during the last 5 minutes of the freezing process.
- Chocolate Indulgence: Mix 1/4 cup of cocoa powder into the base or swirl in 1/3 cup of melted chocolate for a rich treat. Add mini chocolate chips or brownie chunks for extra decadence.
- Nutty & Crunchy: Stir in 1/4 cup of chopped nuts like almonds, pistachios, or pecans for a satisfying crunch. To enhance the flavors, lightly toast the nuts beforehand.
- Specialty Combos: Try unique pairings like salted caramel and pecan, matcha and white chocolate, or coffee and hazelnut. Add syrups or flavor extracts (1–2 teaspoons) to create these gourmet combinations.
Note: Keep mix-ins small in size, so they don’t interfere with the freezing process. Always fold them in gently to maintain an even distribution.
Serving Suggestions
When our homemade ice cream is ready, it’s time to elevate the experience with creative and thoughtful serving ideas. Whether we’re hosting friends or enjoying a quiet treat, here are some delicious ways to serve ice cream crafted in a ball maker:
Classic Scoops
- Use an ice cream scoop to portion out perfectly round servings. Place the scoops in sturdy waffle cones or bowls for a timeless presentation.
- Add a drizzle of hot fudge, caramel sauce, or honey for decadence.
Sundae Bar
- Set up a DIY sundae bar so everyone can personalize their creation.
- Offer a variety of toppings like:
- Chopped nuts
- Fresh berries
- Shredded coconut
- Mini marshmallows
- Sprinkles
- Provide whipped cream, maraschino cherries, and sauces in small bowls to complete the bar.
Seasonal Pairings
Pair the ice cream with seasonal desserts:
- Serve warm apple pie or brownies with a scoop of cold ice cream for a contrasting texture.
- During summer, top the ice cream with fresh tropical fruits like mangoes or kiwis.
Fun Containers
- Use edible bowls like:
- Chocolate cups
- Cookie cups
- Hollowed-out fruit like half a pineapple or a coconut shell.
- For a playful spin, try serving it in a clear mason jar layered with crushed cookies and sauce.
Milkshake or Float
Transform the ice cream into a milkshake by blending it with whole milk, or create a root beer float by combining scoops of vanilla ice cream with chilled root beer. Try this with other soda flavors for variety.
Elegant Touch
- Elevate dessert night with a plated presentation. Arrange scoops on a plate with artistic drizzles of sauce.
- Add gourmet garnishes like edible flowers, mint leaves, or chocolate curls.
Portion Guide for Serving
| Number of Guests | Suggested Amount of Ice Cream |
|---|---|
| 1-2 Guests | 2-3 Scoops Each |
| 4-6 Guests | 1 Quart (4 Cups) |
| 8-10 Guests | 2 Quarts (8 Cups) |
Storage Instructions
Proper storage is crucial to maintain the creamy texture and flavor of our homemade ice cream. While the fresh batch can be enjoyed immediately, there are times when we want to save some for later. Here’s how to store it effectively using simple but important techniques:
Step 1: Transfer to an Airtight Container
Once the ice cream reaches the desired texture, remove it from the ball maker and immediately transfer it to a freezer-safe, airtight container. Use a container made of plastic or glass with a well-sealing lid to prevent ice crystals from forming.
- We recommend shallow containers to freeze the ice cream uniformly.
- Avoid storing in the ball maker itself, as it is not designed for long-term storage.
Step 2: Smooth Out the Surface
Use a spatula to smooth the surface of the ice cream. Press down lightly to eliminate any air pockets, as trapped air leads to freezer burn. For added protection:
- Cover the surface with a layer of plastic wrap or parchment paper. This acts as a barrier against crystals forming on the ice cream.
Step 3: Label and Date
Always label your container with the flavor and date of preparation. Homemade ice cream is best consumed within two weeks to enjoy optimal flavor and texture. You can track freshness easily with labels.
Step 4: Proper Freezing Placement
Store the container in the coldest part of the freezer, ideally at 0°F (-18°C) or below. Avoid placing it on the freezer door where temperatures tend to fluctuate. Keeping it in the back ensures the ice cream maintains its consistency.
| Storage Tips | Details |
|---|---|
| Temperature | Maintain at 0°F (-18°C) or colder |
| Airtight Container | Prevent ice crystals and maintain taste |
| Consumption Timeframe | Best enjoyed within 2 weeks |
| Freezer Location | Place in the coldest part, avoid fluctuating temperature |
Step 5: Thawing for Serving
When ready to serve, allow the container to sit at room temperature for 5–10 minutes. This makes the ice cream scoopable without compromising its creamy texture. Avoid leaving it out for too long, as frequent thawing and refreezing can disrupt the texture.
Conclusion
Making ice cream with a ball maker is more than just a recipe; it’s an experience that brings creativity and fun to the process. From choosing your favorite flavors to rolling and shaking the ball, every step adds a personal touch to your dessert.
With the right tools, fresh ingredients, and a bit of effort, we can create creamy, delicious ice cream that’s perfect for any occasion. Whether it’s a family gathering or a solo treat, the joy of crafting your own ice cream is unmatched.
Let’s embrace the hands-on approach and turn every ice cream-making session into a memorable activity. The possibilities for flavors, textures, and presentations are endless, ensuring there’s always something new to try.
Frequently Asked Questions
What is an ice cream ball maker?
An ice cream ball maker is a fun, interactive tool that allows you to make homemade ice cream by manually rolling or shaking it. It has compartments for the ice cream mixture and freezing agents like ice and rock salt, making the process enjoyable for all ages.
What ingredients do I need to make ice cream using a ball maker?
You’ll need heavy cream, whole milk, granulated sugar, and vanilla extract for the base. Optional mix-ins like chocolate chips or fruit can be added. You’ll also need ice cubes and rock salt for freezing.
How does the ball maker freeze the ice cream?
The ice cream ball maker uses ice and rock salt to create a freezing environment. The salt lowers the freezing point of ice, which helps the mixture freeze as you roll or shake the ball.
How long does it take to make ice cream with a ball maker?
It typically takes about 20–30 minutes of rolling or shaking for the ice cream to freeze, depending on the consistency you prefer and the temperature of the ingredients.
Can I use any mix-ins for my ice cream?
Yes! You can add mix-ins like fruits, chocolate chips, nuts, or cookie crumbles. Just ensure they’re chopped small and evenly distributed in the ice cream mixture.
Do I need special tools for using an ice cream ball maker?
Besides the ball maker, you’ll need basic tools like measuring cups, a mixing bowl, a whisk or spoon, and towels or gloves to protect your hands from the cold during rolling.
How should I store homemade ice cream?
Transfer the ice cream to an airtight container. Smooth the surface to remove air pockets, label it with the date, and store it in the coldest part of your freezer for the best texture and flavor.
How can I customize my ice cream flavors?
Experiment with flavors by adding fruit purees, flavored extracts, syrups, or mix-ins like candies or nuts. You can also try unique combinations, such as mint chocolate or strawberry cheesecake.
What are some creative serving ideas for homemade ice cream?
Serve classic scoops in cones, create a DIY sundae bar with toppings, or pair ice cream with desserts like pies. You can also use edible bowls or mason jars for a fun twist.
Can children use an ice cream ball maker?
Yes, with supervision, children can safely use an ice cream ball maker. It’s a fun and interactive activity that’s perfect for family involvement while teaching them the basics of making ice cream.