
Who knew a humble saltine cracker could pack such a flavorful punch? Our dill pickle saltines are the perfect snack for pickle lovers craving something tangy, salty, and irresistibly crunchy. This recipe takes the simplicity of saltines and transforms them into a bold, zesty treat that’s hard to put down.
Inspired by the classic dill pickle flavor we all adore, this snack is quick to make and perfect for everything from game nights to road trips. With just a few pantry staples, we can whip up a batch of these addictive crackers in no time. They’re so good, we might just find ourselves reaching for seconds (or thirds).
Dill Pickle Saltines Recipe
Transforming simple saltines into a zesty, addictive snack has never been easier. Follow our step-by-step guide to make these tangy and flavorful dill pickle saltines perfect for snack time or entertaining guests.
Ingredients
Here’s what we’ll need for this recipe:
- 1 pack of saltine crackers (approximately 40 crackers)
- ½ cup of vegetable oil (or canola oil, for coating evenly)
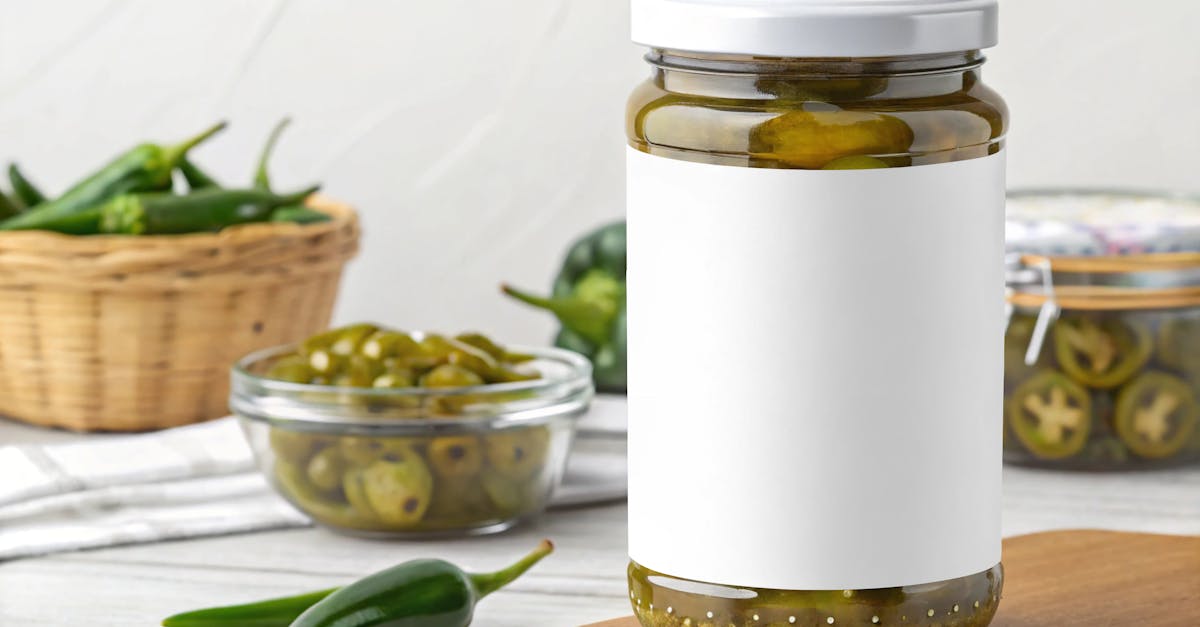
- 1.5 tbsp of dill pickle juice (fresh from the jar for that intense flavor)
- 1 tsp of dried dill weed (adds an herbaceous kick)
- ½ tsp of garlic powder (optional, for a hint of savory garlic)
- ½ tsp of onion powder (enhances the depth of flavor)
- ¼ tsp of ground black pepper
- A pinch of sea salt (optional, as crackers are already salted)
Pro Tip: Use freshly shaken pickle juice from your favorite dill pickle brand for the best flavor punch.
Step-by-Step Instructions
1. Prepare the Seasoning Mix
In a small mixing bowl, whisk together the vegetable oil, dill pickle juice, dried dill weed, garlic powder, onion powder, black pepper, and a pinch of sea salt (if using). Ensure the mixture is well-combined and looks emulsified.
2. Arrange the Crackers
Place the saltine crackers in a single layer on a large baking sheet or in a resealable gallon-sized plastic bag for coating. Make sure they don’t overlap to ensure even coverage.
3. Coat the Crackers
If using the baking sheet, slowly drizzle the seasoning mix over the crackers, flipping them gently to coat each side. If using the bag, pour the seasoning mix over the crackers, seal the bag, and carefully shake or toss it to distribute the flavors evenly.
Quick Reference Table for Timing:
| Step | Time (Approx.) |
|---|---|
| Mixing seasoning | 5 minutes |
| Coating crackers | 5 minutes |
| Resting (optional) | 10 minutes |
Tip: Letting the crackers rest for 10 minutes before baking allows the flavors to soak in more thoroughly.
4. Bake for Crispiness
Preheat your oven to 250°F (120°C). Transfer the crackers onto a lined baking sheet if coated in a bag. Spread them out in a single layer. Bake for 10-15 minutes, flipping halfway through to ensure they crisp up evenly without burning.
5. Cool and Serve
Remove the crackers from the oven and let them cool completely for maximum crunchiness. Once cool, serve them in a bowl or store in an airtight container for up to a week.
Ingredients
To prepare these zesty dill pickle saltines, we’ll need a handful of everyday pantry essentials and a few bold flavors to perfect that tangy pickle twist. Here’s what you’ll need:
Main Ingredients:
- 1 sleeve of saltine crackers (approximately 40 crackers)
- 1/3 cup of vegetable oil
- 3 tablespoons of dill pickle juice (freshly shaken for maximum taste)
- 1 teaspoon of dried dill weed
- 1/2 teaspoon of garlic powder
- 1/2 teaspoon of onion powder
- 1/4 teaspoon of salt (optional, as saltines are already salty)
- 1/4 teaspoon of cracked black pepper
Optional Add-ons for Extra Flavor:
- 1/4 teaspoon of smoked paprika for a hint of smokiness
- A pinch of red pepper flakes for light heat
Pro Tip: Using fresh pickle juice straight from the jar ensures that the brine is packed with the bold, tangy essence we need for this recipe. Always give the jar a good shake first! Store-bought brine can be a handy alternative if homemade isn’t available.
Each ingredient has a pivotal role in balancing the crunchy, tangy, and savory flavor profile of these irresistible crackers.
Tools And Equipment
To ensure the best experience when making these zesty dill pickle saltines, having the right tools and equipment is essential. Here’s a detailed breakdown of what we need to prepare and bake this crunchy, savory snack efficiently:
Essential Tools:
- Mixing Bowl: A medium-sized bowl to mix the dill pickle juice, oil, and seasonings uniformly.
- Whisk or Fork: For blending the ingredients smoothly and ensuring even seasoning distribution.
- Baking Sheet: A flat, rimmed baking sheet to spread the crackers evenly during baking.
- Parchment Paper or Non-stick Foil: To line the baking sheet and prevent the crackers from sticking or over-browning.
- Measuring Cups and Spoons: Precise measurements ensure the right flavor balance in the recipe.
- Silicone Spatula: Handy for coating the crackers with the mixture without breaking them.
- Wire Rack: Optional but ideal for allowing the crackers to cool evenly post-baking.
Optional Add-ons:
Depending on your preferences or setup, these additional tools can make preparation smoother:
- Seal-tight Container or Zip-top Bags: If we want to shake the crackers with the seasoning mix instead of folding them manually.
- Pastry Brush: For layering a fine, even coating of pickle juice mixture on crackers.
Quick Reference Table:
| Tools | Purpose | Optional/Essential |
|---|---|---|
| Mixing Bowl | To combine dill pickle seasoning mixture | Essential |
| Whisk or Fork | For blending the mixture thoroughly | Essential |
| Baking Sheet | To evenly bake the crackers | Essential |
| Parchment Paper | Prevents sticking and supports even baking | Essential |
| Measuring Tools | For accuracy in seasoning ratios | Essential |
| Silicone Spatula | To mix and coat crackers gently | Essential |
| Wire Rack | Ensures even cooling after baking | Optional |
| Seal-tight Container | To shake the crackers with seasoning easily | Optional |
| Pastry Brush | For precise seasoning application | Optional |
Using these tools ensures that our dill pickle saltines are flavor-packed and maintain their delectable crunch. Having the right gear doesn’t just simplify the process—it elevates the quality of this delightful snack.
Directions
Creating these zesty dill pickle saltines is both simple and satisfying. Follow this step-by-step guide to transform everyday crackers into a tangy and flavorful snack.
Prep
- Preheat the oven to 250°F for a low, slow bake that ensures crispiness.
- Line a baking sheet with parchment paper or non-stick foil to prevent sticking and make cleanup effortless.
- Arrange 1 sleeve of saltine crackers (about 40) in a single layer on the prepared baking sheet. Ensure there’s enough space between crackers for even coating.
Season The Crackers
- In a large mixing bowl, combine:
- 4 tablespoons vegetable oil
- 3 tablespoons dill pickle juice (freshly shaken for maximum flavor)
- 1 teaspoon dried dill weed
- ½ teaspoon garlic powder
- ½ teaspoon onion powder
- Add optional seasonings like ¼ teaspoon smoked paprika or a pinch of red pepper flakes for extra zest.
- Whisk or stir until all ingredients are emulsified into a smooth, fragrant mixture.
- Carefully drizzle the mixture over the crackers, ensuring even coverage. Use a silicone spatula or gently toss the crackers in the bowl to make sure every piece is coated in the flavorful blend.
Bake
- Place the coated crackers into the preheated oven.
- Bake for 15–20 minutes. Keep an eye on them to ensure they don’t overbrown but become lightly golden and crispy.
- Halfway through baking, gently flip the crackers using a fork or tongs for an even bake.
Cool And Store
- After removing from the oven, transfer the crackers to a wire rack or leave them on the baking sheet to cool completely. This step ensures they retain their crunch without becoming soggy.
- Once cooled, store the crackers in an airtight container or a zip-top bag to maintain freshness. They can last up to 1 week if stored properly, though they’re often devoured well before then.
Serving Suggestions
Our dill pickle saltines are a versatile snack that pairs beautifully with a variety of dishes and beverages. Here are some serving ideas to make the most of these zesty and crunchy treats:
1. Snack Boards and Appetizers
Arrange them on a charcuterie board alongside sliced cheeses, cured meats, and fresh veggies. The tangy kick from the dill pickle flavor complements both sharp and creamy cheese varieties, like cheddar or brie. For extra pizzazz, add a small bowl of dill pickle dip or ranch dressing for dunking.
2. Party and Game Night Bites
These saltines are the ultimate crowd-pleaser for game nights or casual gatherings. Serve them in a decorative bowl or basket as a standalone crunchy treat or as part of a snack spread. Their bold flavor is sure to spark conversations (and keep hands reaching for more).
3. Soup and Chili Pairing
Use these crackers to accompany warm, hearty dishes like tomato soup, chicken noodle soup, or spicy chili. Their crunchy texture and tangy seasoning provide a delightful contrast to the comforting warmth of a bowl of soup.
4. Grown-Up Pairings with Drinks
- Pair these crackers with cold beer; their salty, vinegary notes enhance the crisp bitterness of lagers or IPAs.
- For wine enthusiasts, try them with a light Sauvignon Blanc or dry rosé to balance the tangy and herbaceous dill flavors.
- Non-alcoholic options like sparkling water with lime or cucumber-infused water also match perfectly with the salty, zesty taste!
| Drinks | Dill Pickle Saltines Pairing Notes |
|---|---|
| Beer (Lagers, IPAs) | Complements the salty, tangy notes |
| Sauvignon Blanc | Balances the dill herbaceousness |
| Sparkling Water | Enhances the light, crisp flavors |
5. Add Them as a Salad Topping
Crumble the dill pickle saltines over fresh leafy salads as a substitute for croutons. They add a delightful crunch and tang that lifts the flavor profile of any salad. A simple garden salad or a zesty coleslaw pairs especially well.
6. On-the-Go Snack
Pack these in resealable bags or airtight containers for road trips, lunches, or everyday snacking. They’re sturdy enough to toss into a bag, making them a convenient tangy treat for busy days.
With their endless pairing possibilities, these crackers are an all-around hit for both casual and formal settings. Whether you’re enjoying them solo or elevating a dish, our dill pickle saltines always pack a flavorful punch.
Make-Ahead And Storage Tips
When it comes to dill pickle saltines, these tangy snacks are as convenient to store as they are to prepare. Proper storage ensures that they retain their bold flavor and satisfyingly crispy texture. Here’s how we can plan ahead and keep these crackers fresh:
Preparing in Advance
Making dill pickle saltines ahead of time is a breeze. Since these crackers store well, we can easily whip up a batch days before an event or snack craving strikes. After baking and cooling them completely, follow these steps:
- Let Them Cool Properly: Ensure the crackers are fully cooled to room temperature before transferring to storage containers. Any residual warmth will create condensation, leading to sogginess.
- Layer for Protection: To prevent breakage, layer the crackers gently with wax or parchment paper in an airtight container.
- Avoid Overcrowding: Place the crackers in a single layer or limit stacking to avoid crushing or uneven flavors.
Best Storage Practices
The secret to preserving the freshness of dill pickle saltines is all in the storage. Use an airtight container for the best results. Here’s a quick-reference table:
| Storage Method | Container Type | Shelf Life | Notes |
|---|---|---|---|
| Room Temperature | Airtight container | Up to 1 week | Keep away from moisture and direct sunlight. |
| Refrigerator | Airtight container | Up to 2 weeks | Ideal for humid climates to prevent sogginess. |
| Freezer (Optional) | Freezer-safe bag | Up to 1 month | Thaw at room temperature for crispiness. |
Prolonging Freshness
If planning to keep the crackers for more than a few days, follow these helpful tips:
- Reheat for Crunch: If the crackers lose a bit of their crispiness, pop them onto a baking sheet and reheat in an oven preheated to 250°F for 5-8 minutes.
- Avoid Excess Heat: Store the crackers away from kitchen appliances like ovens or stoves, as warmth can degrade their texture and flavor.
- Use Pickle Spice Mix Sparingly When Reheating: If adding extra seasoning for reheated crackers, avoid overdoing it to keep a balanced flavor.
Conclusion
Dill pickle saltines are a snack that effortlessly combines bold flavors with irresistible crunch. Whether you’re preparing for a party, a cozy night in, or just craving something tangy and satisfying, these crackers deliver every time. They’re easy to make, versatile, and perfect for sharing—or keeping all to yourself.
With just a few simple ingredients and tools, you can create a treat that’s as fun to make as it is to eat. So grab your favorite pickle juice, fire up the oven, and let’s turn ordinary saltines into something extraordinary.
Frequently Asked Questions
What are dill pickle saltines?
Dill pickle saltines are a flavorful snack made by coating saltine crackers with a mixture of dill pickle juice, vegetable oil, and seasonings, then baking them until crispy. They combine tangy, salty, and crunchy elements, perfect for pickle lovers.
What ingredients do I need to make dill pickle saltines?
You’ll need saltine crackers, dill pickle juice, vegetable oil, dried dill weed, garlic powder, onion powder, and optional seasonings like smoked paprika or red pepper flakes for extra flavor. These common pantry items make the recipe easy to prepare.
How long do dill pickle saltines stay fresh?
When stored in an airtight container, dill pickle saltines stay fresh for up to a week at room temperature, two weeks in the refrigerator, or up to a month in the freezer.
Can I make dill pickle saltines ahead of time?
Yes! Prepare and bake the crackers as instructed, cool them fully, and store them in an airtight container. They’re great for prepping in advance for parties or on-the-go snacks.
What tools do I need to make dill pickle saltines?
You’ll need a mixing bowl, whisk or fork, baking sheet, parchment paper, and measuring tools. Optional tools like a silicone spatula or wire rack make preparation easier.
How should I store dill pickle saltines?
Store dill pickle saltines in an airtight container, layering them with parchment or wax paper to avoid breakage. Keep them at room temperature, in the refrigerator, or even freeze them for longer storage.
Can I customize the flavor of dill pickle saltines?
Absolutely! Add seasonings like smoked paprika, red pepper flakes, or ranch seasoning for a unique twist. The recipe is versatile and can be adjusted to suit your preferences.
What are some pairing suggestions for dill pickle saltines?
Dill pickle saltines pair well with charcuterie boards, soups, salads, and dips like hummus or cream cheese spreads. For drinks, try cold beer, Sauvignon Blanc, or sparkling water.
How do I ensure the crackers are evenly coated with seasoning?
Make sure to whisk the seasoning mixture thoroughly before coating the crackers. Toss the crackers gently but thoroughly for even distribution of the mixture.
Can I re-crisp dill pickle saltines if they soften?
Yes, you can reheat them in the oven at a low temperature (250°F) for a few minutes to restore their crispiness without overcooking.