
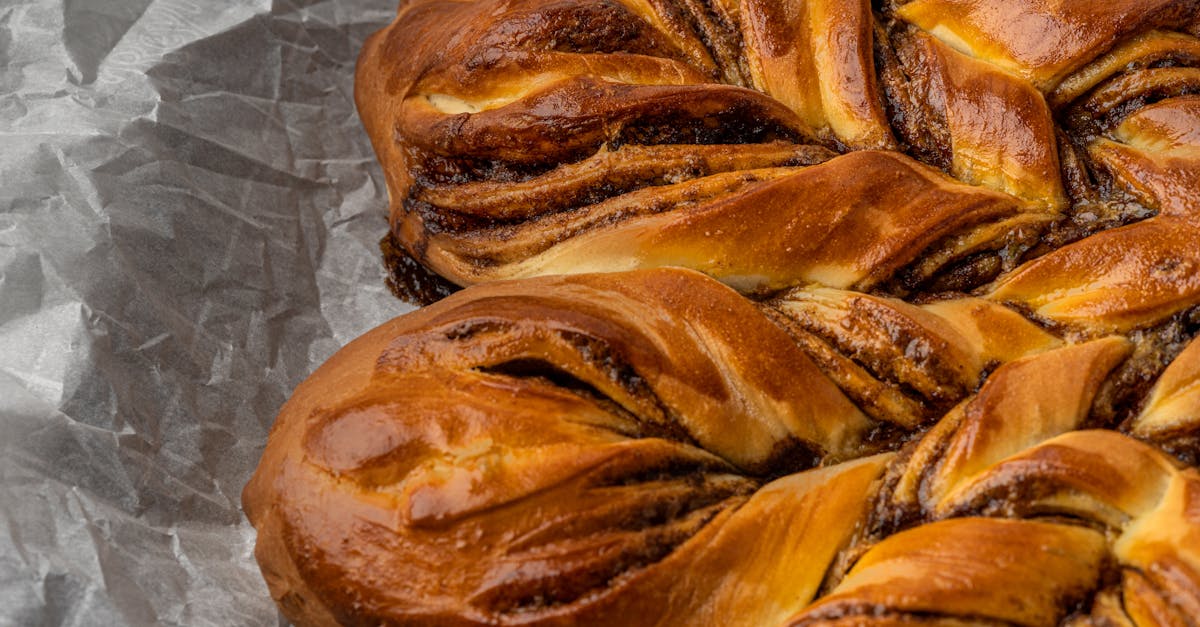
There’s something magical about divinity candy—it’s light, airy, and melts in your mouth like a sugary cloud. When we add chocolate to the mix, it transforms this classic treat into an irresistible confection that feels decadent yet familiar. Perfect for holidays, special occasions, or just because, chocolate divinity is a sweet indulgence we can’t resist.
This Southern-inspired candy has been a favorite for generations, often making appearances on festive dessert tables. Its delicate texture and rich cocoa flavor make it a standout among traditional sweets. While it may seem fancy, making chocolate divinity at home is easier than you’d think, and the results are oh-so-worth it.
Chocolate Divinity Recipe
Let’s dive into the details of how to create this southern-inspired chocolate confection. Follow our step-by-step guide to achieve a perfectly light, fluffy, and chocolaty divinity candy at home.
Ingredients
- 2 cups granulated sugar
- ½ cup light corn syrup
- ½ cup water
- 2 large egg whites (room temperature)
- 6 oz semi-sweet chocolate chips (melted and slightly cooled)
- 1 tsp vanilla extract
- Pinch of salt
- Optional: ½ cup chopped pecans or walnuts (for crunch)
Instructions
- Prepare Your Workspace:
Line a baking sheet with parchment paper or wax paper. Set it aside to hold the divinity once scooped.
- Melt the Chocolate:
Melt the semi-sweet chocolate chips in a microwave-safe bowl in 20-second intervals. Stir between each interval to avoid overheating. Let it cool slightly while you move on to making the sugar mixture.
- Cook the Sugar Syrup:
In a medium saucepan, combine sugar, corn syrup, and water. Stir to combine, then place over medium-high heat. Heat the mixture, stirring gently, until the sugar dissolves completely.
- Attach a candy thermometer to the saucepan. Cook the syrup without stirring until it reaches 260°F (hard ball stage). This step is crucial for the right consistency.
- Whip the Egg Whites:
While the syrup is cooking, beat the egg whites and a pinch of salt in a stand mixer on medium speed until stiff peaks form.
- Combine Sugar Syrup with Egg Whites:
Once the syrup reaches 260°F, reduce the mixer speed to low. Gradually pour the hot syrup into the whipped egg whites in a steady stream.
- Tip: Aim for the side of the bowl to prevent instantly cooking the whites.
- Incorporate Chocolate:
Increase the mixer speed to high and continue beating until the mixture becomes thick and fluffy. Add the melted chocolate and vanilla extract. Mix just until combined.
- Fold In Optional Nuts:
If using pecans or walnuts, gently fold them into the mixture with a spatula. This adds a delicious crunch to the candy.
- Shape the Divinity:
Using two spoons or a cookie scoop, drop the thick mixture onto the prepared baking sheet in small mounds. Work quickly because the candy can set fast.
- Let It Set:
Allow the divinity to sit at room temperature until firm, approximately 1-2 hours. Test with your finger to ensure it’s no longer sticky.
Notes for Perfect Results
| Key Step | Details for Success |
|---|---|
| Sugar Syrup Temp | Ensure it reaches exactly 260°F (hard ball stage) for structure. |
| Melted Chocolate Temp | Let the melted chocolate cool slightly to prevent deflation. |
| Whipping Technique | Achieve stiff peaks to incorporate enough air for fluffiness. |
Ingredients
For crafting this delectable chocolate divinity, we’ll need a combination of simple pantry staples and a few specialized items. Each component plays a crucial role in achieving the light yet rich texture of this candy. Measure everything carefully before starting to ensure smooth preparation.
Here’s what we’ll need:
- 2 ½ cups granulated sugar
Creates the structure and sweetness for the divinity base. - ½ cup light corn syrup
Helps prevent graininess by stabilizing the sugar and keeping the candy smooth. - ½ cup water
Essential for dissolving the sugar and forming the syrup. - 2 large egg whites, room temperature
Whipped to stiff peaks, these provide the airy, melt-in-your-mouth texture. - 1 cup semi-sweet chocolate chips
Melted to infuse rich, deep chocolate flavor into the divinity. - 1 teaspoon pure vanilla extract
Adds warmth and rounds out the sweetness. - ¼ teaspoon salt
Balances the flavors and enhances the chocolate notes. - Optional: ½ cup chopped pecans or walnuts
For a bit of crunch and added texture, though these can be omitted if you prefer.
Tools Needed:
Although making divinity is straightforward, having the right tools on hand will streamline the process. Here’s what we suggest:
| Tool | Purpose |
|---|---|
| Candy thermometer | To ensure the sugar syrup reaches the perfect 260°F (hardball stage). |
| Heavy-bottomed saucepan | Provides even heat distribution for the syrup. |
| Electric stand or hand mixer | Essential for whipping the egg whites to stiff peaks. |
| Parchment paper | Prevents sticking when shaping the divinity. |
| Heatproof spatula or spoon | For easy mixing and folding of ingredients. |
Let’s gather everything to set ourselves up for candy-making success.
Tools And Equipment
When it comes to making the perfect chocolate divinity, having the right tools and equipment is just as important as using quality ingredients. Below is a comprehensive list of essential items that ensure smooth, precise, and effortless candy-making.
1. Candy Thermometer
A candy thermometer is critical for monitoring the sugar syrup’s temperature. Achieving the right consistency requires heating the syrup precisely to 260°F (hard-ball stage). Opt for a thermometer with an easy-to-read display and secure clips to attach it to the saucepan.
2. Heavy-Bottomed Saucepan
For even heat distribution, use a heavy-bottomed saucepan. This prevents scorching when cooking sugar, which is crucial for maintaining the smooth, melt-in-your-mouth texture of the divinity. Select a 2- or 3-quart saucepan to avoid boil-overs.
3. Electric Mixer with Whisk Attachment
Beating the egg whites to stiff peaks is one of the most important steps in making chocolate divinity. A stand mixer with a whisk attachment is ideal due to its steady speed and power. If using a hand mixer, ensure it has multiple speed settings for proper control.
4. Parchment Paper or Silicone Baking Mat
Setting the spooned divinity onto a non-stick surface is essential. Use parchment paper or a silicone baking mat to ensure the candy doesn’t stick as it cools and sets.
5. Heatproof Spatula or Wooden Spoon
A heatproof spatula or wooden spoon helps in mixing the melted chocolate and sugar syrup efficiently. Make sure the spatula can withstand high heat to prevent damage during the process.
6. Measuring Cups and Spoons
Accurate measurements are the cornerstone of candy-making. Use dry and liquid measuring cups along with measuring spoons to ensure precision with sugar, syrup, water, and chocolate quantities.
7. Medium-Sized Bowls
Mixing bowls are required for melting chocolate and beating egg whites. Opt for heatproof bowls when handling warm ingredients like melted chocolate.
8. Cooling Rack (Optional)
While not mandatory, a cooling rack placed under parchment paper can improve airflow, helping the candies set more evenly.
Here’s a quick reference for required tools:
| Essential Tools | Purpose |
|---|---|
| Candy Thermometer | Monitors sugar syrup temperature accurately. |
| Heavy-Bottomed Saucepan | Ensures even heat distribution. |
| Electric Mixer (Whisk) | Whips egg whites to the needed peaks. |
| Parchment Paper/Silicone Mat | Provides a non-stick surface for cooling. |
| Heatproof Spatula | Mixes hot ingredients safely. |
| Measuring Cups/Spoons | Guarantees precise ingredient ratios. |
| Medium-Sized Bowls | Used for mixing and melting. |
| Cooling Rack (Optional) | Assists in even candy setting. |
Equipping yourself with these tools gives you confidence and control over each step of the process. With everything ready, crafting the perfect chocolate divinity candy becomes an enjoyable and achievable experience.
Directions
Follow these step-by-step instructions to create the perfect chocolate divinity. Precision is key, so ensure your ingredients and tools are prepared before starting.
Prep
- Line your workspace by placing parchment paper or a silicone baking mat on a flat surface for the divinity to set later.
- Measure and prepare all the ingredients:
- Chop any optional nuts if you’re using them.
- Separate the egg whites, ensuring there’s no yolk mixed in.
- Have the candy thermometer ready for monitoring temperature.
Make The Syrup
- In a heavy-bottomed saucepan, combine:
- 2 ½ cups of granulated sugar
- ½ cup of light corn syrup
- ½ cup of water
- A pinch of salt
- Place the saucepan over medium heat and stir gently until the sugar dissolves.
- Attach the candy thermometer to the side of the pan without letting it touch the bottom. Let the syrup cook undisturbed until it reaches 260°F, the hard-ball stage. This step typically takes around 8-10 minutes.
Whip The Egg Whites
- As the syrup cooks, use an electric mixer to whip:
- 2 large egg whites
- Beat on medium-high speed until stiff peaks form. The mixture should hold its shape when the beater is lifted. Avoid over-whipping, as it can affect the candy’s texture.
Combine And Mix
- For this step, extra care is essential:
- Slowly pour the hot sugar syrup into the whipped egg whites in a thin, steady stream while continuing to beat at medium speed.
- Be cautious to avoid splattering as the syrup is extremely hot.
- Once all the syrup is incorporated, increase the mixer speed to high and beat until the mixture begins to lose its gloss and holds its shape, about 5-6 minutes.
Add Chocolate And Incorporate
- Melt ¾ cup of semi-sweet chocolate chips in the microwave or on the stove until smooth. Let it cool slightly but remain pourable.
- Gently fold the melted chocolate and 1 teaspoon of vanilla extract into the mixture using a heatproof spatula. Add optional chopped nuts at this stage for extra texture.
- Ensure the ingredients are thoroughly combined but don’t overmix, as the candy will set quickly from this point.
Shape The Divinity
- Use two spoons or a small cookie scoop to drop spoonfuls of the mixture onto the prepped parchment paper. Work quickly as the candy hardens as it cools.
- If desired, top each piece with a whole pecan or walnut for an elegant finish.
- Let the chocolate divinity set at room temperature for about 1-2 hours. Once firm, store in an airtight container for up to 2 weeks.
| Key Temperatures | Stages |
|---|---|
| 260°F | Hard-ball stage |
Tips For Perfect Chocolate Divinity
Crafting chocolate divinity can be a rewarding experience, but a few key tips will ensure your candy turns out light, airy, and absolutely delicious every single time. Let’s dive into some essential techniques and details you don’t want to miss:
1. Use a Candy Thermometer
Precision is everything in candy-making. The sugar syrup must reach the exact temperature of 260°F (hard-ball stage). We recommend testing your thermometer for accuracy before starting by placing it in boiling water—it should read 212°F.
2. Weather Matters
Humidity is not a candy-maker’s friend. Always prepare chocolate divinity on a dry day. High humidity can cause the candy to remain sticky and fail to set properly. If you live in a humid area, consider running a dehumidifier in your kitchen or waiting for a drier day.
3. Prep Everything Before Starting
Time is of the essence in this recipe, so have all your ingredients measured and prepped before you begin. This includes lining your workspace with parchment paper and setting out tools like your candy thermometer, electric mixer, and heatproof spatula.
4. Perfectly Whipped Egg Whites
Egg whites are the backbone of chocolate divinity’s signature texture. Beat them until they form stiff peaks. If under-whipped, the candy won’t hold its shape. It’s best to use an electric mixer on medium-high speed for this step.
5. Work Quickly and Confidently
Once you combine the hot syrup with the egg whites, you must act fast. Continuously mix until the candy thickens and starts to lose its gloss—it will set rapidly. Have your tools ready to spoon or pipe the candy onto parchment paper without delay.
6. Incorporate Add-Ins Thoughtfully
If you’re adding chopped nuts, ensure they’re toasted and cooled beforehand. This enhances their flavor while preventing them from softening the candy. Fold them into the mixture gently but swiftly to keep the airy texture intact.
7. Cooling Time
Allow the candy to fully set at room temperature. Resist the temptation to refrigerate it, as this can alter its texture. Generally, chocolate divinity is ready within 2 hours of shaping.
8. Storage for Freshness
For the best flavor and texture, store your divinity in an airtight container at room temperature. Layer the pieces with wax or parchment paper to keep them from sticking together. Properly stored, chocolate divinity stays fresh for up to two weeks.
Quick Reference Table for Key Tips
| Tip | Key Details |
|---|---|
| Candy Thermometer | Ensure syrup reaches 260°F (hard-ball stage). |
| Avoid Humidity | Make candy on a dry day to prevent stickiness. |
| Prep Ingredients | Measure and prep all items in advance. |
| Whipping Egg Whites | Beat to stiff peaks for airy texture. |
| Add Nuts/Extras | Use toasted, cooled nuts; fold gently. |
| Storage | Store in an airtight container for up to 2 weeks. |
Storing And Make-Ahead Instructions
When it comes to maintaining the light, airy texture of our chocolate divinity, proper storage is essential. Follow these tips to keep your homemade candy fresh and delicious for as long as possible.
Storing Chocolate Divinity
- Airtight Container: Place the fully set chocolate divinity in an airtight container. This helps prevent moisture and air from compromising the texture.
- Layer with Parchment Paper: If stacking candies, separate the layers with parchment or wax paper to avoid sticking.
- Room Temperature Location: Store the container in a cool, dry place at room temperature. Avoid areas prone to heat or humidity, as these conditions can cause the candy to soften or become sticky.
- Shelf Life: Chocolate divinity stays fresh for up to 2 weeks when stored correctly.
Make-Ahead Tips
Our chocolate divinity is perfect for preparing ahead of time, whether for gifting or to satisfy future cravings. Here’s how to plan:
- Batch Preparation: Make your chocolate divinity up to 2 weeks in advance. It’s an ideal candy for holidays, gatherings, or special occasions.
- Freezing Option: Although we prefer storing divinity at room temperature, it can be frozen for longer storage. Use freezer-safe, airtight containers and place parchment paper between layers. Defrost the candy gradually at room temperature to maintain its texture.
- Avoid Refrigeration: While freezing works for long-term storage, avoid refrigeration as the cold environment can make the candy sticky due to moisture condensation.
Handy Storage Overview
To simplify, here’s a quick reference for storing and preparing chocolate divinity ahead:
| Storage Method | Timeframe | Key Tips |
|---|---|---|
| Room Temperature | Up to 2 weeks | Use an airtight container; layer with parchment paper to prevent sticking. |
| Freezer | Up to 3 months | Use a freezer-safe container; thaw slowly at room temperature before serving. |
| Refrigerator | Not recommended | Can cause moisture build-up, leading to stickiness and compromised texture. |
By following these simple instructions, we can ensure that every bite of our chocolate divinity remains just as delightful as the day it was made.
Conclusion
Chocolate divinity is more than just a candy; it’s a timeless treat that brings joy to any occasion. With its delicate texture and rich chocolate flavor, it’s a recipe worth mastering. By following the tips and techniques we’ve shared, you’ll create a confection that’s as beautiful as it is delicious.
Whether you’re making it for a special gathering or simply to satisfy a sweet craving, this homemade candy is sure to impress. Let’s embrace the art of chocolate divinity and enjoy the sweet rewards it brings.
Frequently Asked Questions
What is chocolate divinity candy?
Chocolate divinity candy is a light, airy, and melt-in-your-mouth confection made with whipped egg whites, sugar syrup, and chocolate. It’s a classic Southern-inspired treat often enjoyed during special occasions or holidays.
Can I make chocolate divinity candy at home?
Yes! Despite its elegant appearance, chocolate divinity is simple to make at home following a step-by-step recipe. Key steps include reaching the correct syrup temperature of 260°F, whipping egg whites to stiff peaks, and combining ingredients properly.
What ingredients do I need to make chocolate divinity?
You’ll need granulated sugar, light corn syrup, egg whites, semi-sweet chocolate chips, and optional nuts (like pecans or walnuts) for added crunch.
How can I ensure my chocolate divinity turns out perfect?
Use a candy thermometer to monitor sugar syrup temperature (260°F) and avoid making divinity on humid days to prevent stickiness. Prep ingredients beforehand, and whip egg whites to stiff peaks for the best texture.
How do I store chocolate divinity candy?
Store chocolate divinity in an airtight container at room temperature for up to two weeks. If stacking, layer with parchment paper to prevent sticking. Avoid refrigerating due to moisture issues.
Can I freeze chocolate divinity candy for later use?
Yes, you can freeze chocolate divinity for longer storage. Place it in an airtight container with parchment paper layers, and thaw it at room temperature before serving.
Why should I avoid making chocolate divinity on humid days?
Humidity can cause the candy to become sticky and prevent it from setting properly. It’s best to make chocolate divinity on a dry day for the best results.
Can I add nuts to chocolate divinity candy?
Yes, adding nuts like toasted pecans or walnuts is a popular option for extra texture and flavor. Mix them in thoughtfully after combining the other ingredients.
How long does it take for chocolate divinity to set?
Chocolate divinity typically sets at room temperature within 1 to 2 hours. Ensure the room is dry for optimal results.
How far in advance can I make chocolate divinity?
You can make chocolate divinity up to two weeks in advance if stored correctly in an airtight container at room temperature. For even longer storage, freezing is a good option.