
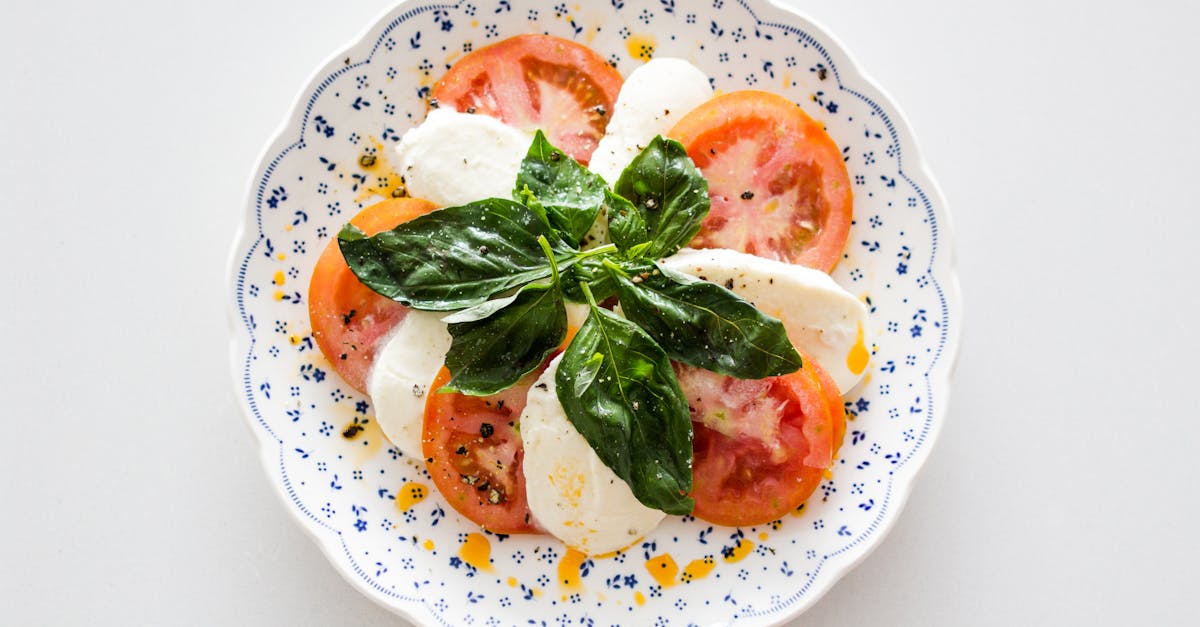
Cheese pockets are the ultimate comfort food that brings cheesy goodness wrapped in a crispy golden crust. Whether you’re looking for a quick snack or a tasty appetizer, these pockets deliver a satisfying burst of flavor with every bite. They’re perfect for busy weeknights or casual gatherings when you want something delicious and easy to make.
Originating from various cuisines that love stuffed pastries, cheese pockets have become a universal favorite thanks to their versatility. We can customize them with different cheeses or add herbs and spices to suit our taste. Plus, making them at home means we control the ingredients and avoid preservatives found in store-bought versions.
Ingredients
To craft the perfect Cheese Pockets, it is essential to gather fresh and quality ingredients. Below we break down the components into dough, cheese filling, and optional seasonings to customize our pockets to your taste.
Dough Ingredients
The foundation of every Cheese Pocket is the dough. A tender yet crispy crust calls for these staples:
- 2 ½ cups all-purpose flour
- 1 teaspoon salt
- 1 tablespoon sugar
- 2 ¼ teaspoons active dry yeast (1 packet)
- ¾ cup warm water (about 110°F)
- 2 tablespoons olive oil
Cheese Filling Ingredients
The heart of the Cheese Pockets is the melted, gooey cheese filling. We recommend a blend for depth and creaminess:
| Ingredient | Quantity | Notes |
|---|---|---|
| Mozzarella cheese | 1 ½ cups shredded | Provides stretch and melt |
| Cheddar cheese | 1 cup shredded | Adds sharp, tangy flavor |
| Cream cheese | ½ cup softened | Creates a smooth texture |
Optional Add-Ins and Seasonings
To personalize our Cheese Pockets, we can include herbs and spices that amplify flavor:
- 1 teaspoon dried oregano or Italian seasoning
- ½ teaspoon garlic powder
- ¼ cup finely chopped fresh basil or parsley (optional)
- Pinch of crushed red pepper flakes for a subtle kick
These ingredients allow us to tailor the pockets to flavor preferences while enhancing aroma and complexity.
Tools and Equipment
To make perfect Cheese Pockets, having the right Tools and Equipment is essential. These items help us prepare the dough, mix the filling, and bake the pockets evenly with a golden, crispy crust.
Essential Tools
- Mixing Bowls: Use medium and large bowls for combining dough ingredients and mixing the cheese filling separately.
- Measuring Cups and Spoons: Accurate measurements ensure consistent dough texture and balanced cheese flavor.
- Rolling Pin: We need a sturdy rolling pin to roll out the dough to an even thickness, essential for a uniform crust.
- Sharp Knife or Pizza Cutter: For cutting the dough into pocket-sized shapes before filling and sealing.
- Pastry Brush: To apply olive oil or egg wash on the dough surface for a shiny, golden finish.
- Baking Sheet: A flat, rimmed baking sheet to hold the cheese pockets during baking.
- Parchment Paper or Silicone Baking Mat: Prevents sticking and promotes even baking without extra oil.
- Oven: Preheated to the right temperature for perfectly baked crispy cheese pockets.
- Cooling Rack: Allows pockets to cool slightly with air circulation to keep the crust crisp.
Optional But Helpful
| Tool | Purpose |
|---|---|
| Stand Mixer | Speeds up dough mixing and kneading |
| Dough Scraper | Helps in handling and dividing dough |
| Food Processor | Quick dough preparation option |
| Cheese Grater | For shredding cheese evenly |
| Kitchen Scale | Precision measuring for dough ingredients |
“Using quality equipment can elevate our cooking experience and final results with Cheese Pockets.”
Equipped with these Tools and Equipment, we can confidently move forward, ensuring every cheese pocket has the ideal texture, flavor, and appearance.
Prep Instructions
To create perfect Cheese Pockets with a golden crispy crust and delectably gooey filling, precise preparation is essential. Let’s walk through the key steps for prepping the dough and cheese filling that form the foundation of this beloved snack.
Preparing the Dough
Start by activating the yeast to ensure a light and tender crust:
- In a small bowl, combine 1 cup warm water (110°F/43°C) with 1 tablespoon sugar and 2 ¼ teaspoons active dry yeast.
- Let it sit for 5-10 minutes until it becomes frothy and bubbly. This indicates the yeast is activated.
- In a large mixing bowl, whisk together 2 ½ cups all-purpose flour and 1 teaspoon salt.
- Add the yeast mixture and 2 tablespoons olive oil to the flour.
- Stir with a wooden spoon until the dough begins to come together.
- Transfer the dough to a lightly floured surface and knead for 8-10 minutes until smooth and elastic.
- Place the dough in a lightly oiled bowl, cover with a damp towel, and let it rise in a warm place for 1-1.5 hours or until doubled in size.
Pro Tip: The dough should feel soft and pliable but not sticky. If needed, add flour or water one teaspoon at a time.
Preparing the Cheese Filling
While the dough rises, prepare our irresistible cheese filling:
| Ingredient | Quantity | Preparation |
|---|---|---|
| Mozzarella cheese | 1 cup shredded | Use whole-milk for creaminess |
| Cheddar cheese | ½ cup shredded | Sharp or mild as preferred |
| Cream cheese | 4 oz (½ block) | Soften at room temperature |
| Garlic powder | ½ teaspoon | Optional, for extra flavor |
| Dried oregano | 1 teaspoon | Optional, adds aromatic notes |
| Crushed red pepper | ¼ teaspoon | Optional, for heat |
- In a medium bowl, combine the shredded mozzarella, shredded cheddar, and softened cream cheese.
- Add garlic powder, dried oregano, and crushed red pepper flakes if using.
- Mix thoroughly until the filling is smooth, creamy, and well-blended.
“A perfectly balanced cheese filling ensures every bite of our cheese pockets is bursting with flavor and rich creaminess.”
Our dough and cheese filling are now ready for assembly, guaranteeing a delicious Cheese Pockets experience every time.
Directions
Follow these clear steps to assemble, seal, and cook our cheese pockets to perfection. Each phase is designed to ensure a golden crust and a gooey cheesy center.
Assembling the Cheese Pockets
- Roll out the dough on a lightly floured surface into a 12-inch circle with about 1/8-inch thickness.
- Use a sharp knife or pizza cutter to cut the dough into squares or circles approximately 4 to 5 inches in diameter.
- Place a generous tablespoon of the cheese filling in the center of each dough piece. Avoid overfilling to prevent leakage.
- If desired, sprinkle a pinch of fresh herbs or crushed red pepper flakes over the cheese for added flavor.
Sealing the Pockets
- Lightly brush the edges of each dough piece with water or beaten egg to help the seal.
- Fold the dough over the filling creating half-moons or pockets.
- Press the edges firmly with your fingers, then use a fork to crimp and secure the seal.
- Place each sealed pocket on a parchment-lined baking sheet, spacing them about 1 inch apart.
- Brush the tops with beaten egg to encourage golden browning.
Cooking Methods
| Method | Temperature | Cooking Time | Notes |
|---|---|---|---|
| Oven Baking | 375°F (190°C) | 20-25 minutes | Bake until golden brown and crisp |
| Air Frying | 350°F (175°C) | 10-12 minutes | Flip halfway through cooking for even browning |
| Pan Frying | Medium heat | 3-4 minutes per side | Use a non-stick skillet, cook until crispy |
- For oven baking, always preheat the oven first to ensure even cooking.
- In air fryers, arrange pockets in a single layer without overlapping.
- When pan frying, use a light drizzle of olive oil to achieve a crispy crust.
Serving Suggestions
To enjoy our cheese pockets at their best we recommend pairing them with complementary sides and dips that enhance their rich, gooey texture and crispy crust. Here are some fabulous serving ideas to elevate your cheese pockets experience:
Dips and Sauces
Adding a flavorful dip transforms cheese pockets into an irresistible snack or appetizer. Consider these classic and vibrant options:
- Marinara Sauce – The tangy tomato base perfectly balances the cheesy richness.
- Garlic Aioli – Creamy with a hint of garlic, it adds depth and smoothness.
- Spicy Sriracha Mayo – For a bold kick that complements the mild cheese blend.
- Pesto Sauce – Brings a fresh herbaceous note with basil and pine nuts.
Side Accompaniments
Serve cheese pockets alongside fresh or cooked sides to create a more rounded dish suitable for lunch or light dinner:
- Crisp Garden Salad – Toss mixed greens with a lemon vinaigrette for brightness.
- Roasted Vegetables – Seasonal veggies like zucchini, bell peppers, and carrots add color and flavor contrast.
- Pickled Vegetables – Tangy pickles can cut through the richness of the cheese filling.
Beverage Pairings
Choose drinks that complement the savory and gooey profile of cheese pockets:
| Beverage Type | Notes |
|---|---|
| Sparkling Water | Cleanses the palate without overpowering the flavors. |
| Light Lager | Offers a refreshing crispness alongside the cheesy filling. |
| Dry White Wine | A Chardonnay or Sauvignon Blanc can match the richness. |
| Herbal Iced Tea | Subtle sweetness and herbal notes balance the savory taste. |
Serving Temperature
For the ideal eating experience serve cheese pockets warm—either right out of the oven or reheated briefly to restore the melty texture. Avoid letting them cool too much since the cheese filling firms up and the crust loses crispness.
“Serving freshly made cheese pockets with the right dips and sides can effortlessly turn a simple snack into a memorable meal.”
Plating Ideas for Entertaining
- Arrange cheese pockets in a circular pattern around small bowls of dips.
- Garnish with freshly chopped parsley or basil for a burst of green and aroma.
- Use decorative toothpicks to serve individual pockets as finger foods at parties.
By combining these Serving Suggestions we can enjoy cheese pockets not only as a quick treat but as a versatile crowd-pleaser ideal for any occasion.
Make-Ahead and Storage Tips
To enjoy our cheese pockets anytime without compromising flavor or texture, we recommend following these essential make-ahead and storage practices for the best results.
Make-Ahead Preparation
- Prepare Dough and Filling in Advance:
We can mix and knead the dough up to 24 hours ahead, then cover it tightly and refrigerate. The flavors will develop further, resulting in a tender yet crispy crust. Similarly, prepare the cheese filling and store it in an airtight container in the fridge.
- Assemble but Do Not Bake:
After rolling out the dough, cutting, filling, and sealing the cheese pockets, place them on a parchment-lined baking sheet. Cover tightly with plastic wrap or foil and refrigerate for up to 12 hours before baking.
- Freeze for Longer Storage:
For storage beyond a day, arrange the sealed pockets individually on a baking sheet and freeze until firm (about 1-2 hours). Then transfer them to an airtight freezer-safe bag or container. They keep well frozen for up to 3 months.
Storage Duration and Conditions
| Storage Method | Duration | Instructions |
|---|---|---|
| Refrigerated Dough | Up to 24 hours | Cover the dough with plastic wrap to prevent drying |
| Assembled, Unbaked | Up to 12 hours | Cover closely and refrigerate before baking |
| Frozen Assembled Pockets | Up to 3 months | Freeze on baking sheet first, then store in airtight container |
| Cooked Cheese Pockets | Up to 3 days | Store cooled pockets in airtight container in the refrigerator |
Reheating and Baking Tips
- Reheat Refrigerated, Unbaked Pockets:
Remove the plastic wrap, preheat the oven to 375°F (190°C), and bake for 20-25 minutes until the crust is golden and cheese is melted.
- Bake from Frozen:
Preheat oven to 375°F (190°C). Place frozen cheese pockets directly on a baking sheet lined with parchment paper. Bake for 30-35 minutes, flipping halfway through for even browning.
- Reheat Cooked Pockets:
Warm in a preheated oven at 350°F (175°C) for 10-15 minutes or use a toaster oven for a crispier texture. Avoid the microwave to retain a crisp crust.
Pro Tips for Maintaining Freshness and Flavor
- Use airtight containers or heavy-duty freezer bags to prevent freezer burn and absorption of other odors.
- Label packages with the date of freezing to keep track of freshness.
- Avoid stacking pockets while freezing to prevent them from sticking together.
- For extra crispiness after reheating, lightly brush pockets with olive oil before baking.
Conclusion
Cheese pockets bring together simplicity and flavor in a way that’s hard to resist. With the right ingredients and techniques, we can easily create these delightful snacks that satisfy cravings and impress guests. Whether baked, air fried, or pan fried, their crispy exterior and melty filling make every bite memorable.
By preparing them at home, we control the quality and customize flavors to our liking. Plus, with make-ahead and storage tips, cheese pockets are always ready when hunger strikes. Let’s keep experimenting and enjoy this versatile comfort food anytime.
Frequently Asked Questions
What are cheese pockets?
Cheese pockets are stuffed pastries filled with melted cheese and sometimes herbs or spices, featuring a crispy crust. They make a delicious snack or appetizer.
Can I customize the cheese filling?
Yes! You can mix different cheeses like mozzarella, cheddar, and cream cheese, and add herbs, garlic, or spices to suit your taste.
What ingredients are needed for the dough?
Basic dough ingredients include all-purpose flour, salt, sugar, active dry yeast, warm water, and olive oil for a tender yet crispy crust.
What tools do I need to make cheese pockets?
Essential tools include mixing bowls, measuring cups, rolling pin, sharp knife or pizza cutter, pastry brush, baking sheet, and parchment paper.
How do I ensure the dough is light and tender?
Activate the yeast properly in warm water, mix ingredients well, and allow the dough to rise in a warm environment before shaping.
What cooking methods work for cheese pockets?
You can bake, air fry, or pan fry cheese pockets. Each method requires specific temperatures and times to achieve a golden crust and gooey center.
How should I serve cheese pockets?
Serve them warm with dips like marinara, garlic aioli, or pesto. Pair with sides like salad or roasted veggies and beverages like sparkling water or light white wine.
Can I make cheese pockets in advance?
Yes, you can prepare dough and filling ahead, refrigerate or freeze assembled pockets, and bake or reheat later to maintain freshness.
How do I reheat cheese pockets without losing crispiness?
Reheat in a preheated oven or air fryer rather than a microwave to keep the crust crispy and the filling gooey.
How long can I store cheese pockets?
Refrigerated dough or unbaked pockets last up to 12 hours; frozen assembled pockets keep for up to 3 months. Cooked pockets can be refrigerated for 2-3 days.