
We love how Bisquick transforms everyday ingredients into comforting dinner casseroles that warm our hearts. From classic chicken bakes to veggie-packed creations we can’t resist the ease of mixing a quick batter that turns into a golden crust on top.
We stick to tried-and-true recipes that highlight the versatility of Bisquick while satisfying busy weeknight schedules. With just a few pantry staples we whip up hearty meals that taste like they’ve simmered all day. Our casserole routines stay delicious and fuss-free so we’re always ready to savor comforting flavors whenever hunger strikes.
Bisquick Dinner Casserole Recipes
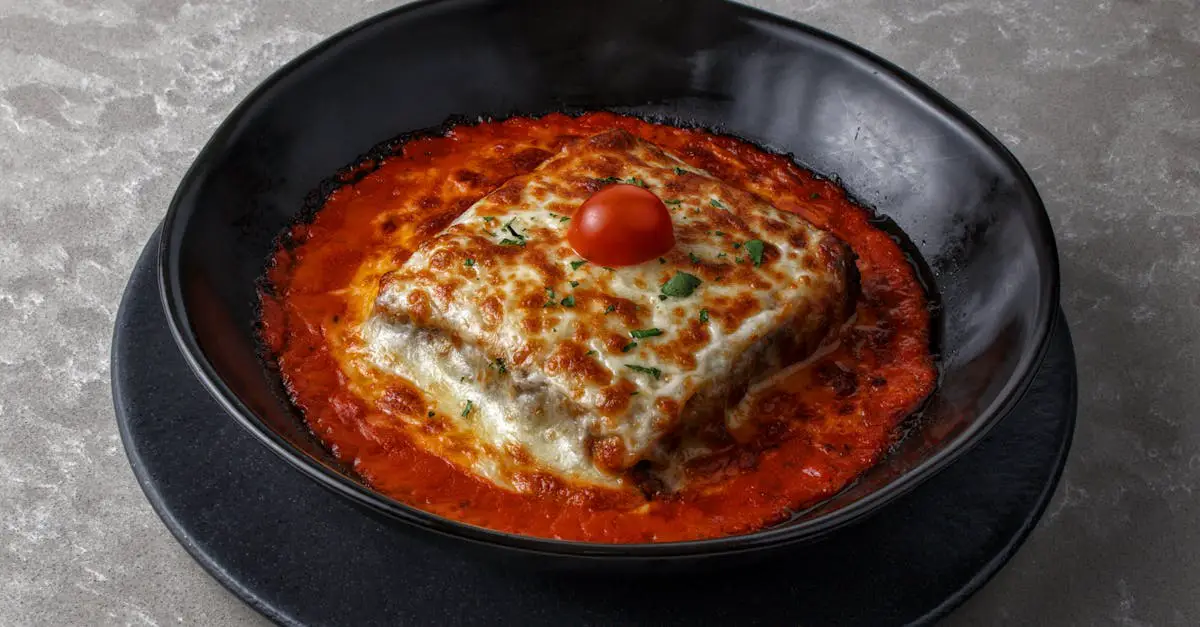
We love how Bisquick transforms everyday ingredients into hearty casseroles. Our go-to method involves a simple batter that creates a fluffy and golden topping. Below are the steps for a savory ground beef and cheese casserole that showcases the ease of this approach.
Ingredients
| Ingredient | Measurement |
|---|---|
| Ground beef | 1 pound |
| Onion (chopped) | 1 |
| Cheddar cheese | 1 cup shredded |
| Bisquick mix | 1/2 cup |
| Milk | 1 cup |
| Eggs | 2 |
| Salt | 1/2 teaspoon |
| Pepper | 1/4 teaspoon |
Step-by-Step Instructions
- Brown the ground beef in a skillet. Drain the excess fat. Stir in chopped onion. Cook until the onion softens. Season with salt and pepper.
- Spread the cooked beef mixture in a lightly greased casserole dish. Sprinkle shredded cheddar cheese across the top.
- Whisk eggs milk and Bisquick mix in a bowl until smooth.
- Pour the batter over the beef and cheese layer.
- Bake in a 400°F oven for 25 minutes. The top should turn golden and the casserole should set in the center.
- Remove from the oven. Let it rest for 5 minutes. Slice and serve while warm.
Ingredients
These are the essentials we need for our Bisquick dinner casserole. We keep them organized for easy preparation.
Dry Ingredients
| Ingredient | Quantity |
|---|---|
| Bisquick mix | 1 cup |
| Salt | ½ teaspoon |
| Pepper | ¼ teaspoon |
Toppings And Mix-Ins
| Ingredient | Quantity |
|---|---|
| Ground beef | 1 pound |
| Chopped onion | ½ cup |
| Shredded cheddar | 1 cup |
| Milk | 1 cup |
| Eggs | 2 |
Tools And Equipment
We rely on a few essential items to streamline our Bisquick dinner casserole preparation. These tools help us tackle each step with ease and confidence.
Basic Essentials
- 9×13 inch casserole dish for baking our hearty dinner casserole
- Sturdy skillet to brown our ground beef or sauté vegetables
- Large mixing bowl for combining our Bisquick batter elements
- Measuring cups and spoons for accurate ingredient portions
- Whisk or fork to blend our eggs and milk into the batter
Optional Items
- Rubber spatula for scraping every bit of batter from the bowl
- Kitchen thermometer to ensure our casserole is fully cooked
- Food processor if we want to mince onions or shred cheese quickly
Directions
- Preheat the oven to 400°F
- Lightly grease our 9×13 inch casserole dish
- Heat a sturdy skillet over medium-high heat
- Add the ground beef and chopped onion then brown the mixture until no pink remains
- Drain any excess grease
- Spread the beef mixture evenly in the casserole dish
- Sprinkle the shredded cheddar on top
- In a large mixing bowl whisk Bisquick mix milk eggs salt and pepper until smooth
- Pour this batter over the beef and cheese layers
- Place the casserole in the oven and bake until the top is golden and set
Below is a quick reference table for our baking details
| Oven Temperature | Approximate Bake Time |
|---|---|
| 400°F | 25 to 30 minutes |
We can use a kitchen thermometer to ensure the internal temperature of the casserole reaches at least 160°F. We let the dish rest for a couple of minutes before serving to lock in the flavors.
Make-Ahead And Storage
We find that Bisquick dinner casserole often tastes better the next day. That is why it is an ideal make-ahead option for busy schedules or large gatherings. We can assemble the casserole in our greased dish, then cover it and store it in the refrigerator for up to 24 hours before baking. This approach allows the flavors to mingle and ensures minimal last-minute work.
When our casserole has baked and cooled, we store leftovers in airtight containers. Leftovers stay fresh in the refrigerator and remain enjoyable for quick lunches or dinners later in the week. We have had the best results by reheating single portions in a preheated 350°F oven for about 10 minutes. This method keeps the texture light and the filling moist.
Below is a quick guide to help us keep track of storage times:
| Method | Maximum Duration |
|---|---|
| Refrigerator | Up to 3 days |
| Freezer | Up to 2 months |
When we plan to freeze the casserole, we find it helpful to wrap it tightly in plastic wrap and a layer of foil. We label it with the date to track freshness. When we are ready to enjoy our frozen casserole, we thaw it overnight in the refrigerator, then reheat it at 350°F until the center is warmed through. This allows us to keep Bisquick dinner casseroles on hand for spontaneous family dinners or cozy weeknight meals.
Conclusion
We hope these casserole ideas bring warmth and comfort to your table. Bisquick transforms ordinary ingredients into crowd pleasing dinners that fit busy schedules. Its convenience lets us enjoy hearty meals without long cooking times.
These recipes also spark creativity so we can switch up toppings or add personal favorites. Whether it’s a quick weeknight dinner or a make ahead option for gatherings we love how Bisquick helps us serve enjoyable meals with minimal fuss. Let’s keep experimenting and embrace the versatility this trusty mix provides.
Frequently Asked Questions
Why should I use Bisquick for dinner casseroles?
Bisquick is a versatile baking mix that helps create quick, fluffy casseroles. Its pre-measured blend of flour, salt, and leavening saves time and effort, allowing you to focus on flavor rather than fussing over measurements. It forms a light, golden crust that complements savory fillings, making it perfect for easy weeknight meals.
What ingredients are needed for a simple Bisquick ground beef casserole?
You’ll need ground beef, onion, shredded cheddar, Bisquick mix, milk, eggs, salt, and pepper. These basic ingredients combine into a hearty, comforting meal that bakes up with a fluffy topping.
Can I make the casserole ahead of time?
Yes. You can assemble the casserole up to 24 hours in advance and refrigerate it. Then, simply bake it when you’re ready. This is convenient for busy schedules or when you need to prepare meals for a gathering without the last-minute stress.
How do I check if my Bisquick casserole is fully cooked?
Bake at 400°F for 25 to 30 minutes, or until it’s golden brown on top. A kitchen thermometer can help ensure the casserole reaches at least 160°F in the center. This confirms the meat is safely cooked and the layers have set properly.
What tools are essential for preparing Bisquick casseroles?
Basic tools include a 9×13 inch casserole dish, a sturdy skillet for browning meat, a large mixing bowl, measuring cups and spoons, and a whisk or fork. Optional items like a kitchen thermometer and rubber spatula can help with accuracy and easier cleanup.
How do I store leftovers?
Place leftovers in an airtight container and refrigerate for up to three days. If you’d like to freeze them, store in a freezer-safe container for up to two months. This keeps the casserole fresh and ready to be reheated whenever you want a quick meal.
What’s the best way to reheat Bisquick casseroles?
For the best texture, reheat in a preheated 350°F oven for about 10 minutes. This warms the casserole evenly without drying it out. If you’re in a hurry, you can use a microwave, but watch closely to maintain moisture and avoid overcooking.