
There’s something incredibly nostalgic and satisfying about biting into a warm, flaky pop tart filled with gooey, spiced apple goodness.
While the store-bought versions hold a special place in our hearts, homemade apple pop tarts offer a level of freshness and flavor that simply can’t be matched.
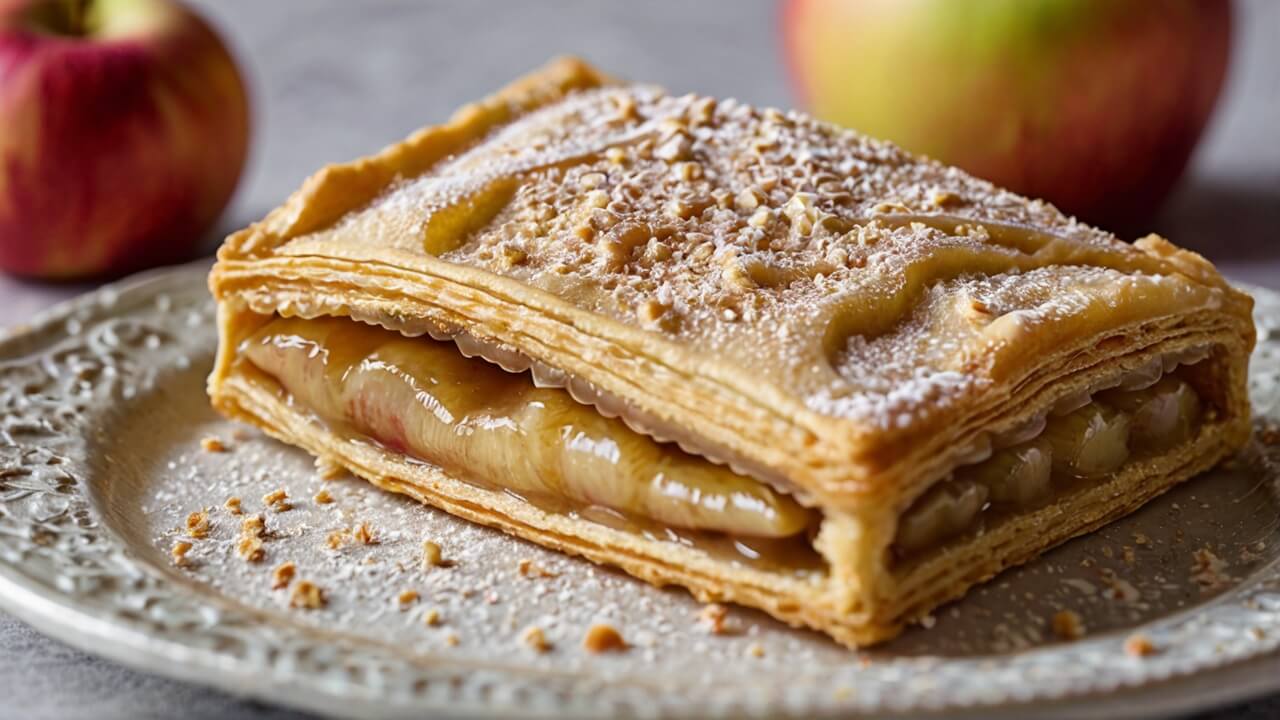
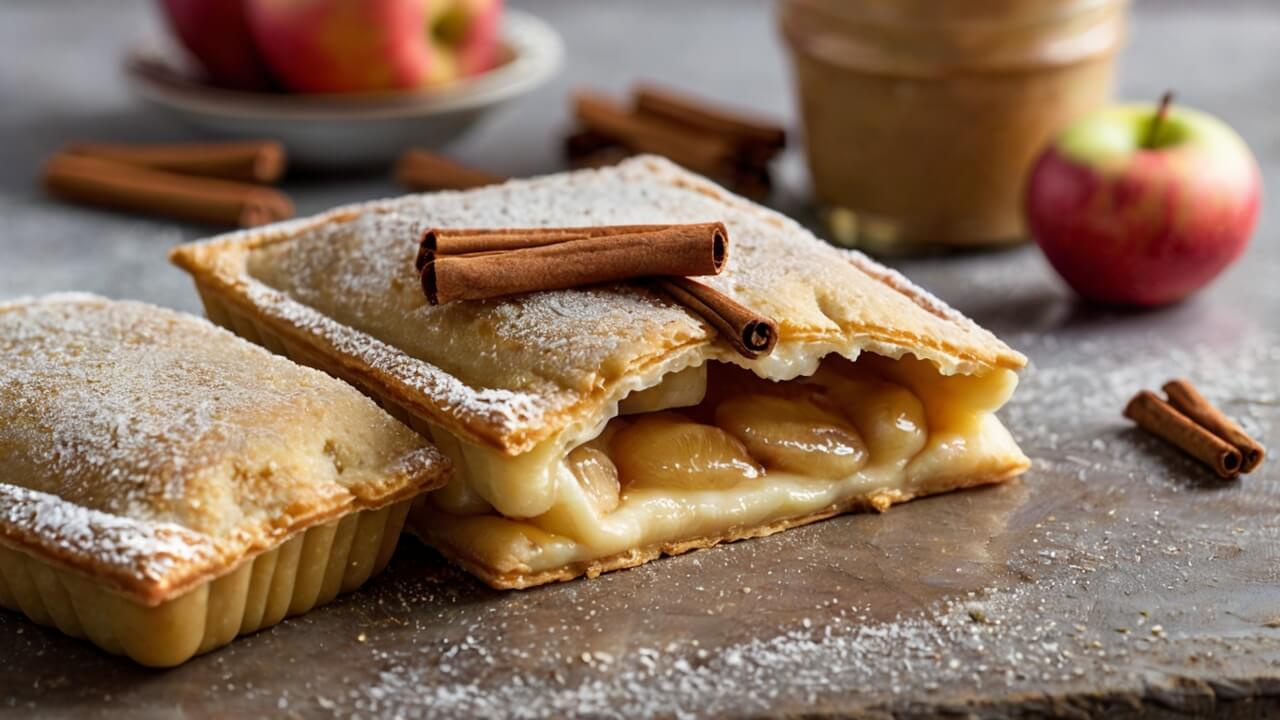
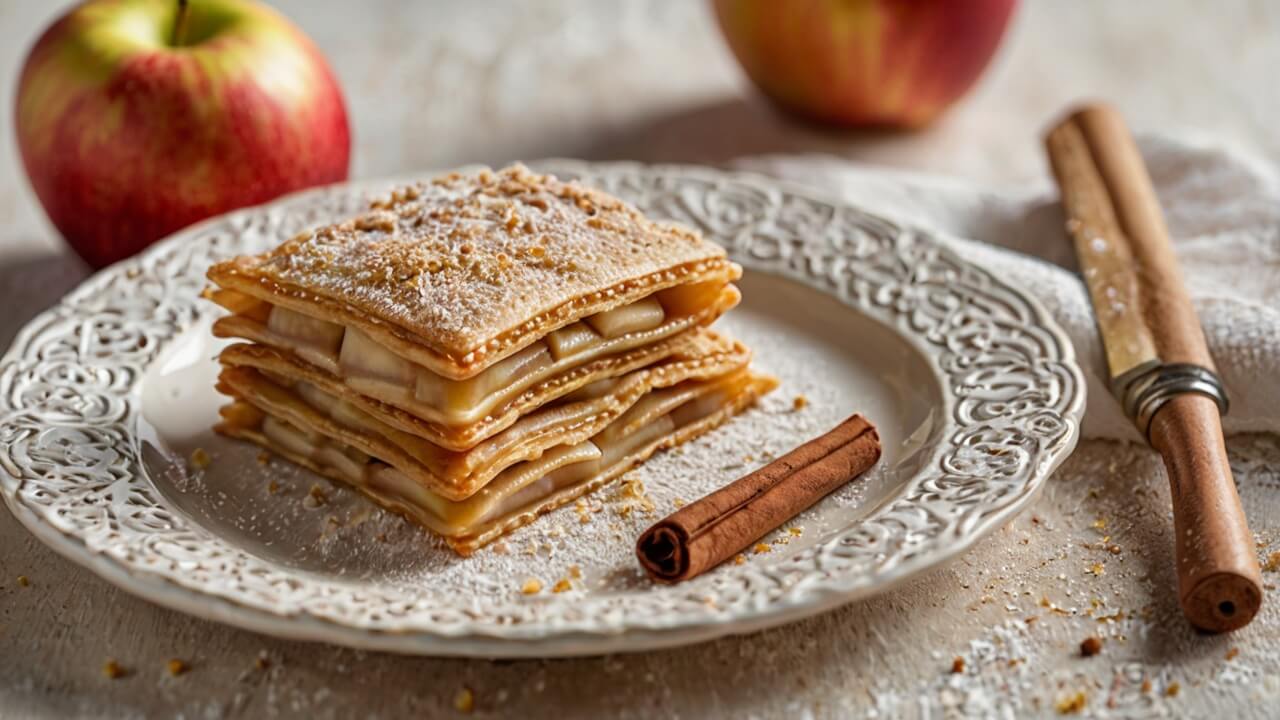
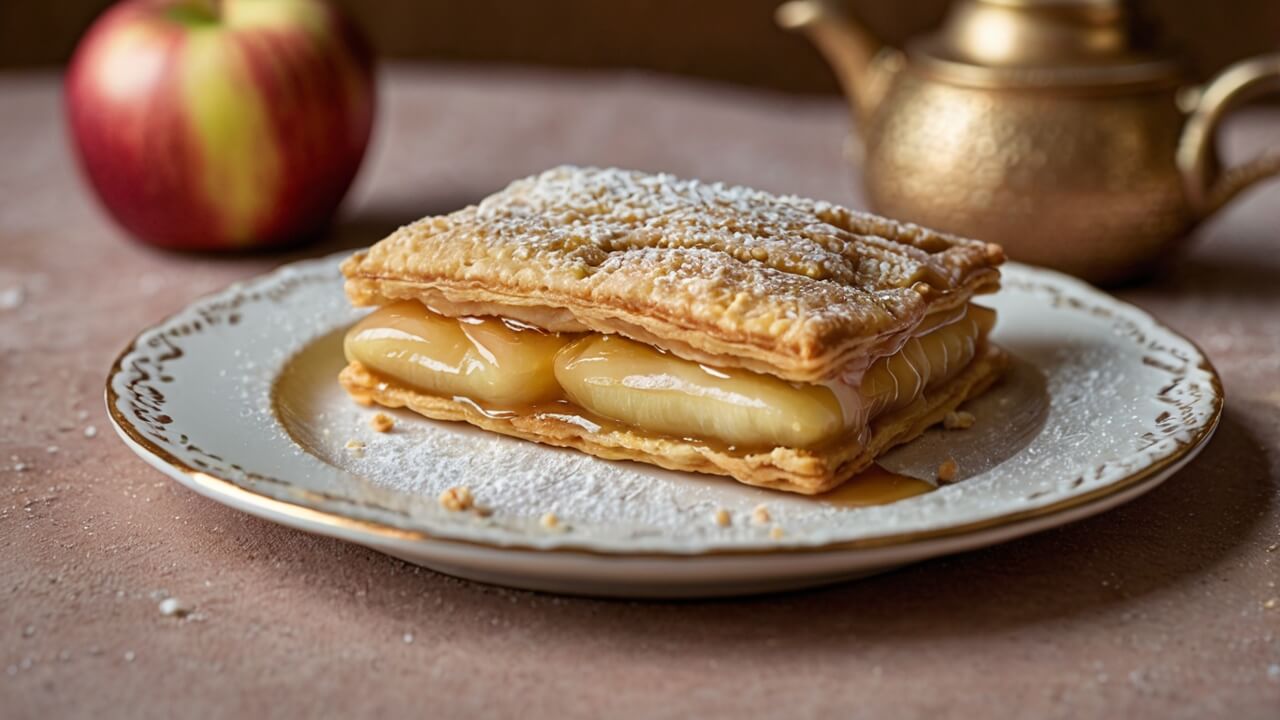
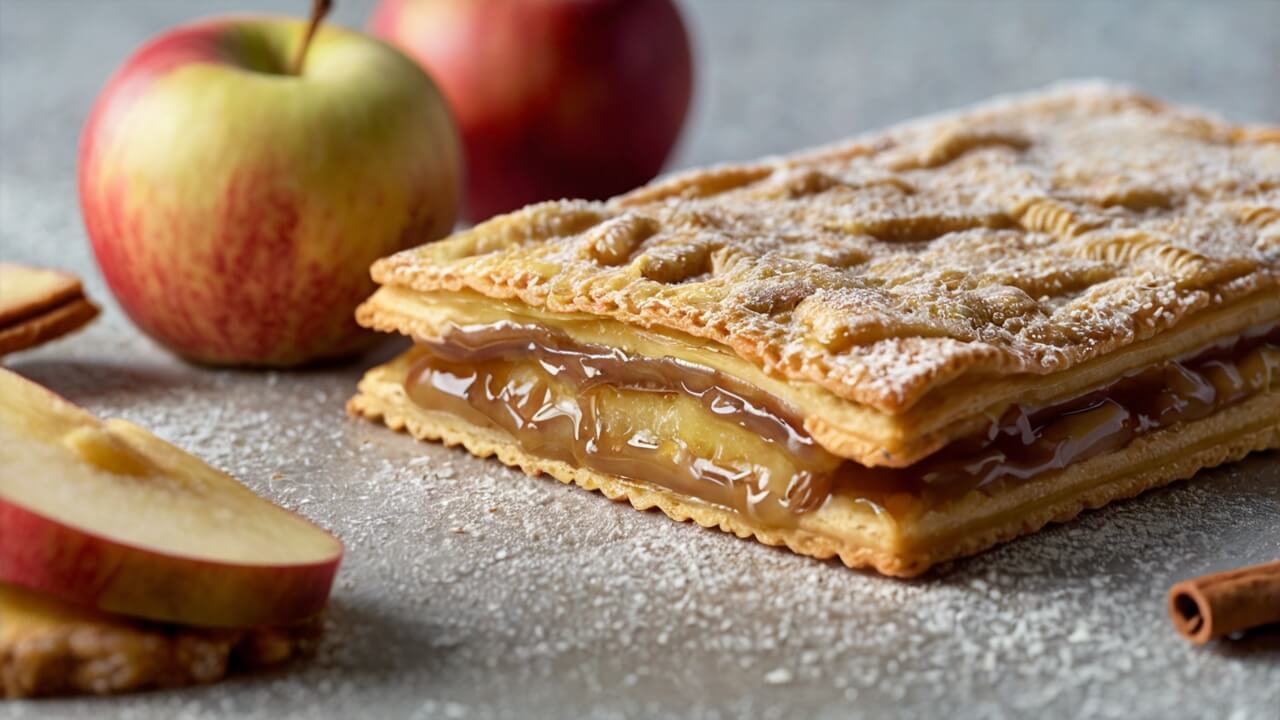
Imagine a buttery, golden crust that shatters with each bite, revealing a luscious apple filling bursting with cinnamon and brown sugar. And let’s not forget the crowning glory – a sweet, creamy cinnamon glaze that adds the perfect finishing touch.
These homemade apple pop tarts are a labor of love, but the process is surprisingly simple and incredibly rewarding.
With a few basic ingredients and some patience, you can recreate this beloved childhood treat with a gourmet twist. Prepare to be transported back to those carefree mornings, savoring each bite of this nostalgic delight.
Why You’ll Love This Recipe
There’s nothing quite like the smell of fresh-baked pastries wafting through the kitchen. With this homemade apple pop tart recipe, you’ll experience the joy of baking from scratch and savor the unbeatable taste of a warm, flaky crust filled with a spiced apple filling that bursts with flavor in every bite.
One of the greatest benefits of making pop tarts at home is the ability to control the ingredients and customize them to your liking.
Say goodbye to the preservatives and artificial flavors found in store-bought versions, and hello to the pure, natural goodness of real butter, fresh apples, and warm spices like cinnamon and nutmeg.
Not only will your kitchen be filled with the most tantalizing aromas, but you’ll also have the satisfaction of creating a nostalgic treat with your own hands.
There’s something truly special about sharing homemade goodies with loved ones, knowing that each bite is infused with love and care.
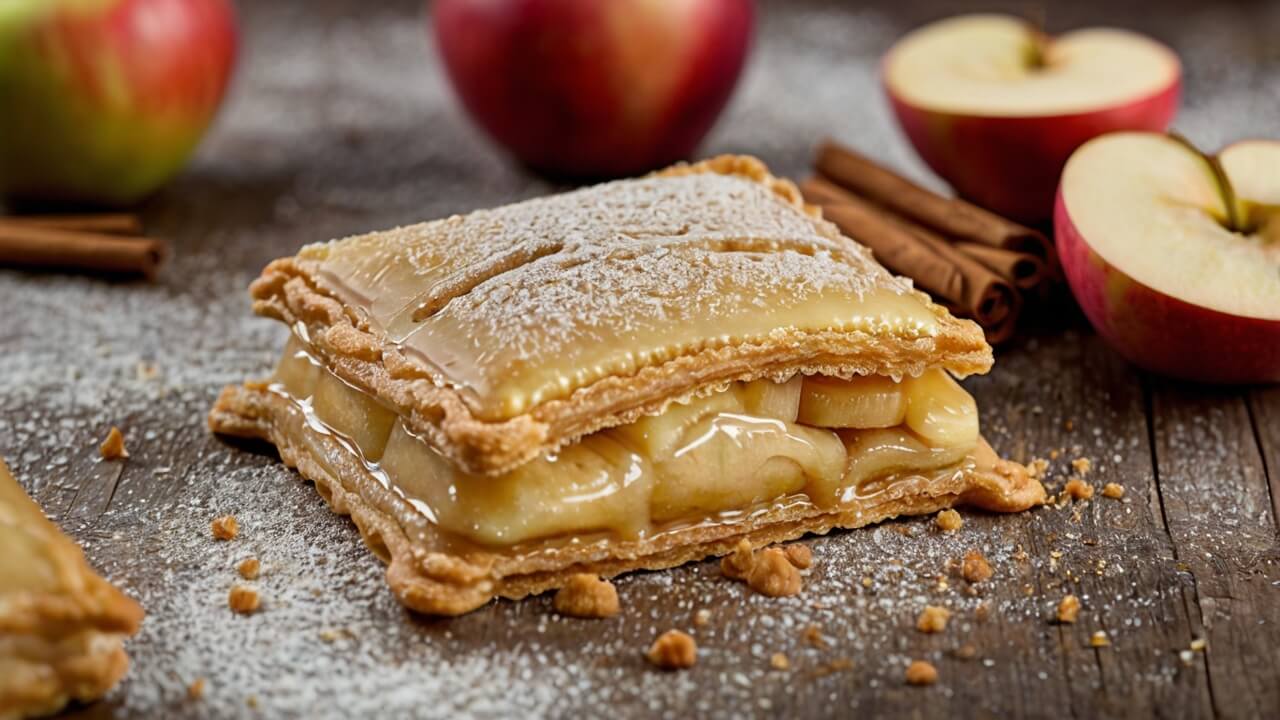
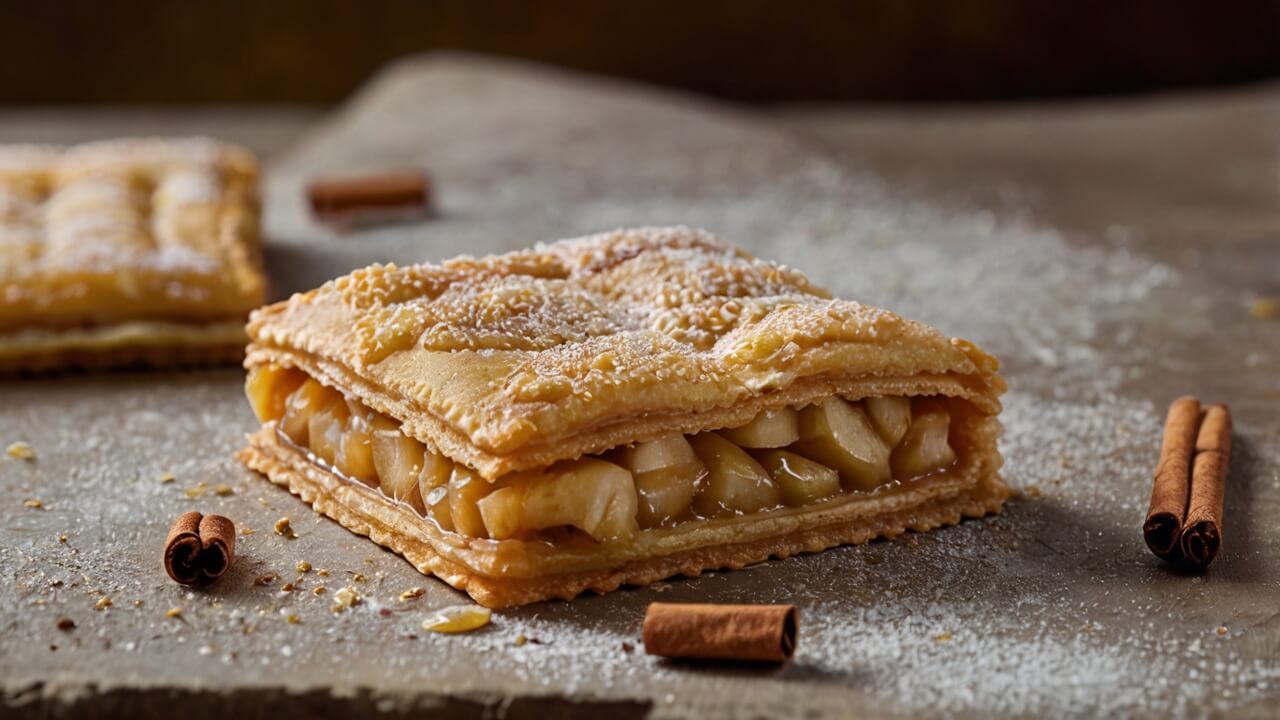
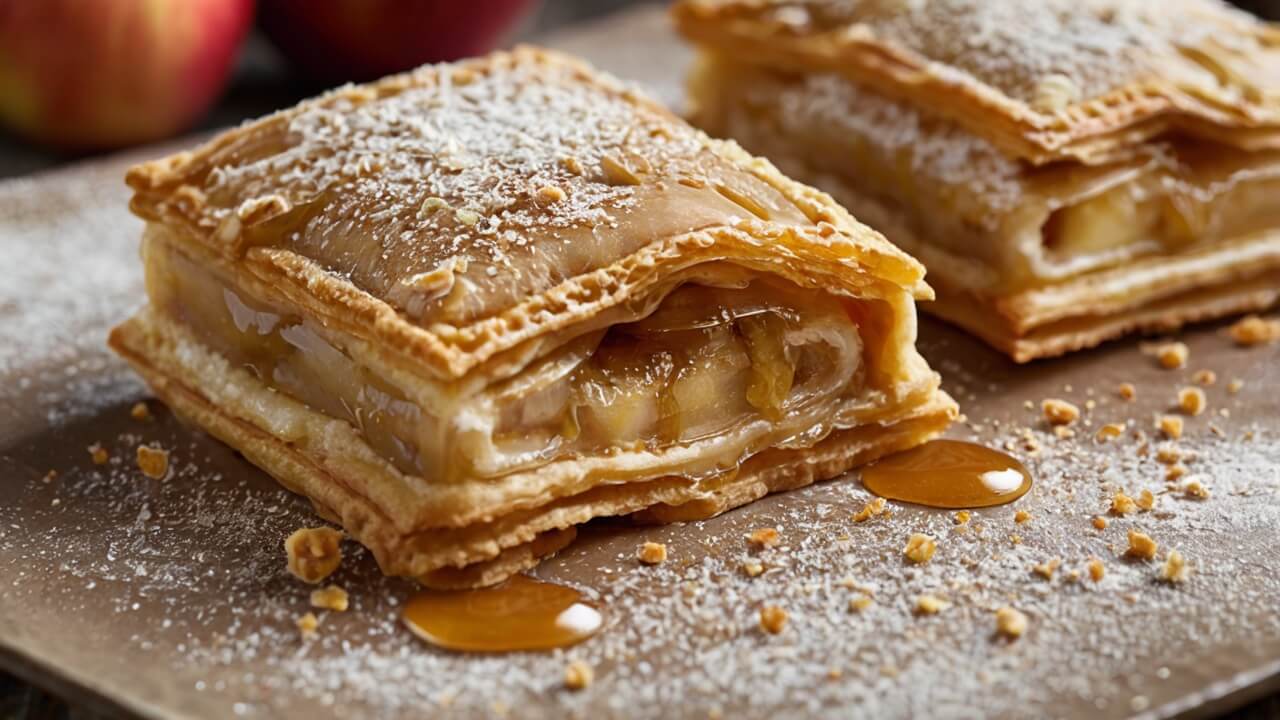
Imagine biting into a perfectly golden-brown pastry, with the flaky layers giving way to a sweet, spiced apple filling that’s been simmered to perfection.
Top it off with a drizzle of creamy cinnamon glaze, and you’ve got a dessert that’s sure to become a new family favorite.
Ingredients
For the Pastry:
- 2 1/4 cups (281g) all-purpose flour
- 1 teaspoon salt
- 1 cup (227g) unsalted butter, chilled and cubed
- 1/2 cup (120ml) ice water
For the Apple Filling:
- 3 large apples (Granny Smith or Honeycrisp), peeled, cored, and diced
- 1/2 cup (100g) brown sugar
- 2 tablespoons (16g) cornstarch
- 1 teaspoon ground cinnamon
- 1/4 teaspoon ground nutmeg
- 1/4 teaspoon ground allspice
- 1 tablespoon (15ml) lemon juice
- 1 tablespoon (14g) unsalted butter
For the Glaze:
- 1 cup (120g) confectioners’ sugar
- 2-3 tablespoons (30-45ml) milk
- 1/2 teaspoon vanilla extract
- 1/4 teaspoon ground cinnamon
Substitutions and Variations:
- For a gluten-free option, substitute the all-purpose flour with a gluten-free flour blend.
- For a vegan version, use vegan butter or coconut oil in the pastry and filling, and substitute the milk in the glaze with non-dairy milk.
- You can experiment with different apple varieties or add dried fruits, nuts, or spices to the filling for a unique twist.
Step-by-Step Instructions
Prepare the Apple Filling
- Peel, core, and slice 3-4 large apples into thin slices or small cubes. You’ll need about 4 cups of sliced apples.
- In a saucepan, combine the apples, 1/2 cup brown sugar, 1 teaspoon cinnamon, 1/4 teaspoon nutmeg, 1/4 teaspoon salt, and 2 tablespoons water. Cook over medium heat, stirring frequently, until the apples are tender and the liquid has thickened, about 10-12 minutes.
- In a small bowl, whisk together 2 tablespoons cornstarch and 2 tablespoons water to create a slurry. Pour the slurry into the saucepan with the apples and stir until the mixture thickens to your desired consistency.
- Remove the apple filling from heat and let it cool completely before using it in the pop tarts.
Expert Tip: For a smoother filling, you can mash or purée the cooked apples before adding the cornstarch slurry.
Prepare the Pastry Dough
- In a large bowl, whisk together 2 1/4 cups all-purpose flour, 1 teaspoon salt, and 1 tablespoon sugar.
- Cut in 1 cup (2 sticks) of cold unsalted butter using a pastry cutter or two forks until the mixture resembles coarse crumbs with pea-sized pieces of butter remaining.
- Gradually add 1/4 to 1/2 cup of ice water, mixing with a fork until the dough starts to come together. Avoid overmixing.
- Turn the dough out onto a lightly floured surface and knead it briefly until it forms a smooth ball.
- Divide the dough in half, shape each half into a disk, and wrap them in plastic wrap. Refrigerate for at least 30 minutes before rolling out.
Expert Tip: Keep the dough and ingredients as cold as possible for the flakiest crust. Work quickly and handle the dough as little as possible.
Assemble the Pop Tarts
- Roll out one disk of dough on a lightly floured surface to a rectangle about 1/8-inch thick.
- Cut the dough into rectangles using a pizza cutter or a sharp knife. You should have an even number of rectangles.
- Place a spoonful of the cooled apple filling onto half of the rectangles, leaving a small border around the edges.
- Brush the edges of the filled rectangles with water or an egg wash to help seal the pop tarts.
- Place the remaining dough rectangles on top of the filled ones and use a fork to crimp and seal the edges.
- Transfer the assembled pop tarts to a parchment-lined baking sheet and refrigerate for at least 30 minutes before baking.
Expert Tip: Use a fork to poke a few holes in the top of each pop tart to allow steam to escape during baking.
Bake the Pop Tarts
- Preheat your oven to 400°F (200°C).
- Brush the chilled pop tarts with an egg wash or milk for a golden brown finish.
- Bake for 18-22 minutes, or until the pop tarts are golden brown and the filling is bubbling.
- Remove from the oven and let cool on the baking sheet for 5 minutes before transferring to a wire rack to cool completely.
Expert Tip: For an extra flaky crust, brush the tops of the baked pop tarts with melted butter as soon as they come out of the oven.
Prepare the Glaze
- In a small bowl, whisk together 1 cup of confectioners’ sugar, 2-3 tablespoons of milk or cream, and 1/2 teaspoon of vanilla extract until the desired consistency is reached.
- Add more milk or sugar as needed to adjust the thickness of the glaze.
- Drizzle the glaze over the cooled pop tarts using a spoon or a piping bag.
- Let the glaze set for about 10 minutes before serving.
Expert Tip: For a cinnamon glaze, add 1/2 teaspoon of ground cinnamon to the glaze mixture.
Expert Tips
Handling the Dough:
- Work quickly with the dough to prevent it from becoming too warm. If it gets too soft, it will be difficult to handle and may result in misshapen pop tarts.
- Use a well-floured surface when rolling out the dough to prevent sticking.
- Chill the assembled pop tarts for at least 30 minutes before baking. This will help them hold their shape during baking.
Baking Tips:
- Preheat your oven thoroughly before baking to ensure even cooking.
- For a beautifully golden crust, brush the tops of the pop tarts with an egg wash or milk before baking.
- Rotate the baking sheet halfway through the baking time to promote even browning.
Storage:
- Allow the baked pop tarts to cool completely before storing.
- Store the pop tarts in an airtight container at room temperature for up to 5 days.
- For longer storage, you can freeze the baked pop tarts for up to 3 months. Thaw them at room temperature before reheating.
Reheating:
- For the best texture, reheat the pop tarts in a preheated 300°F (150°C) oven for 5-10 minutes.
- Alternatively, you can reheat them in the microwave for 15-20 seconds.
- If reheating from frozen, add an extra minute or two to the oven or microwave time.
Variations and Substitutions
For those looking to switch things up or cater to specific dietary needs, this apple pop tart recipe offers plenty of room for creativity and substitutions. Consider these delicious variations and swaps:
Different Fillings:
- Berry Medley: Swap the apple filling for a mixed berry compote made with fresh or frozen berries like strawberries, blueberries, and raspberries.
- Pumpkin Spice: Embrace the fall flavors by using a pumpkin pie filling instead of apples. Don’t forget to add warm spices like cinnamon, nutmeg, and ginger.
- Chocolate Hazelnut: Satisfy your sweet tooth with a rich chocolate-hazelnut spread filling, reminiscent of a decadent Nutella pop tart.
- Lemon Curd: For a bright, tangy twist, fill your pop tarts with homemade lemon curd or your favorite fruit curd.
Glaze Variations:
- Maple Glaze: Instead of the classic cinnamon glaze, drizzle your pop tarts with a sweet and aromatic maple glaze.
- Cream Cheese Frosting: Top your pop tarts with a tangy cream cheese frosting for a delightful contrast to the fruity filling.
- Chocolate Ganache: Indulge in a decadent chocolate ganache glaze for a truly indulgent treat.
Dietary Restrictions:
- Gluten-Free: Substitute the all-purpose flour with a gluten-free flour blend to make these pop tarts gluten-free friendly.
- Vegan: Use a vegan butter alternative and plant-based milk to make the pastry dough and glaze vegan-friendly.
- Nut-Free: Omit any nuts or nut-based ingredients to create a nut-free version of these pop tarts.
With these variations and substitutions, you can cater to different dietary preferences and taste buds, ensuring that everyone can enjoy a delicious homemade pop tart experience.
Storage and Reheating
Proper storage is key to ensuring your homemade apple pop tarts stay fresh and delicious for days to come. Once cooled, place the pop tarts in an airtight container or resealable plastic bag. They will keep at room temperature for up to 5 days.
For longer storage, you can freeze the baked pop tarts for up to 3 months. Allow them to cool completely, then wrap each pop tart individually in plastic wrap or aluminum foil.
Place the wrapped pop tarts in an airtight container or freezer bag, squeezing out as much air as possible before sealing.
To reheat, there are several options:
Toaster Oven or Conventional Oven:
- Preheat to 350°F (175°C).
- Place the pop tarts on a baking sheet and heat for 5-7 minutes, or until warmed through.
Microwave:
- Place the pop tart on a microwave-safe plate.
- Microwave on high for 15-20 seconds, checking frequently to prevent overcooking.
Air Fryer:
- Preheat the air fryer to 350°F (175°C).
- Place the pop tarts in the air fryer basket in a single layer.
- Air fry for 3-5 minutes, or until heated through.
For frozen pop tarts, you can reheat them directly from the freezer using the oven or air fryer methods. Add a few extra minutes to the cooking time to ensure they are heated through.
Reheating will help restore the flaky texture of the pastry and warm the filling, making your homemade apple pop tarts taste just as delicious as when they were freshly baked.
Recipe FAQs
Can I use store-bought pie crust or puff pastry instead of making the dough from scratch?
While it’s possible to use pre-made pie crust or puff pastry, I highly recommend making the dough from scratch. Homemade dough yields a flakier, more buttery texture that perfectly complements the apple filling. Store-bought options often contain preservatives and may not have the same rich flavor.
How can I prevent the pop tarts from leaking filling while baking?
To prevent leakage, make sure to seal the edges of the pop tarts tightly with a fork. Additionally, chilling the assembled pop tarts for at least 30 minutes before baking helps the dough firm up and contain the filling better.
Can I make the pop tarts ahead of time?
Absolutely! These apple pop tarts are perfect for making ahead. You can prepare the dough, filling, and assembled (but unbaked) pop tarts a day or two in advance and store them in the refrigerator. When ready to bake, simply brush with egg wash and bake as directed.
How do I achieve a flaky crust?
The key to a flaky crust is keeping the dough cold throughout the process. Work quickly when rolling and assembling the pop tarts, and chill the dough if it becomes too warm. Additionally, using cold butter and folding the dough creates layers that result in a flaky texture.
Can I freeze the baked pop tarts?
Yes, you can freeze baked pop tarts for up to 3 months. Let them cool completely, then wrap them individually in plastic wrap or aluminum foil. To reheat, unwrap and place them on a baking sheet in a preheated 350°F (175°C) oven for 10-15 minutes or until heated through.
More Recipes You’ll Love
If you enjoyed this delicious apple pop tart recipe, you’ll definitely want to try these other nostalgic and homemade treats:
- Homemade Toaster Strudels: Flaky pastry wrapped around a sweet cream cheese and fruit filling. Dust with powdered sugar for an irresistible breakfast or snack.
- Baked Doughnut Holes: Light, fluffy doughnut bites coated in cinnamon-sugar or glazed with a vanilla icing. Perfect for enjoying fresh from the oven.
- Homemade Pop-Tarts Variety Pack: Mix it up with different flavors like strawberry, brown sugar cinnamon, and s’mores. Fun for the whole family!
- Copycat Hostess Cupcakes: Moist chocolate cupcakes with a creamy filling and a thick chocolate ganache topping. Reminiscent of the beloved snack cake.
- Old-Fashioned Whoopie Pies: Soft, cakey cookies sandwiched together with a fluffy marshmallow filling. Available in classic chocolate or fun seasonal flavors.
Be sure to subscribe to our newsletter for more nostalgic recipe ideas and baking tips delivered straight to your inbox!
Conclusion
These homemade apple pop tarts are the perfect nostalgic treat to satisfy your cravings for a childhood favorite.
With a flaky, buttery crust, a warm and spiced apple pie filling, and a drizzle of sweet cinnamon icing, they’re sure to become a new family favorite.
We encourage you to give this recipe a try and share your results with us on social media. Tag us with photos of your beautiful homemade pop tarts, and let us know how they turned out.
Your feedback and creations inspire us to keep developing more delicious recipes for you to enjoy.
Don’t forget to subscribe to our newsletter to receive updates on new recipes, baking tips, and exclusive content. We’ll make sure you’re the first to know about our latest creations and special offers.
Happy baking!