
Anthuriums are stunning tropical plants known for their vibrant flowers and glossy leaves. To keep them thriving indoors or in your garden, the right soil mix is essential. A well-balanced Anthurium soil mix provides excellent drainage while retaining enough moisture to support healthy root growth.
We’ve crafted a simple yet effective Anthurium soil mix recipe that mimics their natural habitat. This blend ensures your plants get the aeration and nutrients they need without the risk of root rot. Whether you’re repotting or starting fresh, this mix will help your Anthuriums flourish and brighten up any space.
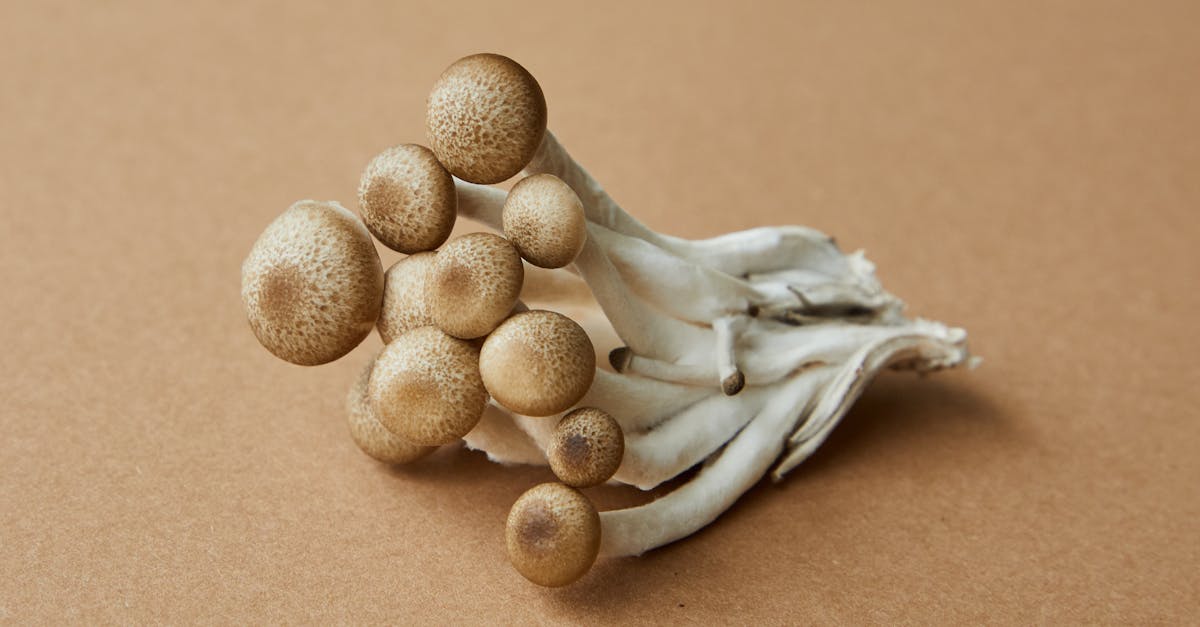
Ingredients for Anthurium Soil Mix
To craft the perfect Anthurium soil mix, we combine both organic and Inorganic Components that replicate the plant’s natural tropical environment. This blend ensures optimal moisture retention, aeration, and nutrient availability for robust growth.
Organic Components
Our organic ingredients provide essential nutrients and help retain moisture without waterlogging the roots. Here are the key organic components and their roles:
- Pine Bark (medium to coarse grade): Adds texture and improves drainage while providing slow-release nutrients.
- Coconut Coir: Excellent for moisture retention and aeration; sustainable alternative to peat moss.
- Peat Moss: Retains moisture and acidity, creating a slightly acidic environment ideal for Anthuriums. Use sparingly to prevent compaction.
- Compost or Worm Castings: Boosts soil fertility by supplying essential micronutrients and beneficial microbes.
Inorganic Components
The inorganic materials in our soil mix improve aeration and drainage, preventing root rot by allowing excess water to escape swiftly. These components mimic the rocky, well-draining conditions Anthuriums thrive in:
| Ingredient | Purpose | Recommended Amount |
|---|---|---|
| Perlite | Increases drainage and aeration | 20-30% of total mix volume |
| Orchid Bark | Provides chunky texture and airflow | 20-25% for enhanced root oxygenation |
| Horticultural Charcoal | Absorbs toxins and improves drainage | 5-10% for purifying soil environment |
By mixing these organic and inorganic ingredients in the right proportions, we create a balanced soil mix that supports healthy root development and vigorous Anthurium growth.
Tools and Equipment Needed
To prepare the perfect Anthurium soil mix efficiently and accurately, we need a set of essential tools and equipment. These ensure precise measuring, thorough mixing, and a clean workspace, all critical for creating a well-balanced soil blend that promotes healthy Anthurium growth.
Essential Tools List
- Measuring Cups and Spoons
Accurate measurement of each soil component guarantees the right proportions. We recommend using graduated measuring cups for bulk ingredients like pine bark and peat moss, and spoons for smaller quantities such as horticultural charcoal.
- Large Mixing Container or Bucket
A spacious, clean mixing vessel allows us to combine and blend all soil ingredients thoroughly without spills.
- Gardening Gloves
Gloves protect our hands from dirt and potential irritants. They also help maintain hygiene during the mixing process.
- Fine Mesh Sifter (Optional)
A sifter is useful for breaking up any clumps and ensuring a consistent texture, especially with peat moss or coconut coir.
- Trowel or Small Garden Shovel
These tools help transfer and mix ingredients efficiently inside the container.
- Storage Container with Lid
Once the soil mix is prepared, an airtight container keeps it fresh and uncontaminated.
Tools and Their Purposes
| Tool | Purpose |
|---|---|
| Measuring Cups/Spoons | Ensures accurate ingredient proportions |
| Large Mixing Container | Provides a clean space for thorough blending |
| Gardening Gloves | Protects hands and maintains hygiene |
| Fine Mesh Sifter | Breaks up clumps for consistent soil texture (optional) |
| Trowel/Small Shovel | Assists with mixing and transferring ingredients |
| Storage Container | Keeps the prepared soil mix fresh and ready for use |
Reminder
“Using the right tools is just as important as the ingredients themselves for creating the ideal Anthurium soil mix.“
Having these tools on hand will streamline our soil preparation process and help us avoid common mistakes like uneven mixing or contamination. This foundation ensures the soil mix we create supports optimal root aeration, moisture retention, and nutrient availability for our Anthuriums.
Preparing the Anthurium Soil Mix
Creating the perfect Anthurium soil mix requires precise measurements and a thorough mixing process. Proper preparation ensures excellent drainage, moisture retention, and aeration that these tropical plants need to flourish.
Measuring Ingredients
Accurate measurement of each component is essential to balance the mix. Below is the recommended ratio for our Anthurium soil mix recipe:
| Ingredient | Quantity | Notes |
|---|---|---|
| Pine Bark | 2 parts | Chunky, medium-sized pieces |
| Coconut Coir | 1 part | Hydrated before use |
| Peat Moss | 1 part | Provides moisture retention |
| Compost or Worm Castings | 1 part | Nutrient-rich organic matter |
| Perlite | 1 part | Improves aeration and drainage |
| Orchid Bark | 1 part | Adds structure and air flow |
| Horticultural Charcoal | 0.5 part | Prevents root rot and toxins |
- Use measuring cups or a kitchen scale to get precise amounts.
- Always hydrate coconut coir before measuring to maintain consistency.
- For peat moss and compost, ensure they are fresh and not compacted for optimal moisture adaptation.
Mixing Process
Once ingredients are measured accurately, follow these steps for an even, well-integrated soil mix:
- Prepare your workspace: Use a large, clean mixing container on a sturdy surface.
- Combine dry ingredients: Start by adding pine bark, perlite, orchid bark, and horticultural charcoal together.
- Mix thoroughly: Use a trowel or gloved hands to blend these components evenly, ensuring no clumps remain.
- Incorporate organic matter: Add peat moss, coconut coir, and compost or worm castings gradually.
- Gently fold in organic ingredients: Avoid crushing the structure of bark pieces or coir, maintaining air pockets for root oxygenation.
- Sift if needed: Pass the mix through a fine mesh sifter to remove any large or unwanted debris for a fine, consistent texture.
- Transfer and store: Place the finished mix in a storage container with a lid to keep it fresh and uncontaminated until use.
“A well-mixed Anthurium soil blend is the foundation for vigorous root growth, optimum moisture balance, and vibrant foliage.”
By following these steps, our Anthurium soil mix will precisely mimic the plant’s natural tropical environment, ensuring healthy, thriving plants with stunning blooms and glossy leaves.
Steps to Pot Your Anthurium
Potting our Anthurium properly sets the foundation for healthy growth and vibrant blooms. Follow these steps carefully to create the ideal environment for your tropical beauty.
Preparing the Pot
- Choose a pot with drainage holes to prevent waterlogging and root rot.
- Clean the pot thoroughly to remove any residues or pathogens.
- Place a layer of small stones or broken pottery shards at the bottom to enhance drainage.
- If using a plastic pot, ensure it is the right size—about 1-2 inches larger in diameter than the root ball of your Anthurium.
Adding the Soil Mix
- Begin by adding a portion of our prepared Anthurium soil mix, filling about one-third of the pot.
- Gently firm the soil, ensuring it is loose enough for roots to spread but not too compact.
- Leave enough space to accommodate the root ball comfortably, avoiding excessive soil that could suffocate roots.
Planting the Anthurium
- Remove the Anthurium from its current container, carefully loosening any tangled or circling roots.
- Position the plant in the center of the new pot, making sure the base of the stem is level with the top of the soil.
- Gradually fill the pot with the Anthurium soil mix, gently pressing around the roots to eliminate air pockets.
- Water the plant thoroughly until water flows freely from the drainage holes, signaling good soil saturation.
- Place the newly potted Anthurium in a location with bright indirect light and maintain consistent humidity and watering.
| Step | Details | Purpose |
|---|---|---|
| Pot Selection | Pot with drainage holes, slightly larger size | Prevents root rot, allows growth |
| Initial Soil Base | 1/3 of pot height filled with soil mix | Creates drainage buffer |
| Plant Placement | Centered, root ball level with soil surface | Ensures proper root support |
| Soil Filling | Fill gradually with gentle pressing | Avoids air pockets |
| Watering | Deep watering immediately after potting | Establishes moisture balance |
By following these precise potting steps with our richly aerated and well-draining Anthurium soil mix, we give our plants the best start for thriving growth.
Tips for Maintaining Healthy Soil Mix
Maintaining a healthy Anthurium soil mix is essential to keep our plants thriving. By following proper watering, fertilization, and repotting routines, we ensure balanced moisture, nutrient availability, and root space for vigorous growth.
Watering Guidelines
Proper watering helps maintain the ideal moisture level in our Anthurium soil mix. We should:
- Water only when the top 1-2 inches of soil feel dry to the touch. Overwatering causes root rot, while underwatering stresses the plant.
- Use room temperature, filtered or rainwater to avoid chlorine or fluoride buildup in the soil.
- Water evenly and thoroughly, allowing water to flow through drainage holes.
- Drain excess water immediately; never allow our Anthuriums to sit in stagnant water.
| Watering Tips | Details |
|---|---|
| Frequency | Every 7-10 days or when top soil is dry |
| Water type | Room temperature filtered or rainwater |
| Amount | Water until it drains from pot holes |
| Soil moisture level check | Use finger test (1-2 inches dry) |
Fertilization Tips
Feeding the soil mix supports vibrant leaves and abundant blooms. We recommend:
- Using a balanced, water-soluble fertilizer with an NPK ratio around 20-20-20 or a fertilizer formulated for tropical plants.
- Fertilizing every 4-6 weeks during the growing season (spring through early fall).
- Diluting fertilizer to half the recommended strength to avoid nutrient burn.
- Avoiding fertilization in winter when Anthuriums enter dormancy.
Tip: To improve soil fertility naturally, occasionally mix in worm castings or compost during repotting for sustained nutrient release.
| Fertilizer Use | Recommendations |
|---|---|
| Type | Balanced 20-20-20 or tropical plant fertilizer |
| Frequency | Every 4-6 weeks in growing season |
| Dilution | Half strength to prevent burn |
| Winter | Do not fertilize |
Repotting Schedule
Repotting refreshes the soil mix and provides room for expanding roots. We suggest:
- Repotting every 1-2 years or when roots become pot-bound or soil degrades.
- Choosing a pot only one size larger to avoid water stagnation.
- Replacing more than half of the old soil with a fresh batch of the well-draining Anthurium soil mix recipe.
- Gently teasing out circling roots for better soil contact.
Following this schedule ensures our Anthurium soil remains nutrient-rich, aerated, and optimally structured for healthy root development.
Troubleshooting Common Soil Issues
When working with our Anthurium soil mix, several common issues may arise that can hinder the plant’s health. Addressing these problems promptly ensures our Anthuriums continue to flourish with vibrant flowers and lush leaves. Below are the key soil issues we often encounter, with practical solutions to fix them effectively.
1. Soil Retaining Too Much Moisture
Problem: If the soil remains soggy for extended periods, roots can suffer from lack of oxygen, leading to root rot.
Signs to watch:
- Persistent wetness
- Foul odor from the soil
- Yellowing or wilting leaves
How to fix it:
- Increase drainage by adding more inorganic materials like perlite or orchid bark.
- Ensure the pot has adequate drainage holes.
- Reduce watering frequency and only water when the top 1-2 inches of soil feel dry.
- Consider repotting into fresh, well-draining mix if root rot has begun.
2. Soil Drying Out Too Quickly
Problem: If the soil dries out too fast, Anthuriums may experience stress from insufficient water retention.
Signs to watch:
- Leaves curling or browning at edges
- Dry, dusty soil surface
How to fix it:
- Add more organic moisture-retaining components such as peat moss or coconut coir.
- Mulch the soil surface with a thin layer of organic matter to reduce evaporation.
- Adjust watering to maintain consistent moisture without waterlogging.
3. Compacted or Poorly Aerated Soil
Problem: Compacted soil reduces root oxygen and slows nutrient uptake, stunting growth.
Signs to watch:
- Slow plant growth
- Clay-like soil texture
- Water pooling on the surface after watering
How to fix it:
- Loosen soil by mixing in more aerating ingredients like pine bark, perlite, or horticultural charcoal.
- Avoid over-packing the mix when repotting.
- Gently aerate the topsoil surface occasionally without disturbing roots.
4. Nutrient Deficiency Symptoms
Problem: Soil lacking key nutrients can lead to poor foliage color and reduced flowering.
Signs to watch:
- Pale leaves or leaf spotting
- Sparse blooms or small flowers
How to fix it:
- Incorporate nutrient-rich organic matter such as worm castings or compost into the soil.
- Apply a balanced, water-soluble fertilizer every 4-6 weeks during the growing season.
- Avoid over-fertilizing, especially in winter.
Quick Reference Table: Soil Issue Signs and Solutions
| Soil Issue | Signs | Immediate Actions | Amendments to Add |
|---|---|---|---|
| Excessive moisture | Wet soil, odor, yellow leaves | Increase drainage, reduce watering | Perlite, orchid bark |
| Rapid drying | Dry soil, curled leaves | Add moisture-retaining material, mulch | Peat moss, coconut coir |
| Compacted soil | Slow growth, water pooling | Loosen soil, aerate surface | Pine bark, horticultural charcoal |
| Nutrient deficiency | Pale/spotted leaves, poor blooms | Add organic nutrients, fertilize appropriately | Worm castings, compost |
Final Tips for Soil Issue Prevention
- Always use our recommended Anthurium soil mix recipe ratios to balance drainage and moisture retention.
- Monitor soil moisture levels regularly by touch or moisture meters.
- Repot Anthuriums every 1-2 years using fresh soil mix to replenish nutrients and maintain aeration.
- Maintain consistent watering and fertilization schedules based on plant growth cycles.
Conclusion
Creating the right soil mix for Anthuriums is key to unlocking their full potential. With the right balance of drainage, aeration, and nutrients, we set the stage for healthy roots and vibrant blooms. Taking the time to prepare and maintain this mix ensures our plants thrive in any space.
By following the guidelines and tips we’ve shared, we can confidently nurture Anthuriums that bring lasting beauty and tropical charm to our homes.
Frequently Asked Questions
What is the ideal soil mix for Anthuriums?
The ideal soil mix combines organic components like pine bark, coconut coir, peat moss, and compost with inorganic materials such as perlite, orchid bark, and horticultural charcoal. This mix ensures good drainage, moisture retention, and aeration, mimicking the plant’s natural tropical environment.
Why is drainage important for Anthurium soil?
Good drainage prevents waterlogging, reducing the risk of root rot. Anthuriums need soil that retains moisture but also allows excess water to flow away easily to keep roots healthy.
How often should I water Anthuriums?
Water your Anthuriums when the top 1-2 inches of soil feel dry. Use room temperature filtered or rainwater, and always ensure proper drainage to avoid overwatering.
What tools do I need to prepare Anthurium soil mix?
You will need measuring cups and spoons, a large mixing container, gardening gloves, a trowel or small shovel, and optionally a fine mesh sifter and a storage container with a lid.
How often should Anthuriums be repotted?
Repot Anthuriums every 1-2 years or when the roots become pot-bound. Replace more than half of the old soil to refresh nutrients and improve aeration.
Can I use regular potting soil for Anthuriums?
Regular potting soil is not ideal as it may retain too much water or lack proper aeration. Using a soil mix tailored for Anthuriums ensures better drainage and nutrient balance.
What are signs of nutrient deficiency in Anthurium soil?
Signs include yellowing leaves, stunted growth, and dull flowers. These can often be addressed by fertilizing with a balanced, water-soluble fertilizer during the growing season.
How does peat moss benefit Anthurium soil?
Peat moss improves moisture retention and adds organic matter, helping create a balanced environment for root growth without becoming waterlogged.
What is the role of inorganic materials like perlite in the soil mix?
Inorganic materials like perlite enhance aeration and drainage, preventing soil compaction and root diseases caused by excessive moisture.
How do I prevent common soil problems in Anthurium care?
Use the recommended soil mix ratios, monitor moisture regularly, avoid overwatering, and repot every 1-2 years to maintain healthy soil conditions.