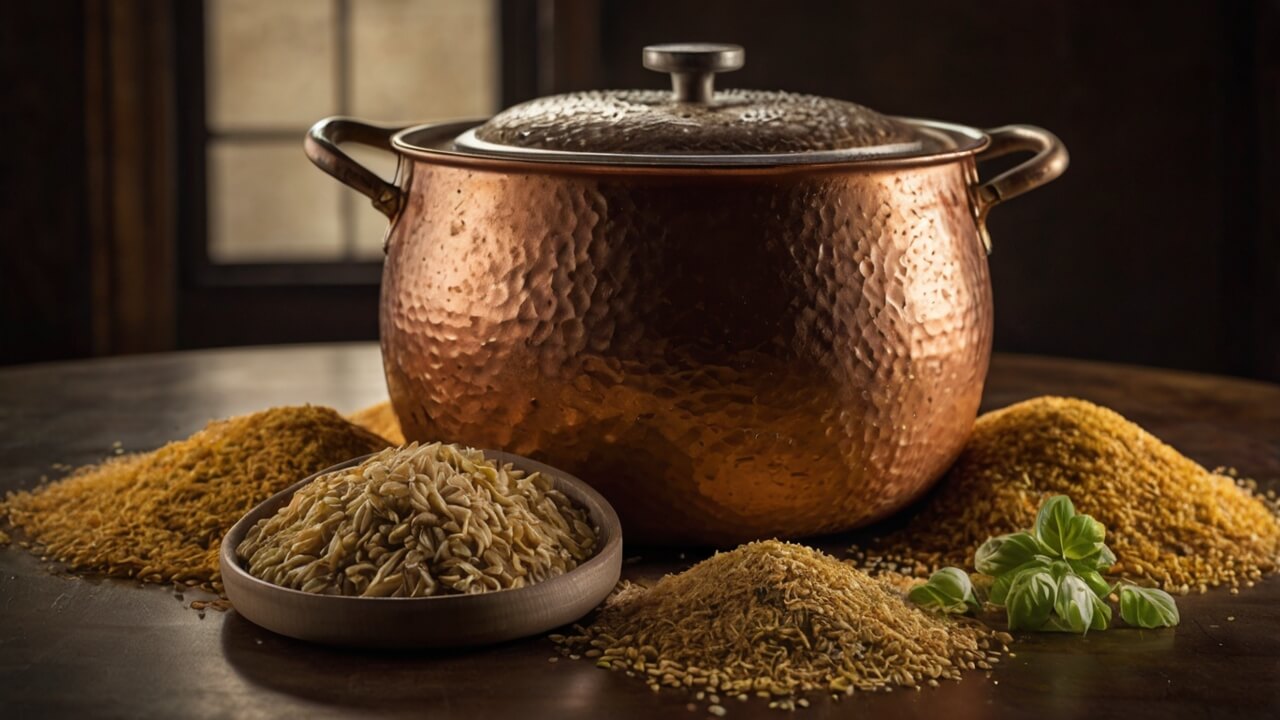
The art of crafting your own spirits at home begins with the all-grain mash, a crucial step that sets the stage for the depth and complexity of flavors in your moonshine or bourbon.
Unlike commercial distilleries, home distillers have the freedom to experiment and tailor each aspect of the process to their personal preferences, creating truly unique and artisanal spirits.
All-grain mashing involves converting the starches present in grains into fermentable sugars, which are then transformed into alcohol during fermentation.
This process not only allows for greater control over the final product but also imparts a richness and character that is simply unattainable with pre-made mash or concentrate.
By mastering the all-grain mash, you unlock a world of possibilities, from the bold and robust flavors of a corn-based moonshine to the smooth and nuanced notes of a wheated bourbon.
Whether you’re a seasoned home distiller or a curious newcomer, the thrill of crafting your own spirits from scratch is an experience like no other, one that celebrates the art of patience, precision, and creativity.
Ingredients and Equipment
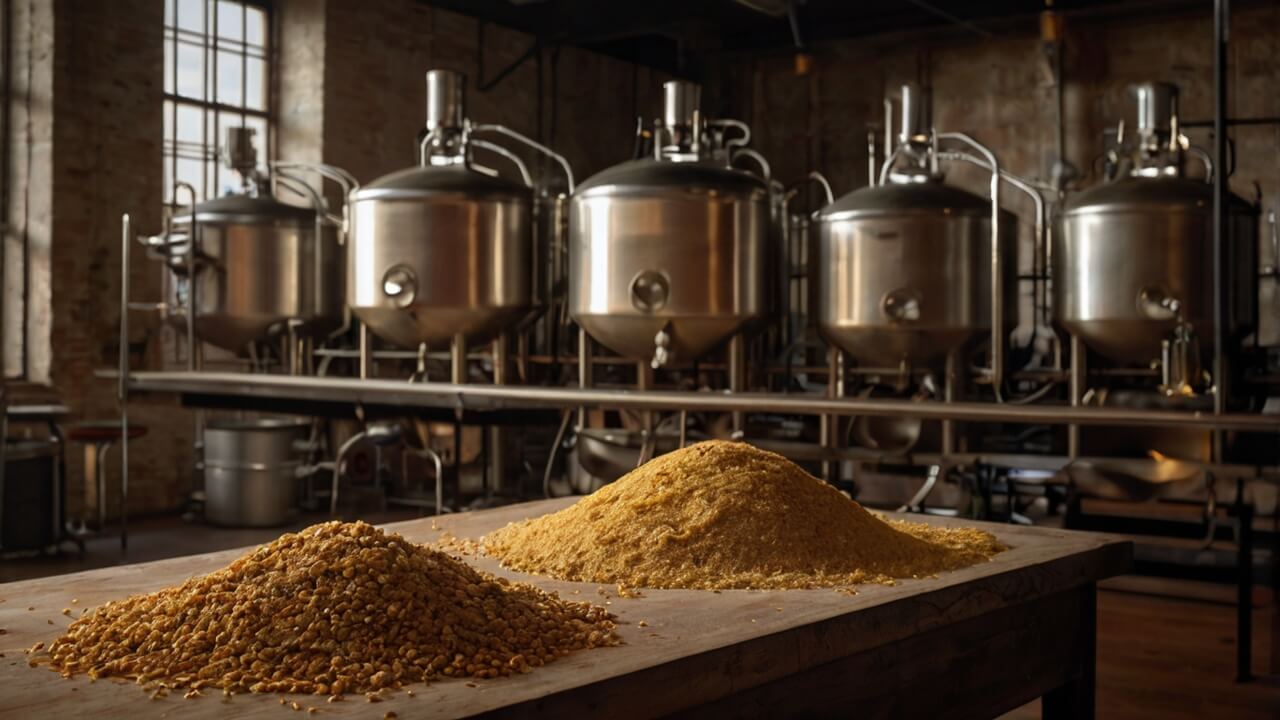
Ingredients for Corn Moonshine Mash:
- 8 lbs (3.6 kg) cracked corn
- 1 lb (0.45 kg) malted barley
- Distiller’s yeast (recommended strains: Fermentis Safale US-05 or Lalvin EC-1118)
- Yeast nutrient (optional)
Ingredients for Wheated Bourbon Mash:
- 6 lbs (2.7 kg) cracked corn
- 2 lbs (0.9 kg) wheat malt
- 2 lbs (0.9 kg) malted barley
- Distiller’s yeast (recommended strains: Fermentis Safale US-05 or Lalvin EC-1118)
- Yeast nutrient (optional)
Essential Equipment:
- Mash tun (or a large pot with a false bottom)
- Brewing kettle
- Fermentation vessel (carboy or plastic bucket)
- Airlock and stopper
- Thermometer
- Long spoon or mash paddle
- Strainer or grain bag
- Hydrometer (for measuring specific gravity)
- Bottles or other containers for aging (if desired)
Ensure all equipment is thoroughly cleaned and sanitized before use to prevent contamination.
Step 1: Heat the Water and Mix the Mash
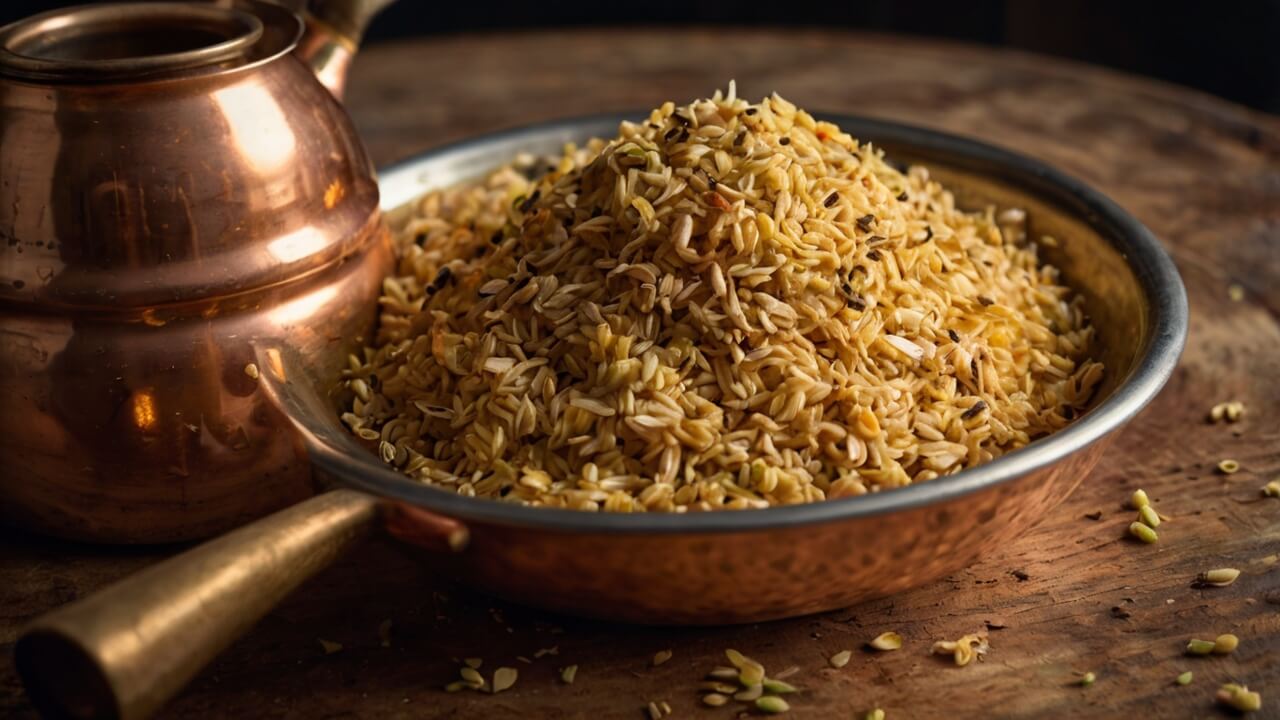
Heating the water and mixing the mash is a crucial first step in the all-grain mashing process for both corn moonshine and wheated bourbon. Precise temperature control is essential to ensure optimal enzymatic activity and starch conversion.
For Corn Moonshine Mash:
- Heat your brewing water to a temperature between 165°F and 170°F (74°C and 77°C). This temperature range is ideal for activating the enzymes in the malted barley, which will later convert the starches in the corn into fermentable sugars.
- Gradually add the crushed grains to the heated water while continuously stirring to avoid clumping and ensure even distribution.
- Maintain the mash temperature between 150°F and 158°F (66°C and 70°C) during the mashing process. This temperature range is optimal for starch conversion and enzyme activity.
For Wheated Bourbon Mash:
- Heat your brewing water to a temperature between 163°F and 167°F (73°C and 75°C). This slightly lower temperature range is suitable for the wheated bourbon mash, as wheat contains different enzyme compositions compared to corn.
- Gradually add the crushed grains, including wheat and malted barley, to the heated water while continuously stirring to prevent clumping and ensure even distribution.
- Maintain the mash temperature between 148°F and 156°F (64°C and 69°C) during the mashing process. This temperature range is ideal for the enzymes in the wheat and malted barley to effectively convert the starches into fermentable sugars.
Maintaining the correct mash temperature is crucial for optimal enzymatic activity and starch conversion. Deviations from the recommended temperature ranges can lead to incomplete conversion, affecting the quality and efficiency of the fermentation process. Use a reliable thermometer and adjust the heat source as needed to maintain the desired temperature throughout the mashing process.
Step 2: Add Malted Barley and Wheat

After heating the water and mixing the mash, it’s time to add the malted barley and wheat. These grains contain enzymes that are crucial for the enzymatic conversion process, which is the key to unlocking the fermentable sugars in the mash.
Malted Barley: Malted barley is a vital ingredient in the all-grain mash recipe. During the malting process, the barley undergoes germination, which activates the enzymes responsible for breaking down the starch into fermentable sugars. The most important enzyme in malted barley is amylase, which catalyzes the conversion of starch into maltose and other smaller sugar molecules.
Wheat: While not essential for the enzymatic conversion, wheat is often added to bourbon mashes to contribute flavor and complexity. Wheat provides a softer, smoother mouthfeel to the final product, complementing the bold character of the corn and malted barley.
When adding these grains to the mash, it’s essential to follow the recipe’s specific ratios and quantities. Too little malted barley may result in incomplete starch conversion, while too much can lead to an overly fermentable wort, affecting the final spirit’s flavor and alcohol content.
The enzymatic conversion process occurs during the mash rest, where the enzymes from the malted barley break down the starch molecules in the grains into fermentable sugars. This process is crucial as it provides the food source for the yeast during fermentation, ultimately determining the alcohol content and flavor profile of your moonshine or bourbon.
Step 3: Rest the Mash
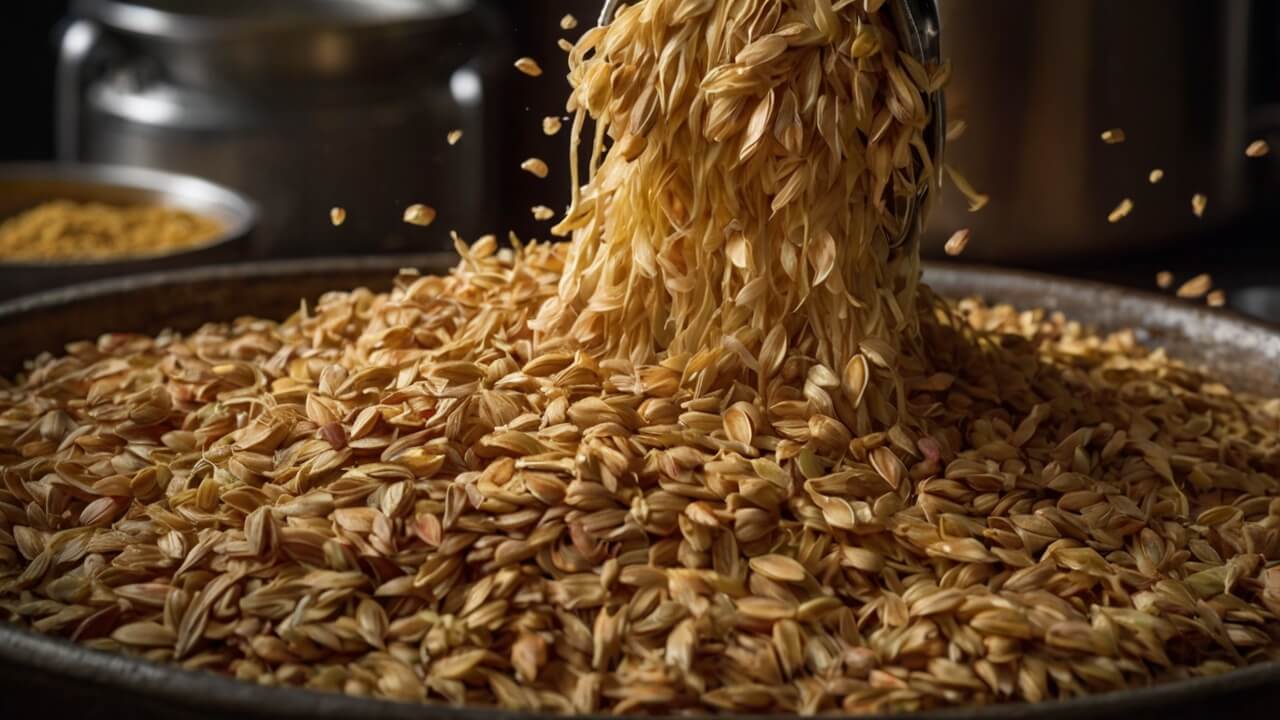
After adding the malted grains to the mash, it’s crucial to let the mixture rest for a specific period. This resting phase, known as the saccharification rest, allows the enzymes from the malted grains to work their magic and convert the starches into fermentable sugars.
During the saccharification rest, the temperature of the mash should be maintained between 148°F to 158°F (64°C to 70°C). This temperature range is optimal for the enzymes to effectively break down the starches into simple sugars like maltose and maltotriose, which will later be consumed by the yeast during fermentation.
The duration of the saccharification rest can vary depending on the recipe and desired outcome. Generally, a rest of 60 to 90 minutes is recommended for most all-grain mashes. However, some brewers may opt for a longer rest period to ensure thorough starch conversion, especially when working with higher proportions of adjuncts or unmalted grains.
It’s important to maintain the mash temperature throughout the saccharification rest by insulating the mash tun or pot. Fluctuations in temperature can negatively impact enzyme activity and lead to incomplete starch conversion, resulting in a lower fermentable sugar content and potentially affecting the final spirit’s quality.
During the saccharification rest, it’s also advisable to gently stir the mash periodically to ensure even temperature distribution and prevent hot spots or dough balls from forming. This step helps maximize the efficiency of the starch conversion process.
By allowing the mash to rest and undergo proper saccharification, you’re laying the foundation for a successful fermentation and distillation process. The fermentable sugars produced during this step will be the fuel for the yeast, ultimately contributing to the flavor, aroma, and alcohol content of your homemade moonshine or bourbon.
Step 4: Cool the Mash
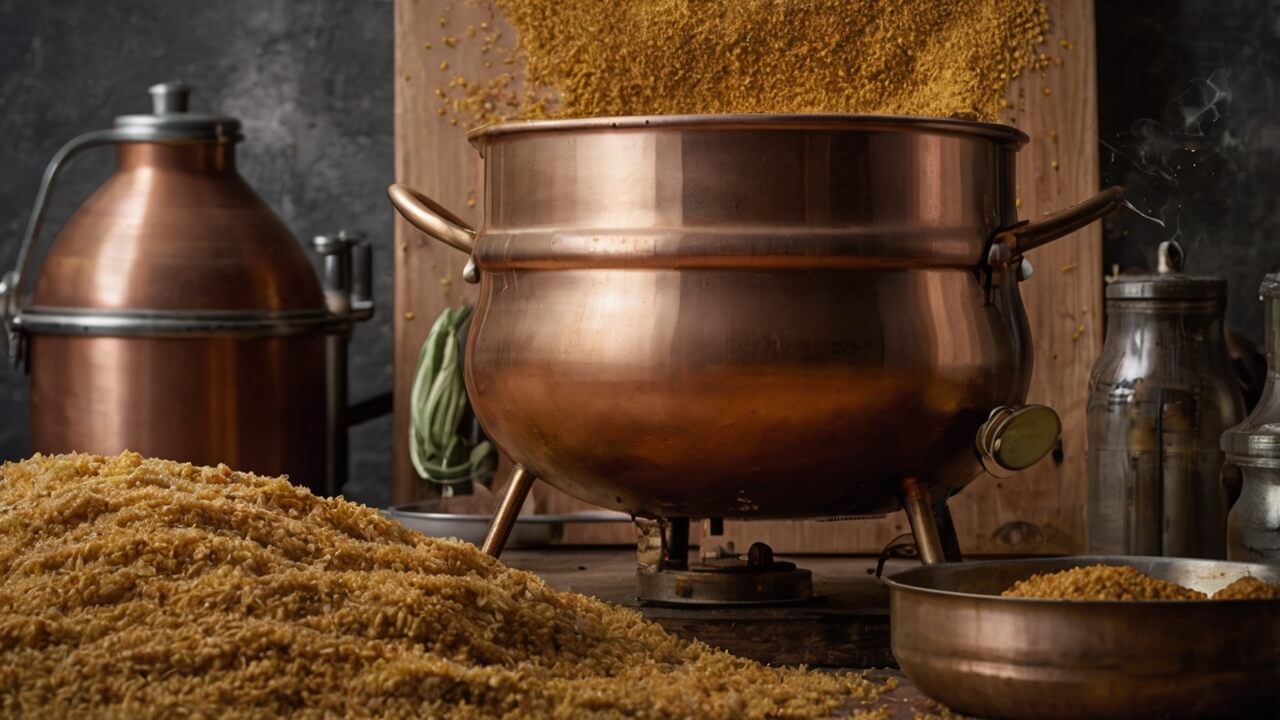
Cooling the mash after the saccharification rest is a critical step in the all-grain brewing process. The primary purpose of cooling the mash is to bring the temperature down to a level suitable for yeast fermentation, typically between 65°F and 75°F (18°C and 24°C).
There are several methods for cooling the mash, each with its own advantages and disadvantages:
- Immersion Wort Chiller: This is a coiled copper or stainless steel tubing that is immersed directly into the hot wort. Cold water is circulated through the tubing, rapidly cooling the wort by conduction. Immersion chillers are efficient and can cool the wort quickly, but they require a source of cold water and may introduce contaminants if not properly sanitized.
- Counterflow Wort Chiller: Also known as a plate chiller, this device uses a series of plates or tubes to create a heat exchanger. Hot wort flows through one side, while cold water flows in the opposite direction on the other side. The hot wort is cooled by transferring heat to the cold water. Counterflow chillers are highly efficient and reduce the risk of contamination, but they can be expensive and may require additional pumps or fittings.
- No-Chill Method: This method involves transferring the hot wort directly into a sanitized and sealed fermentation vessel, allowing it to cool gradually over several hours or overnight. While convenient and eliminating the need for specialized equipment, the no-chill method can increase the risk of off-flavors and bacterial contamination if not done carefully.
- Ice Bath: A simple and inexpensive method, an ice bath involves placing the hot wort in a sanitized container and submerging it in a larger vessel filled with ice water. This method can be effective but may take longer to cool the wort and requires a significant amount of ice.
Proper cooling of the mash is crucial for several reasons:
- Yeast Health: Yeast strains used in brewing have an optimal temperature range for fermentation. Pitching yeast into wort that is too hot can kill or stress the yeast, leading to stuck fermentations or off-flavors.
- Enzymatic Activity: Cooling the mash quickly helps to halt enzymatic activity, preventing further conversion of starches and preserving the desired fermentable sugar profile.
- Flavor and Aroma: Rapid cooling can help to lock in desirable flavors and aromas produced during the mash and boil, preventing them from being driven off or degraded by prolonged exposure to high temperatures.
- Contamination Risk: Allowing the wort to remain at high temperatures for an extended period increases the risk of bacterial or wild yeast contamination, which can lead to off-flavors or spoiled beer.
By implementing proper cooling techniques and understanding the importance of this step, homebrewers can ensure a successful fermentation and produce high-quality, flavorful moonshine or bourbon.
Step 5: Add Yeast and Aerate
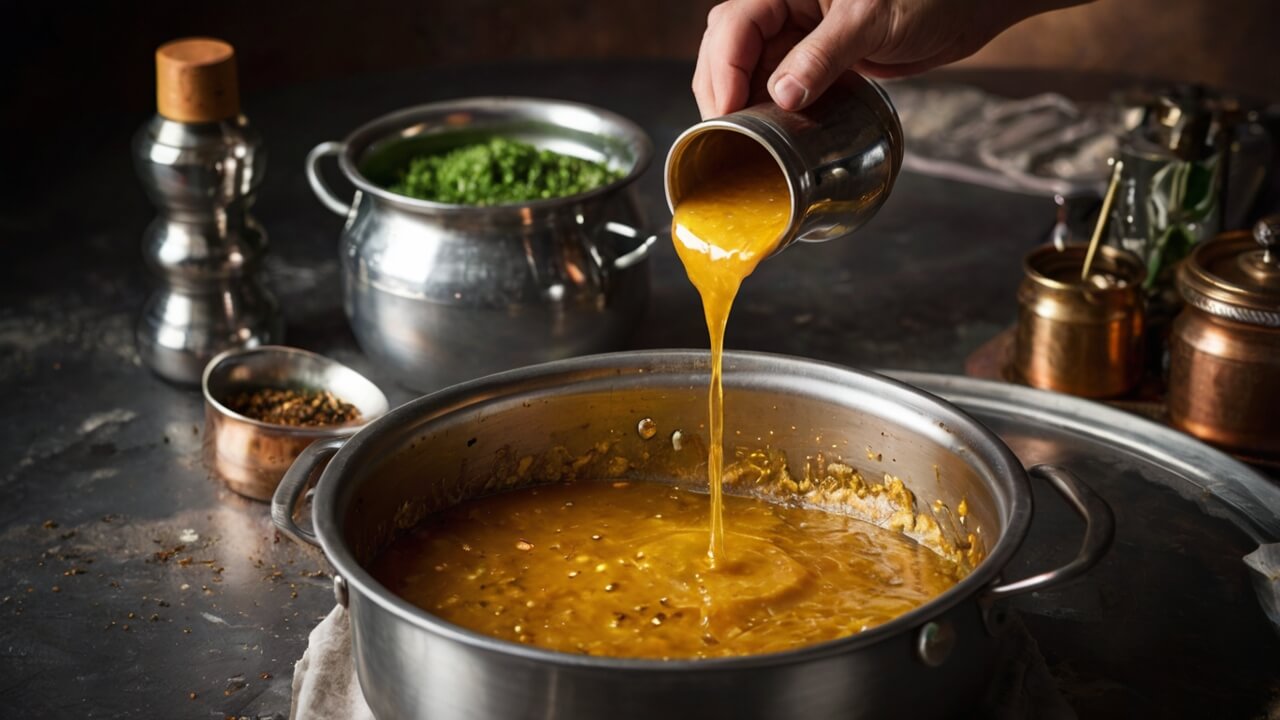
Once the mash has cooled to the desired temperature, it’s time to add the yeast and aerate the mixture. Aeration is crucial as it introduces oxygen into the wort, which helps kick-start the fermentation process and ensures a healthy yeast population.
There are several techniques for aerating your mash:
- Shaking: For smaller batches, you can simply seal the fermentation vessel and vigorously shake it for a few minutes to incorporate oxygen.
- Stirring: Using a long spoon or an aeration wand, stir the wort in a circular motion for several minutes. This action will create a whirlpool effect, drawing in oxygen from the air.
- Aquarium Pump: An aquarium pump can be used to bubble air through the wort, effectively aerating it. Connect the pump to a sterile air stone or diffusion stone placed at the bottom of the fermentation vessel.
- Oxygen Tank: For larger batches or commercial setups, an oxygen tank with a diffusion stone can be used to directly inject pure oxygen into the wort.
When it comes to adding yeast, there are two main methods:
- Dry Yeast: Dry yeast is convenient and easy to use. Simply sprinkle the recommended amount directly into the aerated wort and gently stir to distribute it evenly.
- Liquid Yeast: Liquid yeast is often preferred by experienced homebrewers for its diversity and potential to impart unique flavors. Before pitching, the yeast should be rehydrated in a separate container with warm, sterile water according to the manufacturer’s instructions.
Regardless of the method chosen, it’s essential to follow proper sanitation practices to prevent contamination. Sanitize all equipment and utensils that will come into contact with the wort or yeast.
Once the yeast has been added, gently stir the mixture to ensure even distribution and cover the fermentation vessel with an airlock to allow carbon dioxide to escape while preventing outside air from entering. Your mash is now ready to begin the fermentation process.
Step 6: Fermentation

The fermentation process is a crucial stage in the all-grain mash, as it converts the sugars from the mashed grains into alcohol. This step requires patience and attention to detail to ensure a successful outcome.
After adding the yeast and aerating the mash, the fermentation process begins. During the first few hours, you’ll notice a lag phase where not much activity occurs. However, within 12 to 24 hours, the fermentation should kick into high gear, and you’ll observe signs of active fermentation, such as bubbling, foaming, and the release of carbon dioxide.
The fermentation timeline can vary depending on factors like temperature, yeast strain, and the amount of fermentable sugars present. Generally, the primary fermentation for a corn moonshine mash or wheated bourbon mash can take anywhere from 5 to 10 days.
During this time, it’s essential to maintain a consistent temperature between 65°F and 75°F (18°C to 24°C). Fluctuations in temperature can stress the yeast and lead to off-flavors or stalled fermentation. Consider using a fermentation chamber or insulating the fermenter to maintain the ideal temperature range.
As the fermentation progresses, you’ll notice a thick, foamy krausen forming on top of the mash. This is a sign that the yeast is actively fermenting the sugars. Once the krausen falls back, indicating the end of the primary fermentation, you can proceed to the next step.
It’s crucial to monitor the specific gravity (SG) readings throughout the fermentation process. Take an initial SG reading before adding the yeast, and then check it periodically. When the SG readings stabilize for two to three consecutive days, it’s an indication that the fermentation is complete.
Remember, fermentation is a living process, and each batch may behave slightly differently. Patience and close observation are key to ensuring a successful fermentation and producing a high-quality spirit.
Step 7: Post-Fermentation
After the fermentation process is complete, it’s time to prepare for distillation. The first step is to separate the liquid from the solids, a process known as racking. Carefully siphon or transfer the fermented liquid, also known as the wash, into a separate sanitized container, leaving behind the spent grains and yeast sediment.
Next, you’ll need to determine the alcohol content of your wash. This can be done using a hydrometer, which measures the specific gravity of the liquid. The lower the specific gravity, the higher the alcohol content. Aim for a specific gravity reading between 0.990 and 1.010 for optimal distillation.
Before distillation, you may want to consider adding additional ingredients to enhance the flavor profile of your moonshine or bourbon. For example, you can add oak chips or staves to impart a subtle oak flavor, or incorporate spices like cinnamon, vanilla, or dried fruits for a unique twist.
Once your wash is ready, it’s time to set up your distillation equipment. Ensure that all components, including the still, condenser, and collection vessel, are thoroughly cleaned and sanitized. Follow the manufacturer’s instructions carefully to assemble and operate your distillation setup correctly.
During the distillation process, you’ll need to monitor the temperature closely. The goal is to collect the hearts of the run, which is the desired high-quality spirit. Discard the initial foreshots, as they may contain undesirable compounds, and stop collecting when the tails start to come through, which can impart unpleasant flavors.
After distillation, you may choose to dilute your spirit with water to reach the desired alcohol strength, typically around 40% alcohol by volume (ABV) for moonshine or bourbon. Finally, bottle your spirit and allow it to age, if desired, for a smoother, more refined flavor.
Remember to always prioritize safety when working with distillation equipment and follow all local laws and regulations regarding home distillation.
Tips for Success
Achieving a successful all-grain mash requires attention to detail and adherence to proper techniques. Here are some expert tips to help you avoid common pitfalls:
Sanitization is Crucial: Ensure that all equipment, utensils, and surfaces are thoroughly sanitized before and during the mashing process. Contamination can lead to off-flavors or even spoilage, ruining your hard work. Use a food-grade sanitizer and follow the manufacturer’s instructions carefully.
Manage Temperatures Precisely: Temperature control is vital during mashing. Deviations from the recommended temperatures can affect the enzymatic activity, leading to incomplete starch conversion or undesirable flavors. Use a reliable thermometer and maintain the appropriate temperature ranges for each step.
Respect the Enzyme Rests: Enzymes play a crucial role in breaking down starches into fermentable sugars. Respect the recommended resting times and temperatures to allow the enzymes to work their magic. Rushing or skipping these steps can result in a suboptimal fermentation and lower alcohol yields.
Aerate Properly: Proper aeration of the wort before pitching the yeast is essential for a healthy fermentation. Yeast needs oxygen to reproduce and ferment efficiently. Use an aeration stone or a whisk to introduce oxygen into the cooled wort before adding the yeast.
Monitor Fermentation: Keep a close eye on the fermentation process. Check the airlock activity, monitor the temperature, and take gravity readings to ensure that fermentation is progressing as expected. Adjust temperatures or consider repitching yeast if fermentation stalls or slows down unexpectedly.
Avoid Contamination: Maintain a clean and sanitized environment throughout the entire process. Use airlocks or blow-off tubes to prevent wild yeast, bacteria, or other contaminants from entering the fermenter. Handle the mash and wort with care to minimize the risk of contamination.
By following these expert tips, you can minimize common pitfalls and increase your chances of producing a high-quality, flavorful mash for your moonshine or bourbon. Remember, patience, attention to detail, and proper technique are key to mastering the art of all-grain mashing.
Conclusion
Crafting your own all-grain mash for moonshine or bourbon is a rewarding and enriching experience for any home distiller. By following the step-by-step process outlined in this guide, you’ve gained the knowledge and skills to create a high-quality mash that forms the foundation of your desired spirit.
Remember, the beauty of home distilling lies in the ability to experiment and explore different ingredient combinations, techniques, and flavor profiles. Don’t be afraid to tweak the recipes, adjust the ratios, or try new grains – this is where the true art of distilling shines. Embrace the journey, learn from your successes and failures, and continuously refine your craft.
We encourage you to share your experiences, insights, and creations with the vibrant community of home distillers. Engage in discussions, seek advice, and celebrate your triumphs together. Your valuable contributions not only enrich the collective knowledge but also inspire and motivate others on their distilling adventures.
To stay updated with the latest tips, techniques, and recipes, consider subscribing to our newsletter. Join a community of passionate enthusiasts, and embark on a journey of continuous learning and discovery in the world of home distilling.
Remember, the art of distilling is a labor of love, patience, and dedication. Embrace the process, savor the results, and most importantly, have fun along the way!

