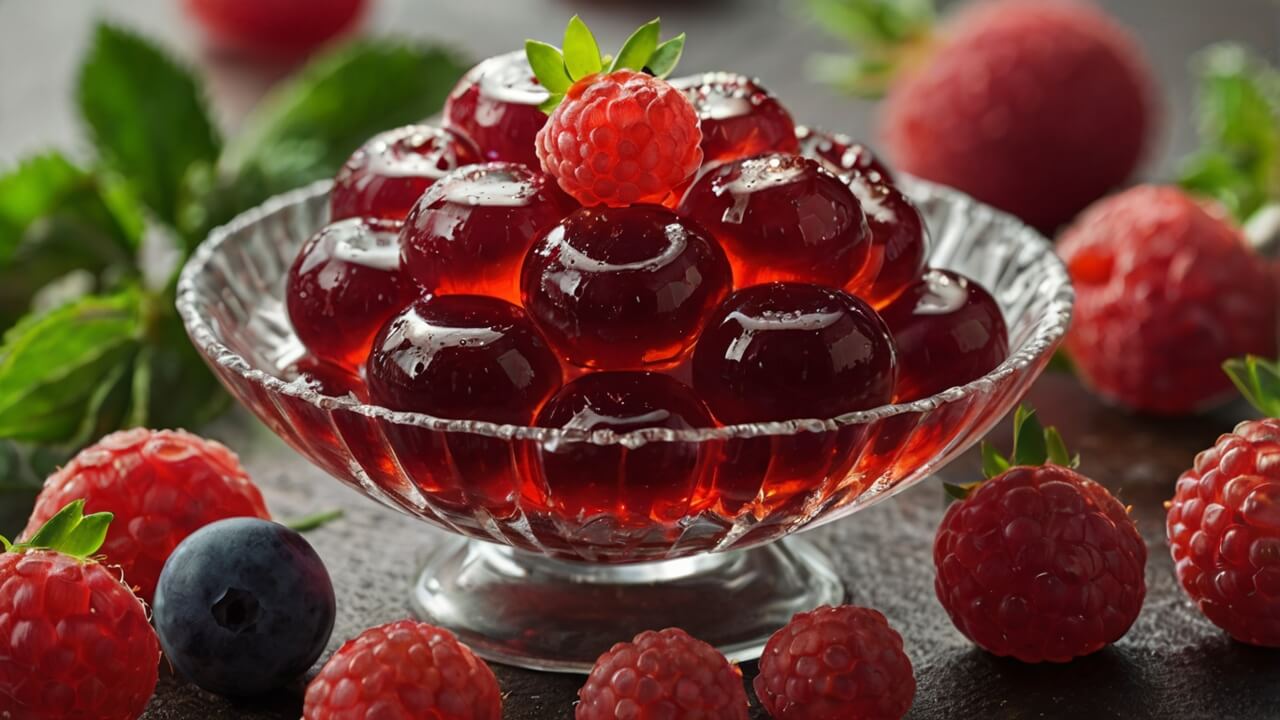
The agarita berry, also known as the algerita or berry holly, is a small, tart fruit native to the Southwestern United States and Northern Mexico.
Despite its diminutive size, this unassuming berry packs a punch of flavor and culinary potential that has been celebrated by indigenous communities for centuries.
Agarita berries have a unique, slightly acidic taste that lends itself beautifully to jams, jellies, and syrups. Their vibrant red hue not only adds a pop of color to dishes but also hints at their rich antioxidant content.
Beyond their culinary uses, agarita berries have been traditionally used for medicinal purposes, further highlighting their versatility.
In recent years, there has been a growing interest in incorporating native ingredients into modern cuisine. Agarita berries represent an opportunity to celebrate the diverse flavors and traditions of the Southwest while promoting sustainable and locally-sourced ingredients.
By embracing these native berries, we not only preserve culinary heritage but also contribute to the conservation of local ecosystems.
Identifying and Understanding Agarita Berries
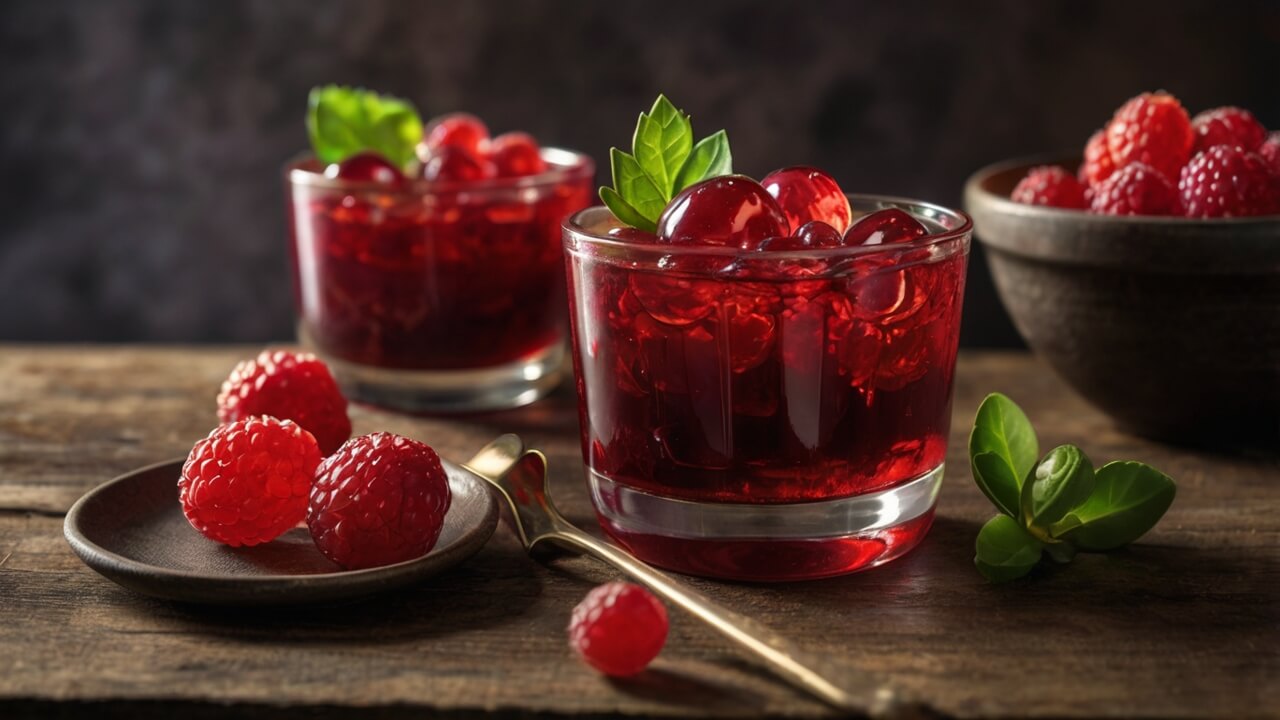
Agarita (pronounced ah-guh-REE-tuh), also known as algerita, berberina, or currant of Texas, is a small berry that grows on thorny shrubs native to the southwestern United States and northern Mexico. These berries are a true gem of the region, offering a unique and tangy flavor profile that sets them apart from other berry varieties.
Agarita berries are small, round, and range in color from bright red to deep purple-black when fully ripe. They grow in clusters along the branches of the agarita shrub, which can reach up to 6 feet in height. The berries are typically harvested in late summer or early fall, when they are at their peak ripeness.
Identifying agarita berries in the wild can be a bit tricky, as they resemble some other berry varieties. However, a few key characteristics can help you distinguish them:
- Leaves: The agarita shrub has small, oval-shaped leaves with a slightly waxy texture and a grayish-green color.
- Thorns: The branches of the agarita shrub are covered in sharp, slender thorns, which can make harvesting a bit challenging.
- Taste: Agarita berries have a distinct, tangy flavor that is often described as a combination of tart and sweet, with hints of cranberry and lemon.
While agarita berries are edible and safe for consumption, it’s important to note that their flavor can be quite intense and sour when eaten raw. Most people prefer to use them in jams, jellies, or other preserves, where the tartness can be balanced with sugar or other sweeteners.
The flavor profile of agarita berries is truly unique and memorable. In addition to their tangy notes, they often have a slight resinous or piney undertone, which adds depth and complexity to their taste. This distinctive flavor makes agarita berry jelly a sought-after delicacy in the Southwest and a perfect way to showcase the region’s native ingredients.
Harvesting Agarita Berries
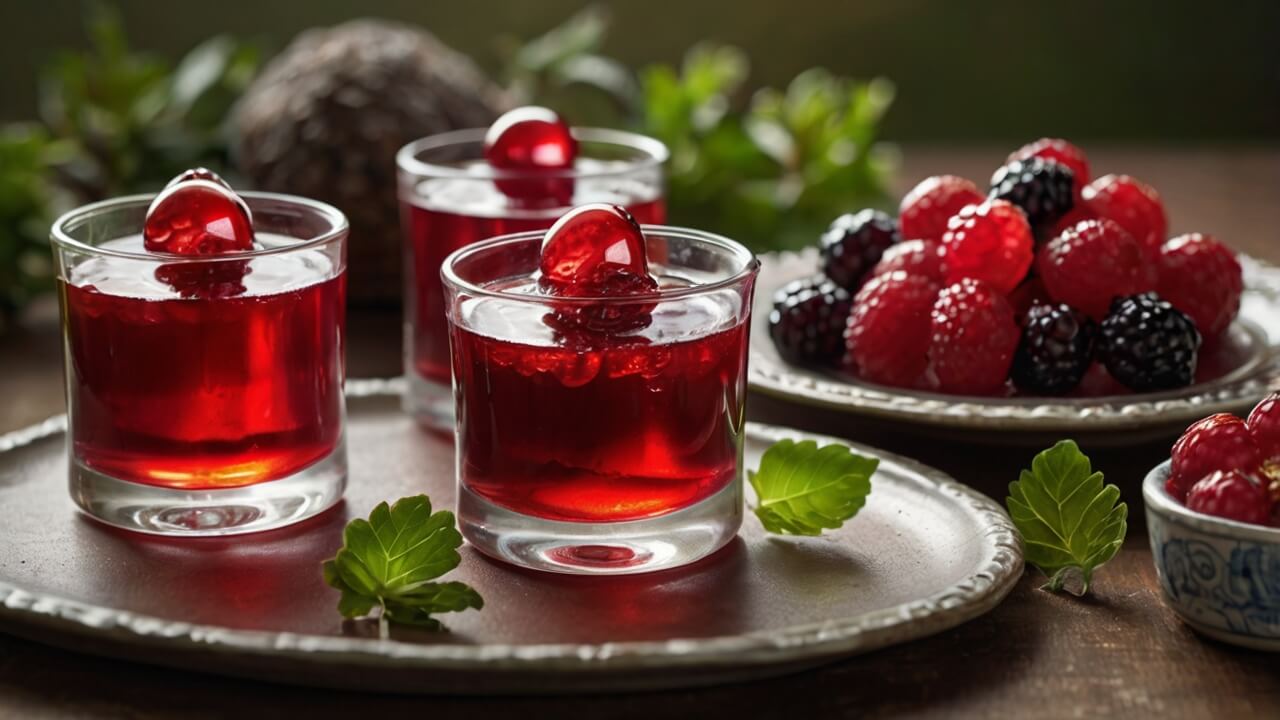
Agarita berries are a true treasure of the Southwest, but harvesting them requires care and patience. These tart, ruby-hued berries grow on the agarita shrub, a thorny plant native to the region. Proper harvesting techniques not only ensure a bountiful yield but also protect you from the plant’s formidable thorns.
Safety First: Before venturing out, equip yourself with sturdy gloves, long sleeves, and pants to shield your skin from scratches. Wear closed-toe shoes for added protection, and consider bringing a small pruning shears or scissors to snip off clusters of berries.
Timing is Key: The optimal time to harvest agarita berries is in late summer or early fall, typically from August to October. Keep an eye out for deep red, plump berries that are easily detached from the stem. Avoid picking unripe, green berries, as they will be incredibly tart and lack the desired flavor.
Efficient Harvesting: Work methodically, gently plucking or snipping off clusters of ripe berries. Use a shallow container or basket to collect the berries, being careful not to crush them. If you encounter a particularly thorny branch, use your pruning shears to snip off the entire cluster, then separate the berries later.
Maximize Your Yield: Agarita shrubs can grow quite tall, so consider bringing a step stool or ladder to reach higher branches safely. Additionally, check the plant thoroughly, as berries can sometimes hide under the foliage or near the base of the shrub.
Respect the Plant: While it’s tempting to strip a shrub of all its berries, leave some behind for wildlife and to ensure the plant’s continued propagation. Overharvesting can deplete local populations, so practice moderation and sustainability.
With these best practices in mind, you’ll not only have a successful and enjoyable harvesting experience but also contribute to the preservation of this unique Southwest treasure.
Preparing the Berries
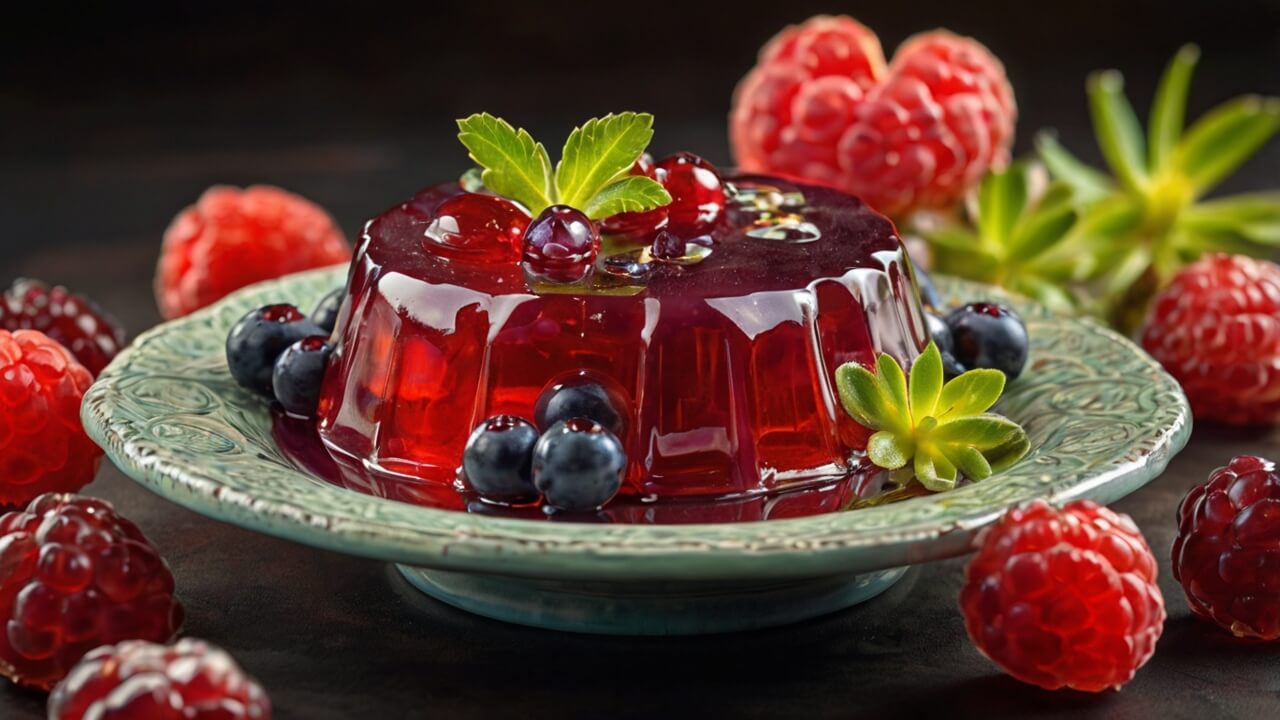
Once you’ve harvested your fresh agarita berries, the next step is to prepare them for jelly-making. Proper preparation is crucial to ensure a smooth and efficient process, as well as a high-quality final product.
Cleaning the Berries
Begin by spreading the berries out on a clean surface or a large baking sheet. Carefully inspect them and remove any debris, twigs, or damaged berries. You can use a soft-bristle brush or your fingers to gently brush off any dirt or residue.
Sorting the Berries
Sort through the berries, separating any overripe or underripe ones from the perfectly ripe berries. Overripe berries may have a slightly fermented taste, while underripe berries can be too tart and affect the overall flavor balance. Aim to use only the fully ripe berries for the best results.
Removing Stems (Optional)
While not strictly necessary, removing the stems from the agarita berries can result in a smoother and more visually appealing jelly. This step can be time-consuming, but it’s worth the effort if you prefer a cleaner final product.
To remove the stems, hold each berry gently between your thumb and forefinger and twist the stem off. Alternatively, you can use a small pair of scissors or kitchen shears to snip the stems off. Work carefully to avoid crushing or damaging the berries.
Once you’ve cleaned, sorted, and (optionally) de-stemmed the berries, they’re ready for the next step: extracting the juice. Proper preparation ensures that you’ll have a high-quality base for your delicious agarita berry jelly.
Extracting the Juice
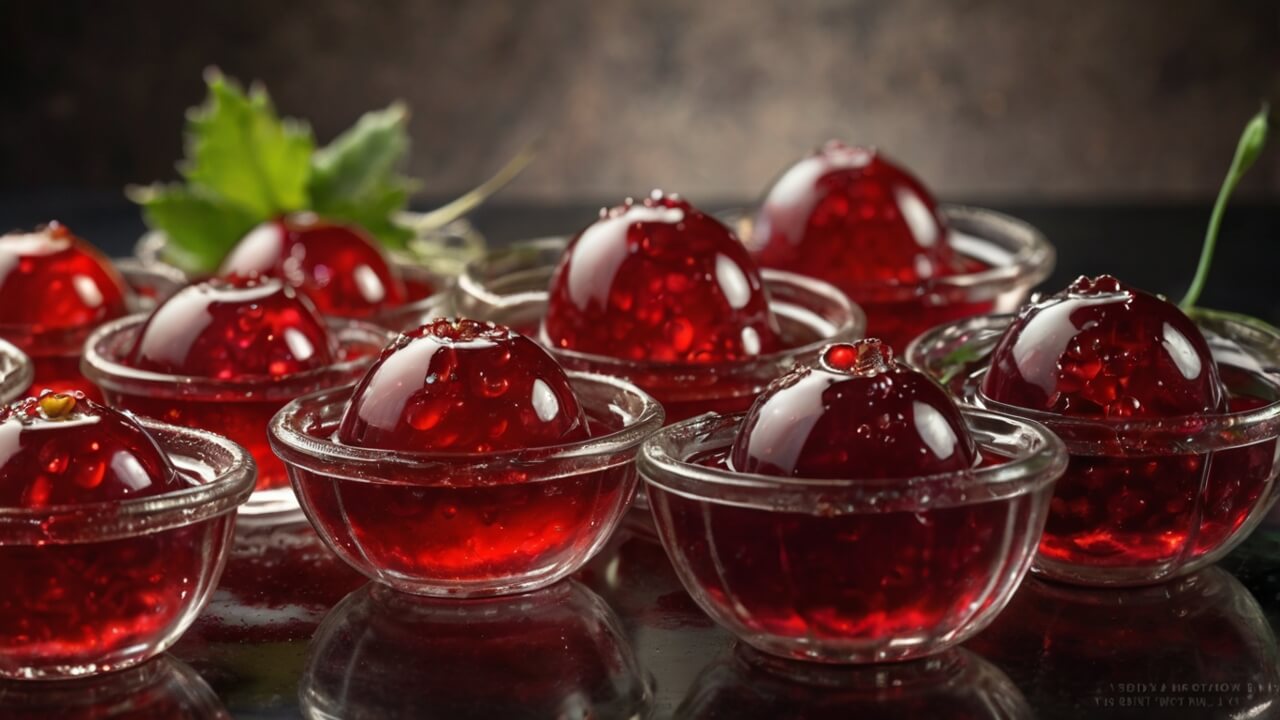
Once you have prepared the agarita berries by cleaning and sorting them, the next step is to extract the juice. This process is crucial for obtaining the vibrant color and rich flavor that will give your agarita berry jelly its unique character.
Cooking and Mashing Techniques
One effective method for extracting the juice is to cook the berries over medium heat. Place the berries in a large saucepan or pot and add just enough water to cover the bottom. As the berries heat up, they will release their juices. Use a potato masher or a fork to gently mash the berries, helping to release more juice.
Alternatively, you can skip the cooking step and mash the raw berries using a food mill or a blender. This method may yield a slightly different flavor profile, but it can be more convenient and time-saving.
Straining Methods for Optimal Juice Extraction
After mashing the berries, you’ll need to strain the mixture to separate the juice from the solids. There are a few different straining methods you can use:
- Cheesecloth or Jelly Bag: Line a fine mesh strainer with a cheesecloth or a jelly bag. Pour the mashed berry mixture into the strainer and allow the juice to drain through, leaving the solids behind.
- Food Mill: If you used a food mill to mash the berries, you can simply use the mill’s straining mechanism to separate the juice from the solids.
- Fine Mesh Strainer: For a more hands-on approach, you can use a fine mesh strainer and a spoon or a spatula to press the mashed berry mixture through the strainer, extracting as much juice as possible.
Whichever method you choose, be patient and allow the juice to drain fully. You may need to repeat the straining process a few times to ensure you’ve extracted as much juice as possible.
Once you have your agarita berry juice, you’re ready to move on to the next step: making the jelly itself. The vibrant color and unique flavor of the extracted juice will be the star of your homemade agarita berry jelly.
Making Agarita Berry Jelly

Once you’ve extracted the juice from the agarita berries, you’re ready to transform it into a delicious jelly. This section will cover two methods: using Pomona’s Pectin or SureJell, and an alternative method without added pectin.
Using Pomona’s Pectin or SureJell
Pomona’s Pectin and SureJell are two popular pectin products that ensure a reliable jelly set without the need for excessive sugar. Here’s how to make agarita berry jelly using these products:
- Prepare the Pectin Mix: In a small bowl, whisk together the pectin powder and calcium water (included in the Pomona’s Pectin box) until fully dissolved.
- Combine Ingredients: In a large saucepan, combine the agarita berry juice, lemon juice, and the appropriate amount of sugar (refer to the package instructions for the pectin-to-sugar ratio).
- Add Pectin Mix: Bring the mixture to a rolling boil over high heat, stirring constantly. Once it reaches a full boil, add the pectin mix and stir vigorously for 1-2 minutes.
- Test for Set: Remove a small amount of the jelly mixture and place it on a chilled plate. Allow it to cool slightly, then run your finger through it. If it forms a gel-like consistency and leaves a distinct trail, the jelly is ready.
- Can or Jar: Carefully ladle the hot jelly into sterilized jars, leaving 1/4 inch of headspace. Wipe the rims clean and secure the lids.
- Process for Shelf-Stability: If canning for long-term storage, process the sealed jars in a boiling water bath according to the manufacturer’s instructions.
Alternative Method Without Added Pectin
If you prefer not to use commercial pectin, you can make agarita berry jelly using the natural pectin present in the berries and lemon juice. This method requires a higher sugar content and longer cooking time.
- Combine Ingredients: In a large saucepan, combine the agarita berry juice, lemon juice, and an equal amount of sugar (e.g., 4 cups of juice and 4 cups of sugar).
- Cook and Reduce: Bring the mixture to a boil over high heat, stirring constantly. Once it reaches a rolling boil, reduce the heat to medium-low and continue simmering, stirring frequently, until the mixture reaches the desired gel stage (about 20-30 minutes).
- Test for Set: Perform the gel test as described in the previous method. The jelly should form a thick, gel-like consistency when cooled.
- Can or Jar: Carefully ladle the hot jelly into sterilized jars, leaving 1/4 inch of headspace. Wipe the rims clean and secure the lids.
- Process for Shelf-Stability: If canning for long-term storage, process the sealed jars in a boiling water bath according to standard canning guidelines.
Remember, patience and attentive stirring are key when making jelly without added pectin. The natural pectin in the berries and lemon juice will help the jelly set, but it may take longer to reach the desired consistency.
Canning and Preserving the Jelly
Once you’ve cooked your agarita berry jelly to the desired consistency, it’s time to preserve it for long-term storage. Proper canning and sealing techniques are crucial to ensure your jelly remains fresh and safe for consumption.
For canning, start by sterilizing your jars and lids. You can do this by submerging them in boiling water for at least 10 minutes. Carefully remove them from the water using tongs or a jar lifter, and place them on a clean towel to air dry.
Ladle the hot jelly into the sterilized jars, leaving about 1/4 inch of headspace at the top. Use a clean, damp cloth to wipe the rims of the jars, ensuring they are free of any residue or stickiness.
Place the lids on top and screw on the rings, but don’t overtighten them. Submerge the sealed jars in a boiling water bath canner or a large pot with enough water to cover the jars by at least 1 inch. Process the jars for the recommended time based on your altitude and the size of the jars, typically 5 to 10 minutes.
After processing, carefully remove the jars from the water bath using a jar lifter and place them on a towel or a heat-resistant surface. Allow them to cool completely, undisturbed, for 12 to 24 hours. As the jars cool, you should hear a satisfying “pop” sound as the lids seal properly.
To test the seals, gently press down on the center of each lid. If it doesn’t move, the seal is secure. Any jars with improperly sealed lids should be refrigerated and consumed within a few weeks.
Alternatively, you can freeze your agarita berry jelly for long-term storage. Simply ladle the hot jelly into freezer-safe containers or jars, leaving about 1/2 inch of headspace to allow for expansion during freezing. Seal the containers tightly and label them with the date. Properly frozen jelly can last for up to a year in the freezer.
Regardless of your chosen preservation method, it’s essential to ensure proper sealing to prevent spoilage and maintain the quality of your homemade agarita berry jelly.
Adjusting Flavor and Sugar Content
One of the advantages of making homemade jelly is the ability to customize the flavor and sweetness to suit your preferences. With agarita berry jelly, you have several options to tweak the taste and achieve the perfect balance.
Customizing Sugar Content
The amount of sugar in the jelly recipe can be adjusted based on your desired sweetness level and the natural tartness of the berries. If you prefer a less sweet jelly, reduce the sugar by up to 1/4 cup. For a sweeter jelly, increase the sugar by the same amount. Keep in mind that reducing the sugar too much may affect the jelly’s ability to set properly.
Flavor Profile Adjustments
Agarita berries have a unique flavor that can be enhanced or complemented by adding other ingredients. Here are some suggestions:
- Citrus Zest: Grate a small amount of lemon, lime, or orange zest into the jelly mixture for a bright, tangy note.
- Spices: Experiment with warm spices like cinnamon, nutmeg, or cloves for a hint of warmth and depth.
- Vanilla Extract: A touch of vanilla can enhance the berry flavor and add a subtle richness.
- Herbs: Fresh herbs like rosemary or thyme can provide an unexpected and delightful twist.
Adding Honey
For a distinct flavor and natural sweetness, consider substituting part of the sugar with honey. Start by replacing 1/4 cup of sugar with an equal amount of honey. Adjust the ratio to your taste, keeping in mind that honey can affect the jelly’s setting point.
When experimenting with flavor adjustments, it’s best to start with small amounts and taste the mixture before proceeding. This will allow you to fine-tune the flavors until you achieve the desired taste. Remember to make notes of any successful variations for future reference.
Expert Tips and Variations
Insights from Experienced Agarita Berry Jelly Makers:
- For a deeper, richer flavor, consider roasting the agarita berries before cooking and juicing them. This caramelizes the natural sugars and brings out their unique tartness.
- Experiment with different ratios of sugar to juice to find your desired level of sweetness. Some prefer a more tart jelly, while others enjoy a sweeter spread.
- If you notice excessive foam during the cooking process, add a small amount of butter or margarine to help reduce foaming.
Creative Variations and Combinations:
- Infuse your agarita berry jelly with complementary flavors like rosemary, lavender, or citrus zest for a unique twist.
- Create a spiced version by adding warm spices like cinnamon, cloves, or star anise to the cooking juice.
- For a boozy touch, substitute a portion of the juice with red wine, sherry, or even tequila for an adults-only treat.
- Combine agarita berries with other foraged fruits like crabapples or wild plums for a delightful mixed berry jelly.
- Elevate your jelly with a touch of heat by incorporating dried chili peppers or a pinch of cayenne pepper.
- Experiment with different pectin sources, such as apple or citrus pectin, for varying textures and set levels.
Remember, jelly-making is an art, and these variations allow you to put your personal spin on this unique Southwest delicacy. Don’t be afraid to play around and discover your favorite flavor combinations!
Conclusion
In this comprehensive guide, we’ve explored the unique world of agarita berries and learned how to transform these tart, vibrant gems into a delectable homemade jelly. From responsibly harvesting the berries to mastering the art of juice extraction and achieving the perfect set, each step has been carefully crafted to ensure your success.
Remember, the beauty of this recipe lies in its adaptability. Don’t be afraid to experiment with different pectin varieties, adjust the sugar content to suit your taste preferences, or even incorporate complementary flavors like honey or citrus zest. Embrace the joy of culinary exploration and make this recipe your own.
Once you’ve savored the tangy, sweet delight of your homemade agarita berry jelly, we encourage you to share your creations with the world. Use the hashtag #AgaritaBerryJelly on social media to showcase your masterpieces and inspire others to embark on this flavorful journey.
Finally, we invite you to subscribe to our newsletter to receive more unique recipes, foraging tips, and insights into the captivating world of native ingredients. Together, we can celebrate the rich culinary heritage of the Southwest and uncover nature’s hidden treasures, one berry at a time.

