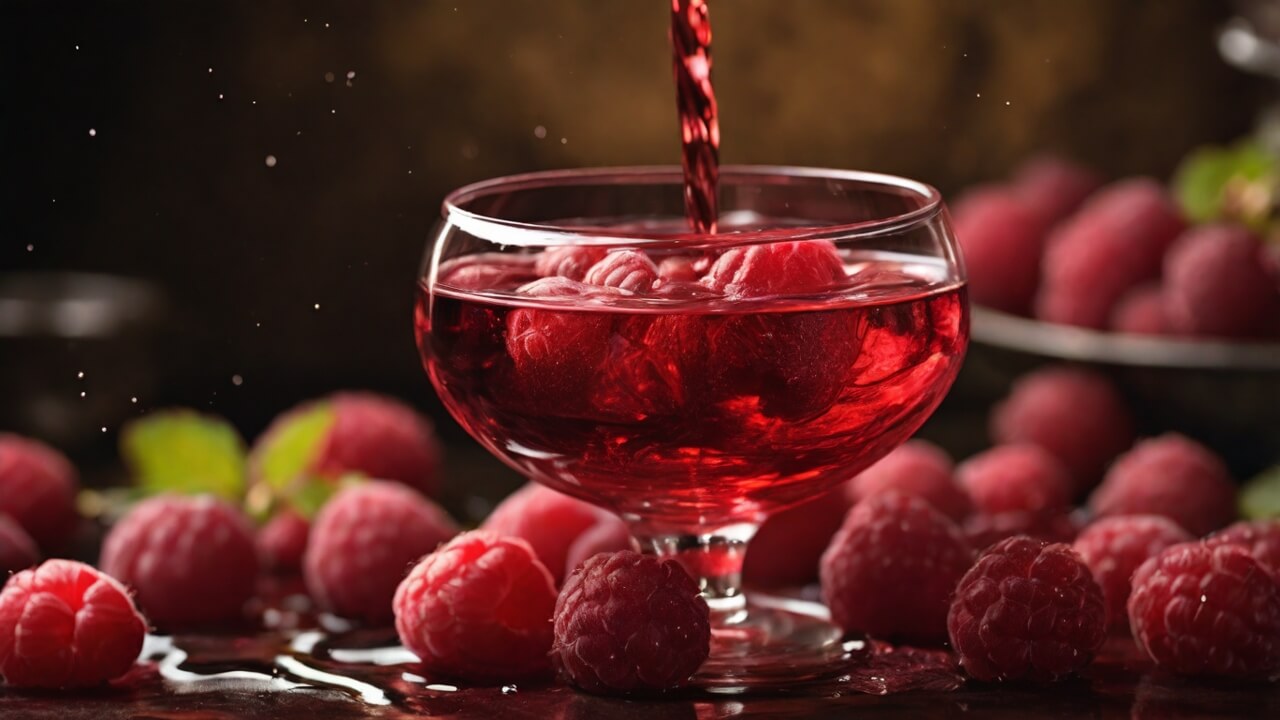
Raspberry wine is a delightful and refreshing fruit wine that has captured the hearts of winemakers and wine enthusiasts alike. With its vibrant ruby hue and tantalizing aroma, this wine offers a delightful blend of sweetness and tartness, making it a versatile choice for any occasion.
The art of crafting raspberry wine dates back centuries, with evidence of its production found in ancient civilizations. Throughout history, raspberries have been revered for their unique flavor and nutritional value, and their incorporation into winemaking has been a testament to the ingenuity and creativity of winemakers.
While the process of making raspberry wine may seem daunting to some, following a detailed recipe is crucial to achieving a well-balanced and flavorful end product. Each step, from selecting the right raspberries to monitoring the fermentation process, plays a vital role in determining the wine’s character and quality.
By adhering to a comprehensive guide, home winemakers can unlock the secrets of this captivating beverage, ensuring a consistent and enjoyable experience with every sip.
Whether you’re a seasoned winemaker or a curious newcomer, the allure of raspberry wine lies in its ability to transport you to a realm of indulgence and delight.
Ingredients for 5 Gallon Raspberry Wine

To craft a delectable 5-gallon batch of raspberry wine, you’ll need the following ingredients:
- 20 lbs of fresh or frozen raspberries: The star of the show, raspberries provide the wine’s distinctive flavor and beautiful color. Fresh raspberries offer a more vibrant taste, but frozen berries are a convenient alternative.
- 10 lbs of granulated sugar: Sugar is essential for the fermentation process, providing the fuel for the yeast to convert into alcohol.
- 1 packet of wine yeast (5 grams): Yeast is the driving force behind fermentation, transforming the sugars into alcohol. Choose a strain specifically designed for fruit wines, such as Lalvin 71B or Red Star Premier Cuvée.
- 1 tsp yeast nutrient: Yeast nutrient supplies essential vitamins and minerals to support healthy yeast growth and fermentation.
- 1/2 tsp pectic enzyme: Pectic enzyme helps break down the pectin in the raspberries, improving juice extraction and clarity.
- 1 Campden tablet: Campden tablets (potassium or sodium metabisulfite) are used to kill any wild yeast or bacteria present, ensuring a clean fermentation.
- 5 gallons of water: Clean, unchlorinated water is necessary for diluting the concentrated raspberry juice and creating the desired volume.
Each ingredient plays a crucial role in the winemaking process, from providing flavor and color to facilitating fermentation and ensuring stability. By carefully measuring and incorporating these components, you’ll be well on your way to crafting a delightful raspberry wine.
Equipment Needed
When embarking on your 5-gallon raspberry wine journey, having the right equipment is crucial. Here’s an overview of the essential tools you’ll need:
- Primary Fermenter: A food-grade plastic bucket or carboy with a capacity of at least 6.5 gallons to accommodate the initial fermentation and allow headspace for foam.
- Secondary Fermenter: A 5-gallon or larger glass carboy for the secondary fermentation stage.
- Airlock and Bung: An airlock allows carbon dioxide to escape while preventing air from entering the fermenter, and a bung seals the carboy opening.
- Siphon Hose: A food-grade plastic hose for transferring the wine between containers during racking.
- Hydrometer and Test Jar: A hydrometer measures the specific gravity of the wine, indicating the fermentation progress, while the test jar holds a wine sample for hydrometer readings.
- Wine Bottles and Corker: Reusable wine bottles with a capacity of 750ml and a corker to seal the bottles.
- Bottle Filler: A simple tool that helps fill bottles neatly and efficiently.
- Sanitizing Solution: A no-rinse sanitizer like Star San or potassium metabisulfite to keep equipment clean and prevent contamination.
- Mesh Bag or Strainer: For separating the fruit from the wine during the initial fermentation.
- Bottle Brush and Carboy Brush: Specialized brushes for cleaning bottles and carboys thoroughly.
- Wine Thief: A small plastic cylinder used to extract wine samples for testing and tasting.
Having the right equipment not only ensures a smooth winemaking process but also helps maintain the quality and consistency of your raspberry wine.
Preparing the Raspberries
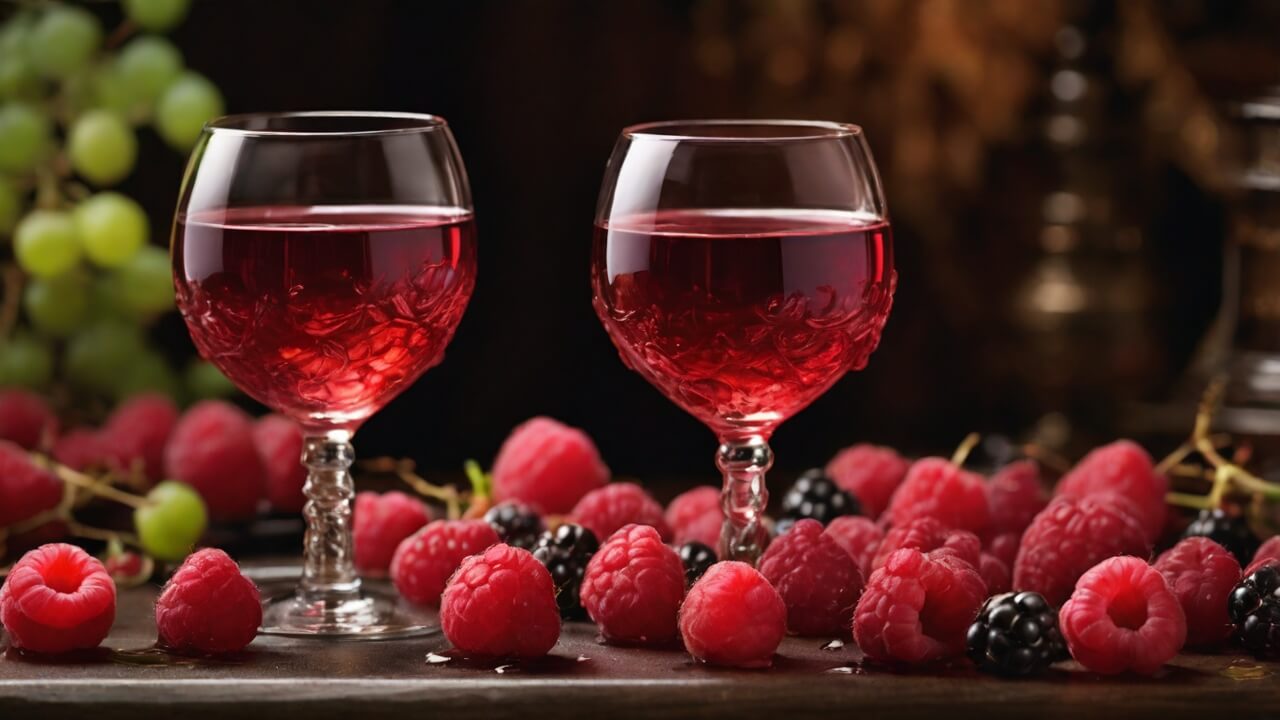
The quality of your raspberries will significantly impact the flavor and aroma of your homemade raspberry wine. Therefore, it’s essential to handle them with care and prepare them properly.
For fresh raspberries, start by gently rinsing them under cool water to remove any dirt or debris. Avoid soaking or agitating them excessively, as this can cause them to become waterlogged and lose flavor. Carefully pick through the berries, discarding any that appear moldy or damaged.
If using frozen raspberries, there’s no need to thaw them before use. Simply measure out the required amount while they’re still frozen. Frozen raspberries are often picked and frozen at peak ripeness, ensuring maximum flavor and aroma.
Once you’ve gathered your raspberries, gently crush them using a potato masher or similar tool. Be careful not to over-mash, as this can release too much pectin and create a hazy wine. Aim for a coarse puree with some chunks remaining.
Next, transfer the crushed raspberries to a fermentation vessel or primary fermenter. If using fresh raspberries, you may need to add some water to the puree to reach the desired volume. For frozen raspberries, the natural juices released during thawing should provide enough liquid.
At this stage, you can also consider adding other complementary fruits, such as strawberries or blackberries, to create a unique blend. Just remember to adjust the recipe’s quantities accordingly.
Tip: If you’re using fresh raspberries and notice a lack of natural juices, you can gently heat a portion of the crushed berries to release more liquid. Be careful not to overheat or cook the berries, as this can alter their flavor.
Whether you’re using fresh or frozen raspberries, the key is to handle them gently and avoid excessive crushing or heating, which can diminish the delicate flavors and aromas that make raspberry wine so special.
Primary Fermentation
The primary fermentation is a crucial stage in the winemaking process where the magic begins. During this phase, the yeast converts the natural sugars from the raspberries into alcohol, producing the base for your delicious raspberry wine. Proper preparation and attention to detail are essential to ensure a successful fermentation.
Step 1: Sanitize Equipment
Before beginning, it’s crucial to sanitize all equipment that will come into contact with the wine. This includes the primary fermentation vessel, airlock, siphon, and any other tools you’ll be using. Sanitization helps prevent the growth of unwanted bacteria or wild yeast, which can spoil your wine. Use a food-grade sanitizer like potassium metabisulfite or Star San, following the manufacturer’s instructions.
Step 2: Prepare the Must
In a large, sanitized fermentation vessel, combine the following ingredients:
- Raspberry puree or juice (from the prepared raspberries)
- Water (to top up to 5 gallons)
- Granulated sugar (follow the recipe’s recommended amount)
- Pectic enzyme (helps break down fruit solids)
- Yeast nutrient (provides essential nutrients for yeast growth)
Stir the mixture thoroughly to dissolve the sugar and evenly distribute the ingredients.
Step 3: Add Yeast
Once the must (unfermented grape juice) has cooled to the appropriate temperature, typically between 70°F and 75°F, it’s time to add the wine yeast. Sprinkle the yeast over the surface of the must and gently stir to incorporate it. Cover the fermentation vessel with a sanitized lid and airlock to allow carbon dioxide to escape while preventing air from entering.
Step 4: Monitor and Maintain
Within 24 to 48 hours, you should notice signs of fermentation, such as bubbling or foaming. Maintain the fermentation temperature within the recommended range, typically between 65°F and 75°F, for optimal yeast activity.
During the primary fermentation, which can last anywhere from 5 to 14 days, monitor the progress closely. You may need to “punch down” the cap (the solid fruit matter that rises to the top) once or twice a day to ensure even fermentation.
Timing is crucial during this stage. Once the fermentation slows down and the specific gravity readings stabilize, indicating that most of the sugars have been converted to alcohol, it’s time to move on to the secondary fermentation phase.
By following these steps meticulously and maintaining proper sanitization and temperature control, you’ll be well on your way to creating a flavorful and well-rounded raspberry wine.
Monitoring Primary Fermentation
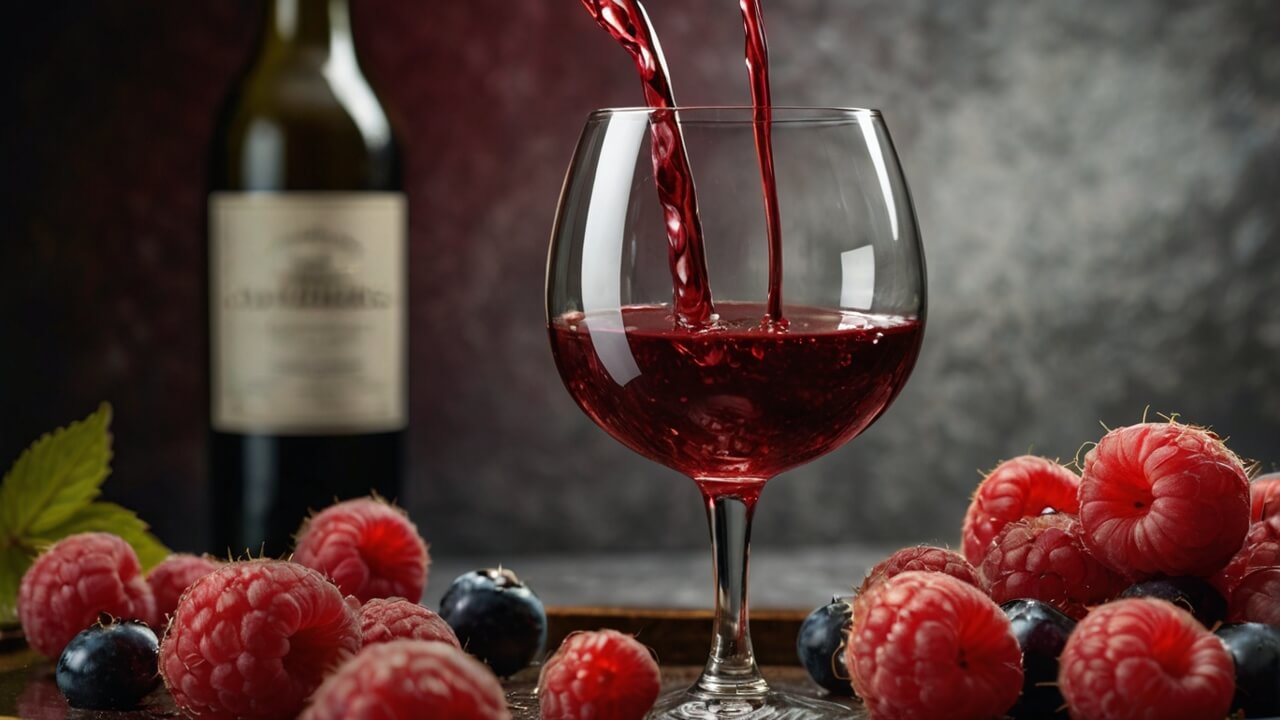
During the primary fermentation stage, it’s crucial to monitor the progress closely to ensure a successful outcome. Active fermentation is characterized by several visible signs, including bubbles rising to the surface, a cap of fruit solids forming on top, and a distinctive fermenting aroma.
One of the most reliable ways to track fermentation progress is by taking regular specific gravity readings. Specific gravity is a measure of the density of the fermenting liquid relative to water. As the yeast consumes the sugars, the specific gravity decreases, indicating the fermentation’s progression.
To take a specific gravity reading, use a hydrometer, a simple tool designed for this purpose. Gently remove a sample of the fermenting liquid and float the hydrometer in it. Note the reading on the hydrometer’s scale, which typically ranges from 0.990 to 1.120 for wine musts.
It’s recommended to take an initial specific gravity reading before adding the yeast, known as the Original Gravity (OG). As fermentation progresses, take regular readings, ideally once or twice a day. When the specific gravity readings remain stable for two to three consecutive days, it indicates that the primary fermentation is complete, and the wine is ready for the next step.
Monitoring the specific gravity is crucial because it helps you determine when to proceed with racking (transferring the wine to a clean container) and secondary fermentation. Allowing the wine to ferment too long can lead to off-flavors, while racking too early can result in a stuck fermentation. By closely tracking the specific gravity, you can make informed decisions and ensure a smooth winemaking process.
Secondary Fermentation
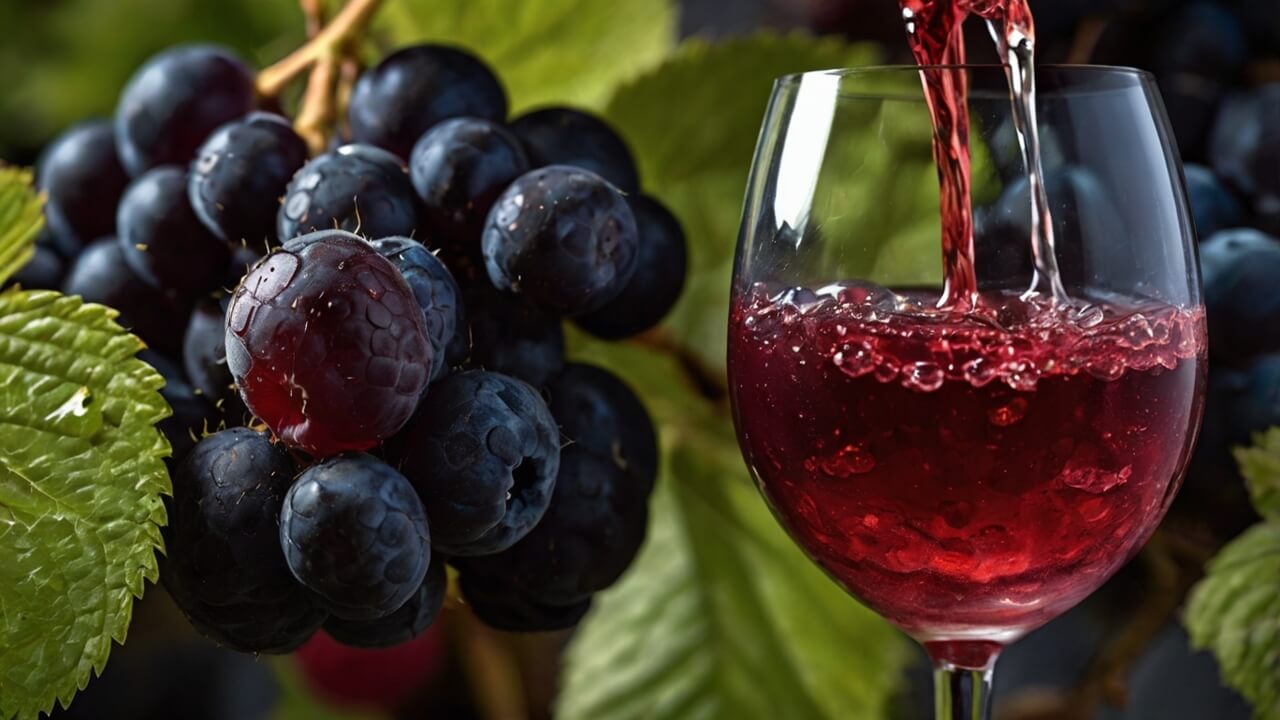
After the primary fermentation has completed, typically within 5-7 days, it’s time to transfer the wine into a clean, sanitized carboy for the secondary fermentation stage. This process, known as racking, separates the wine from the thick sediment of spent yeast and fruit pulp.
To rack your raspberry wine, carefully siphon the liquid off the sediment, leaving behind as little of the solid matter as possible. Top up the carboy with an inert gas like nitrogen or carbon dioxide to minimize oxygen exposure. Attach an airlock filled with sanitizing solution to allow carbon dioxide to escape while preventing air from entering.
During secondary fermentation, the wine will continue fermenting at a slower rate, gradually clearing and developing more complex flavors. This phase can last anywhere from 2-6 weeks, depending on factors like temperature and the specific yeast strain used.
Monitoring the wine’s specific gravity is crucial during this stage. Specific gravity measures the density of the liquid compared to water and indicates the presence of residual sugars. As fermentation progresses, the specific gravity will gradually decrease until it stabilizes, signaling that all fermentable sugars have been converted to alcohol.
Take specific gravity readings every few days using a hydrometer or other suitable device. Once the readings remain constant for a week or more, fermentation is complete, and the wine is ready for the next steps. Patience is key during this phase, as premature bottling can lead to off-flavors or potential bottle bombs from residual fermentation.
Stabilizing and Clearing the Wine
After the secondary fermentation is complete, it’s time to stabilize and clear your raspberry wine before bottling. This process ensures that your wine is free from any residual fermentation, preserving its flavor and preventing any unwanted changes in the bottle.
The first step is to add potassium metabisulfite and potassium sorbate to the wine. Potassium metabisulfite is a preservative that inhibits the growth of unwanted bacteria and wild yeast, while potassium sorbate prevents any further fermentation by inhibiting yeast reproduction.
Next, you’ll need to fine your wine to improve its clarity and remove any remaining haze or sediment. Fining agents are compounds that bind to suspended particles in the wine, causing them to clump together and fall to the bottom of the carboy. Common fining agents for raspberry wine include:
- Bentonite: A clay-based fining agent that removes protein haze.
- Sparkolloid: A combination of silica gel and kieselsol, effective for removing yeast and other particulates.
- Isinglass: A fining agent derived from fish bladders, excellent for removing tannins and improving clarity.
Follow the manufacturer’s instructions for the appropriate dosage and mix the fining agent with a small amount of water before gently stirring it into the wine. Allow the wine to rest for several weeks, during which time the sediment will settle to the bottom of the carboy.
Finally, you’ll need to rack your wine off the sediment, carefully siphoning or transferring the clear wine into a clean carboy or bottling bucket, leaving the sediment behind. This step may need to be repeated multiple times until the wine is brilliantly clear.
With your raspberry wine stabilized and clarified, it’s now ready for bottling and aging, ensuring a delightful and crystal-clear homemade wine to enjoy for years to come.
Bottling Your Raspberry Wine
After the fermentation process is complete and your raspberry wine has cleared, it’s time to bottle the final product. Proper bottling is crucial to preserve the wine’s quality and prevent spoilage. Here are the guidelines for bottling your homemade raspberry wine:
Sanitize Everything: Before bottling, ensure that all equipment, including bottles, corks or caps, and any tools, are thoroughly sanitized. Even a trace of bacteria can ruin your wine. Use a specialized sanitizing solution or a diluted bleach mixture to clean all surfaces that will come into contact with the wine.
Choose the Right Bottles: Select bottles designed for wine storage, such as standard wine bottles with a narrow neck. Avoid using repurposed bottles, as they may not be suitable for long-term storage. If you plan to age your wine, consider using dark-colored bottles to protect it from light exposure.
Bottle Filling: Siphon the wine carefully into the bottles, leaving a small air gap at the top known as the headspace. This headspace allows for wine expansion during aging and prevents excessive oxygen exposure.
Cork or Cap: For a traditional look and aging potential, use high-quality wine corks. Ensure that the corks are properly sanitized and inserted with a corker tool. Alternatively, you can use screw caps or other wine bottle closures, which provide an airtight seal and are easier to open and reseal.
Label and Date: Label your bottles with the wine type, vintage date, and any additional notes. This will help you keep track of your wines as they age and develop their flavors.
Storage: Store your bottled raspberry wine in a cool, dark place with consistent temperatures, ideally between 55°F and 65°F (13°C to 18°C). Avoid exposure to direct sunlight, vibrations, and temperature fluctuations, as these can negatively impact the wine’s quality.
By following these guidelines, you can ensure that your homemade raspberry wine is properly bottled, sealed, and stored, allowing it to age gracefully and develop its full flavor potential. Enjoy your handcrafted creation and savor the rewards of your winemaking journey!
Aging and Enjoying Your Raspberry Wine
Once bottled, your raspberry wine will continue to mature and develop complexity over time. Proper aging is essential to allow the bold fruit flavors to mellow and integrate with the other nuances in the wine. Here are some tips for aging and enjoying your homemade raspberry wine:
Aging Timeline
- 3-6 months: At this stage, the wine will still have prominent raspberry flavors and a slightly tart, acidic taste. However, it will have lost some of the harsh, “green” flavors from fermentation.
- 6-12 months: The wine will start to smooth out, and the flavors will become more integrated. The bold raspberry notes will begin to mellow, revealing subtle nuances like floral aromas and hints of spice.
- 1-2 years: This is often considered the prime drinking window for raspberry wine. The flavors will have fully melded, resulting in a well-balanced, smooth, and complex wine with a velvety mouthfeel.
- 2+ years: While raspberry wine can continue to age gracefully for several years, it may start to lose some of its vibrant fruit character over time. However, some tasters enjoy the more subdued, nuanced flavors that develop with extended aging.
Aging Conditions
To ensure proper aging, store your raspberry wine bottles in a cool, dark place with consistent temperatures between 55-65°F (13-18°C). Fluctuations in temperature can cause the wine to prematurely oxidize or develop off-flavors. Additionally, keep the bottles horizontally to prevent the corks from drying out.
Serving Suggestions
Raspberry wine is a versatile and refreshing choice for various occasions. Here are some serving suggestions:
- Chilled: For warm weather or as an aperitif, serve your raspberry wine slightly chilled at 55-60°F (13-16°C) to highlight its bright, fruity flavors.
- Room Temperature: For a more mellow and complex experience, serve the wine at room temperature (around 65°F/18°C) to allow the subtle nuances to shine.
- Dessert Pairing: The sweetness and bold fruit flavors in raspberry wine make it an excellent accompaniment to desserts like chocolate cakes, cheesecakes, and berry-based treats.
- Cheese Pairing: The wine’s acidity and tannins pair well with creamy cheeses like brie, camembert, and mild blues.
Remember, aging and enjoying wine is a personal journey. Trust your palate and experiment to find the perfect aging time and serving style that suits your preferences. Cheers to your homemade raspberry wine!
Troubleshooting Common Issues
One of the most common issues faced during raspberry winemaking is a stuck fermentation. This occurs when the yeast becomes inactive before consuming all the available sugars, leaving the wine overly sweet and with an incomplete fermentation. To resolve this, you can try adding a yeast nutrient or energizer, gently rousing the sediment, or pitching a fresh batch of yeast.
Another potential problem is the development of off-flavors, such as a vinegary or rotten aroma. This can be caused by bacterial contamination or oxidation. To prevent off-flavors, ensure proper sanitization throughout the process and limit exposure to air during racking and bottling. If off-flavors are detected, you may need to discard the batch and start over.
Cloudiness in the finished wine can be frustrating, but it’s often a result of incomplete clarification or premature bottling. To address this, you can try adding clarifying agents like bentonite or isinglass, or simply allow more time for the wine to settle before bottling. Filtering the wine through a sterile pad can also help remove persistent haze.
Other common issues include:
- Slow or stuck fermentation: Ensure proper temperature control, nutrient levels, and yeast viability.
- Excessive foaming: Consider using a fermentation bucket with a wider surface area or add a foam control agent.
- Sulfur odors: This can be caused by certain yeast strains or high temperatures during fermentation. Allowing the wine to breathe or adding copper sulfate may help.
Remember, patience and meticulous attention to detail are key in winemaking. If issues persist, don’t hesitate to seek advice from experienced winemakers or consult professional resources.
Expert Winemaking Tips
Throughout the winemaking process, there are various techniques and strategies that experienced winemakers employ to enhance the quality and flavor of their raspberry wine. Here are some expert tips to consider:
Adjusting Acidity: The right balance of acidity is crucial for a well-rounded wine. If your raspberry wine tastes too tart or flat, you can adjust the acidity by adding potassium bicarbonate (to reduce acidity) or tartaric acid (to increase acidity). Start with small increments and taste as you go.
Experimenting with Fruit Blends: While raspberries are the star of this recipe, you can experiment with blending different fruit varieties to create unique flavor profiles. Try adding a small percentage of blackberries, cherries, or strawberries to complement the raspberry notes.
Oaking the Wine: Aging your raspberry wine with oak chips, cubes, or staves can impart complex flavors and aromas. Start with a small amount of oak and taste periodically to achieve the desired level of oak influence.
Enhancing Aroma and Bouquet: To intensify the aroma and bouquet of your raspberry wine, consider adding a small amount of dried elderflowers or rose petals during the fermentation process. These natural ingredients can contribute delightful floral notes.
Fortifying with Brandy: For a bolder and more full-bodied raspberry wine, you can fortify it by adding a small amount of brandy or other spirits after fermentation is complete. This technique can create a dessert-style wine with a higher alcohol content.
Blending Vintages: If you have multiple batches of raspberry wine from different years, consider blending them to create a more complex and well-rounded wine. Blending can help balance out any inconsistencies and create a harmonious flavor profile.
Experimenting with Yeast Strains: Different yeast strains can influence the wine’s flavor, aroma, and mouthfeel. Try experimenting with different strains to find the one that best complements your raspberry wine.
Remember, winemaking is an art, and these tips are merely suggestions. Don’t be afraid to trust your senses and make adjustments based on your personal preferences. Experimentation and creativity are key to crafting truly unique and memorable raspberry wines.
Conclusion
The journey of crafting your own 5-gallon batch of raspberry wine has been an enriching experience, combining art, science, and patience.
By following this comprehensive guide, you’ve learned the intricate steps of winemaking, from meticulously preparing the ingredients to carefully monitoring the fermentation process.
Now that you’ve bottled your homemade raspberry wine, the true reward lies in savoring its unique flavors and sharing it with loved ones. Remember, winemaking is an ever-evolving craft, and there’s always room for experimentation.
Don’t hesitate to play with different berry combinations, aging techniques, or even try your hand at other fruit wines.
We encourage you to embrace the winemaking community by sharing your experiences, successes, and challenges in the comments section below. Your insights may inspire and guide fellow enthusiasts on their own winemaking adventures.
Moreover, to continue expanding your knowledge and skills, consider subscribing to our newsletter. You’ll receive exclusive tips, recipes, and updates from seasoned winemakers, ensuring that your passion for this captivating hobby continues to flourish.
Raise a glass to your accomplishment and let the journey of homemade winemaking continue!

