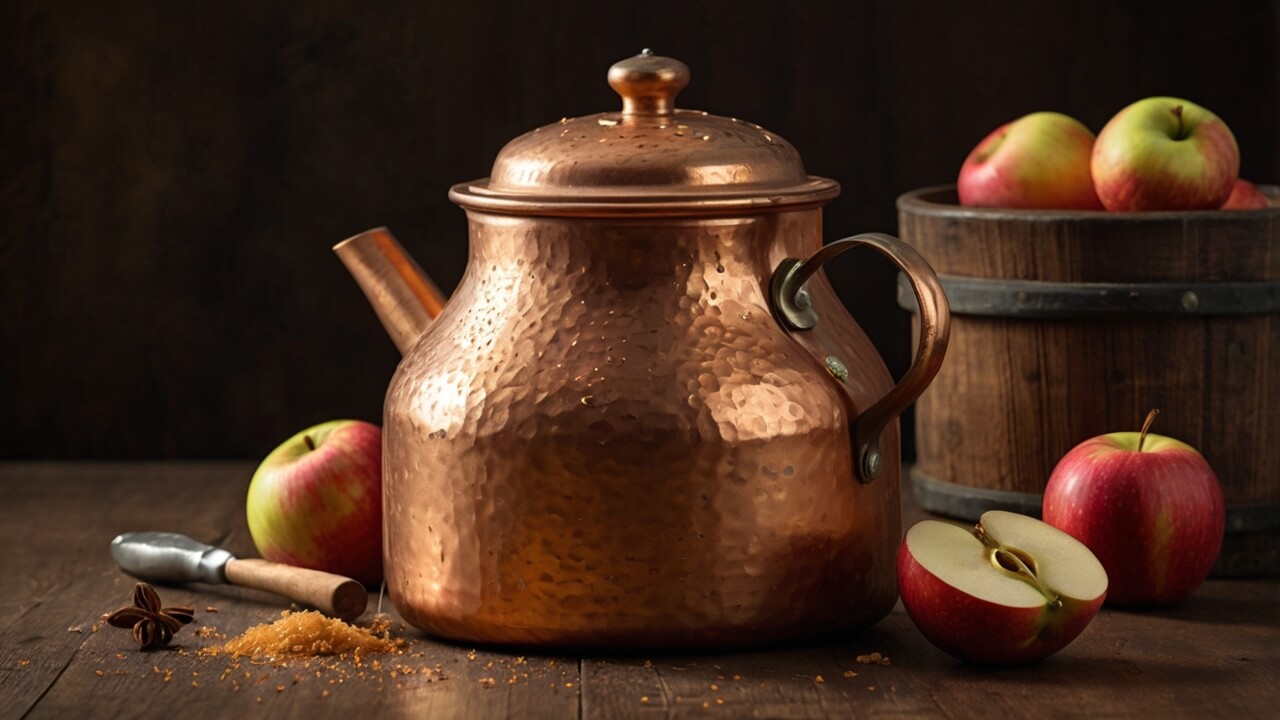
For generations, the arrival of autumn has signaled the beginning of a beloved tradition – the making of apple butter. This time-honored practice, which dates back to the colonial era, has brought families and communities together, transforming the seasonal bounty of apples into a rich, velvety spread bursting with warmth and nostalgia.
At its core, apple butter making is more than just a culinary endeavor; it’s a celebration of heritage, community, and the simple pleasures of life. Imagine the sights and sounds of a crisp fall day, with friends and neighbors gathering around a large, simmering kettle, peeling and slicing bushels of apples while exchanging stories and laughter.
The process itself is a labor of love, requiring patience, teamwork, and a deep appreciation for the rhythms of nature. As the apples slowly cook down over an open flame, their essence is concentrated into a thick, caramelized spread that captures the very essence of autumn’s bounty.
Preserving this tradition is not only about savoring a delicious treat; it’s about honoring the wisdom and resilience of our ancestors, who found ways to make the most of the season’s offerings. By keeping these practices alive, we forge a connection to our past while creating cherished memories for the future.
Ingredients for a 30-Gallon Kettle
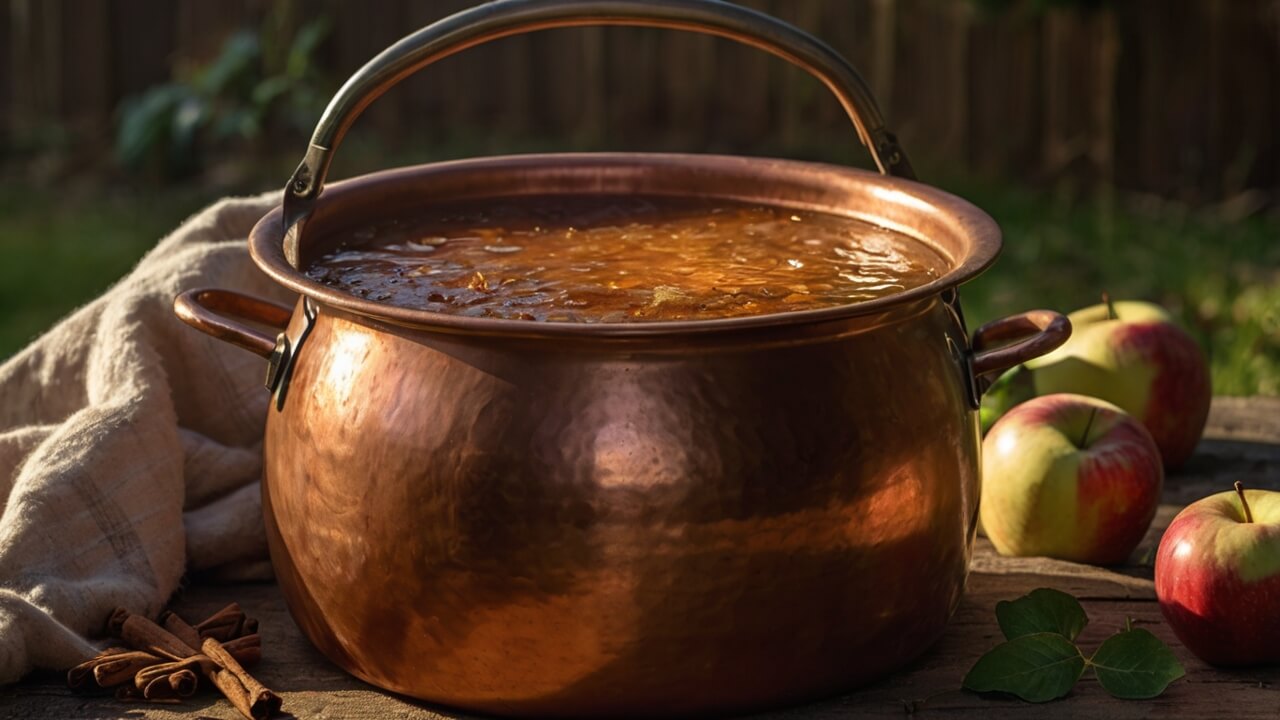
For a massive batch of apple butter made in a 30-gallon kettle, you’ll need a substantial amount of ingredients. Here’s what you’ll need:
- Apples: Approximately 12-15 bushels of apples, or around 600-750 pounds. The best varieties for apple butter are tart apples like Granny Smith, Jonathan, Winesap, or a mix of different varieties for a more complex flavor. Look for firm, unblemished apples without bruises or soft spots.
- Apple Cider: 10-12 gallons of fresh, unfiltered apple cider. Avoid using filtered or pasteurized cider, as the natural yeasts and enzymes in unfiltered cider aid in the cooking process.
- White Sugar: 60-75 pounds of white granulated sugar. The exact amount can be adjusted to your desired sweetness level.
- Brown Sugar: 15-20 pounds of light or dark brown sugar, which adds depth and a hint of molasses flavor.
- Cinnamon: 1-2 pounds of ground cinnamon, or around 20-25 whole cinnamon sticks.
- Other Spices (optional): Cloves, allspice, nutmeg, or ginger can be added to taste, typically in smaller quantities of 2-4 ounces each.
When selecting your apples, it’s best to go for a mix of sweet and tart varieties. The tart apples provide the characteristic tang, while the sweeter apples balance out the flavor. As for the cider, look for local, unpasteurized cider from a reputable orchard or cider mill. The natural yeasts and enzymes in unfiltered cider help break down the apples during the cooking process, resulting in a smoother, more flavorful apple butter.
Prepping the Apples
Preparing the apples is a crucial step in the apple butter-making process, and it can be a labor-intensive task when dealing with large quantities. However, turning it into a community event can make the work more enjoyable and efficient.
The first step is to gather your apples. For a 30-gallon kettle batch, you’ll need approximately 10 bushels of apples. Choose a variety known for its flavor and texture when cooked, such as Jonagold, Golden Delicious, or Honeycrisp.
Next, set up your peeling and slicing stations. You’ll need several large tables or countertops, plenty of sharp knives, peelers, cutting boards, and bowls or baskets to collect the sliced apples. Arrange the stations in an assembly line fashion for maximum efficiency.
Step-by-Step Instructions:
- Wash the apples: Rinse the apples thoroughly under cool water to remove any dirt or debris.
- Peel the apples: Using a sharp peeler or paring knife, carefully remove the skin from each apple. Discard the peels or save them for another use, such as apple scrap vinegar.
- Quarter and core the apples: Cut each peeled apple into quarters and remove the core and stem. Discard the cores or save them for composting.
- Slice the apples: Thinly slice the apple quarters, aiming for pieces around 1/4 inch thick. This will help the apples break down more easily during cooking.
- Collect the sliced apples: Place the sliced apples into large bowls or baskets as you work.
Tips for Organizing a Peeling and Slicing Party:
Invite family, friends, or community members to join in the preparation process. Not only will it make the work go faster, but it also creates a sense of camaraderie and tradition.
- Assign specific tasks to each person or group, such as peeling, slicing, or collecting.
- Set up a rotation system to allow for breaks and prevent fatigue.
- Play music or tell stories to keep the atmosphere lively and engaging.
- Provide refreshments and snacks to keep everyone energized.
- Celebrate the completion of the task with a small gathering or meal.
By turning the apple preparation into a communal event, you’ll not only efficiently tackle the task but also create lasting memories and strengthen bonds within your community.
Initial Simmering
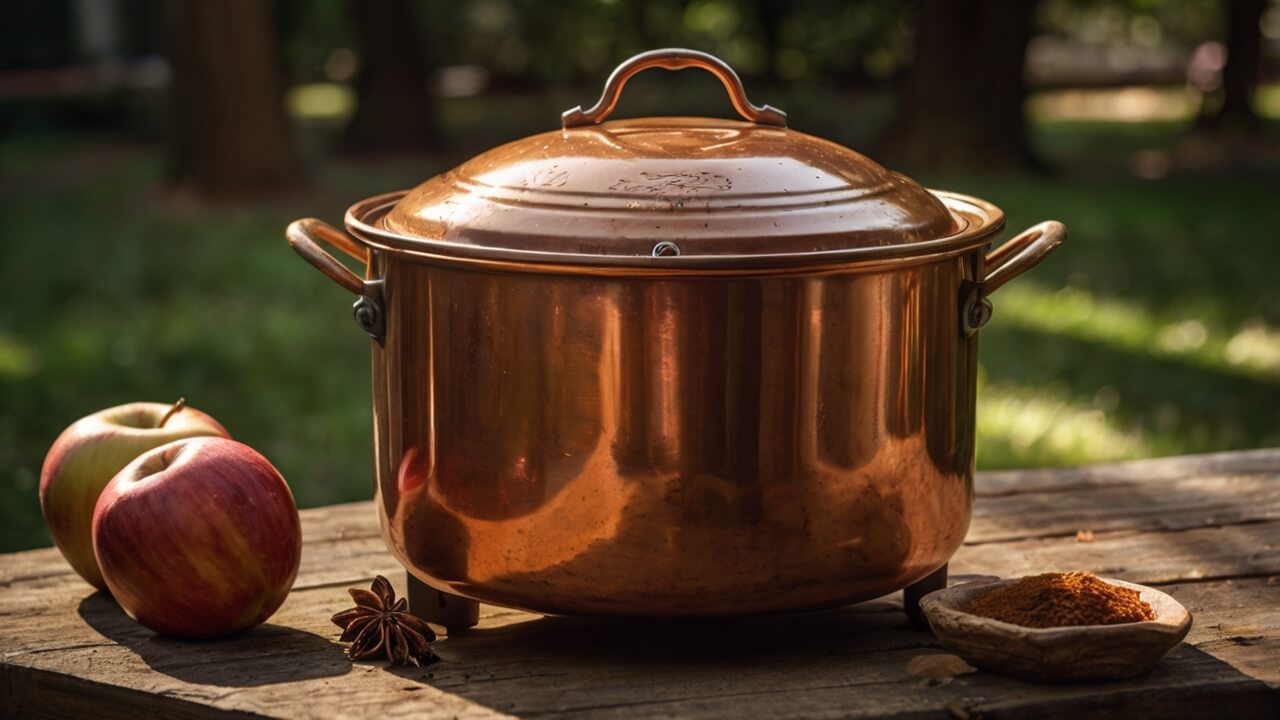
After the apples have been peeled, cored, and sliced, it’s time to begin the initial simmering process. In a large pot or kettle, combine the sliced apples with fresh apple cider or juice. The amount of cider needed will depend on the quantity of apples, but a general rule of thumb is to use enough cider to cover the apples halfway.
Bring the mixture to a gentle simmer over medium heat, stirring occasionally to prevent sticking or scorching. Allow the apples to simmer for about an hour, or until they become soft and tender. Be careful not to overcook the apples at this stage, as they will continue to cook and break down further during the open-flame cooking process.
Once the apples have reached the desired tenderness, remove the pot from the heat and allow the mixture to cool completely. This initial simmering process helps to release the natural juices from the apples and begin the process of breaking down the fruit’s pectin, which will contribute to the thick, velvety texture of the finished apple butter.
After cooling, it’s crucial to let the mixture sit overnight, covered, at room temperature. This resting period allows the flavors to meld and develop, and it also allows the pectin to continue breaking down naturally. Letting the mixture sit overnight is an essential step in achieving the rich, deep flavor and silky texture that characterizes a truly exceptional apple butter.
Cooking Over an Open Flame
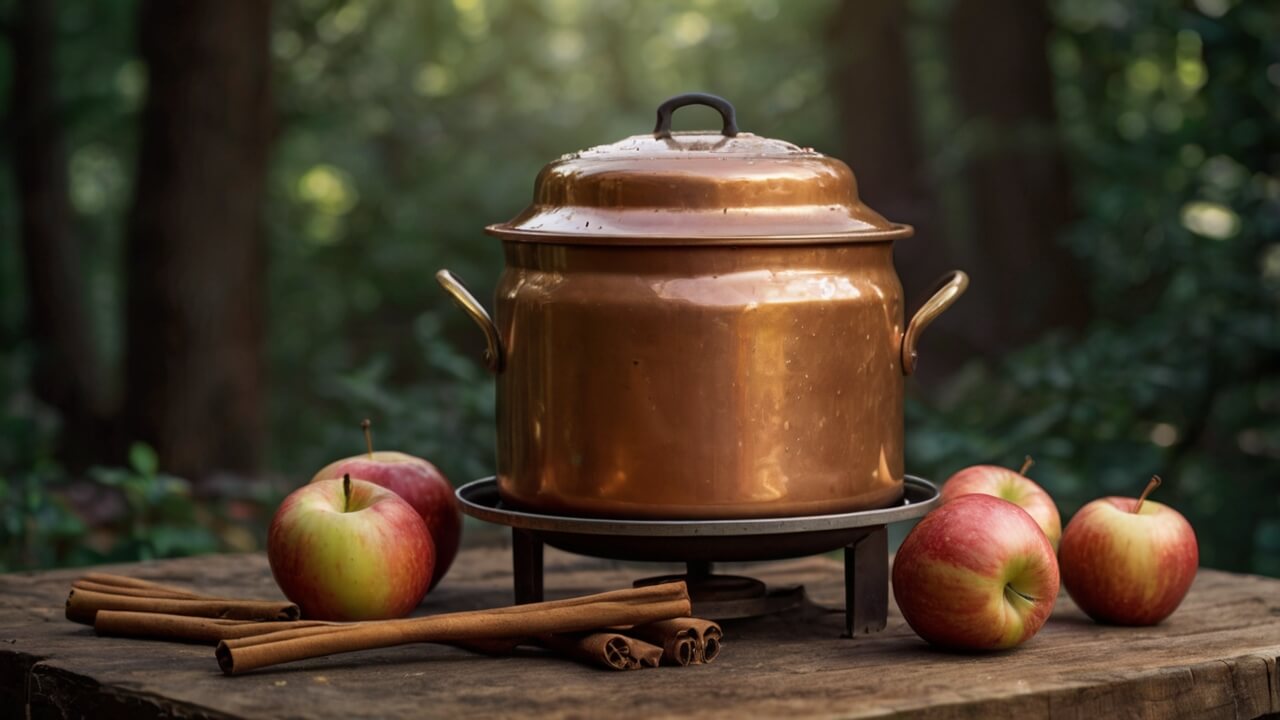
Cooking apple butter over an open flame is an integral part of the traditional process, requiring patience, skill, and constant attention. The key to success lies in properly managing the fire and ensuring even cooking throughout the kettle.
Starting the Fire
Begin by building a large, well-contained fire pit or using a designated outdoor cooking area. The fire should be built with hardwood logs or charcoal, as they burn hotter and more consistently than softwoods. Once the fire is established, allow it to burn down to a bed of glowing embers.
Positioning the Kettle
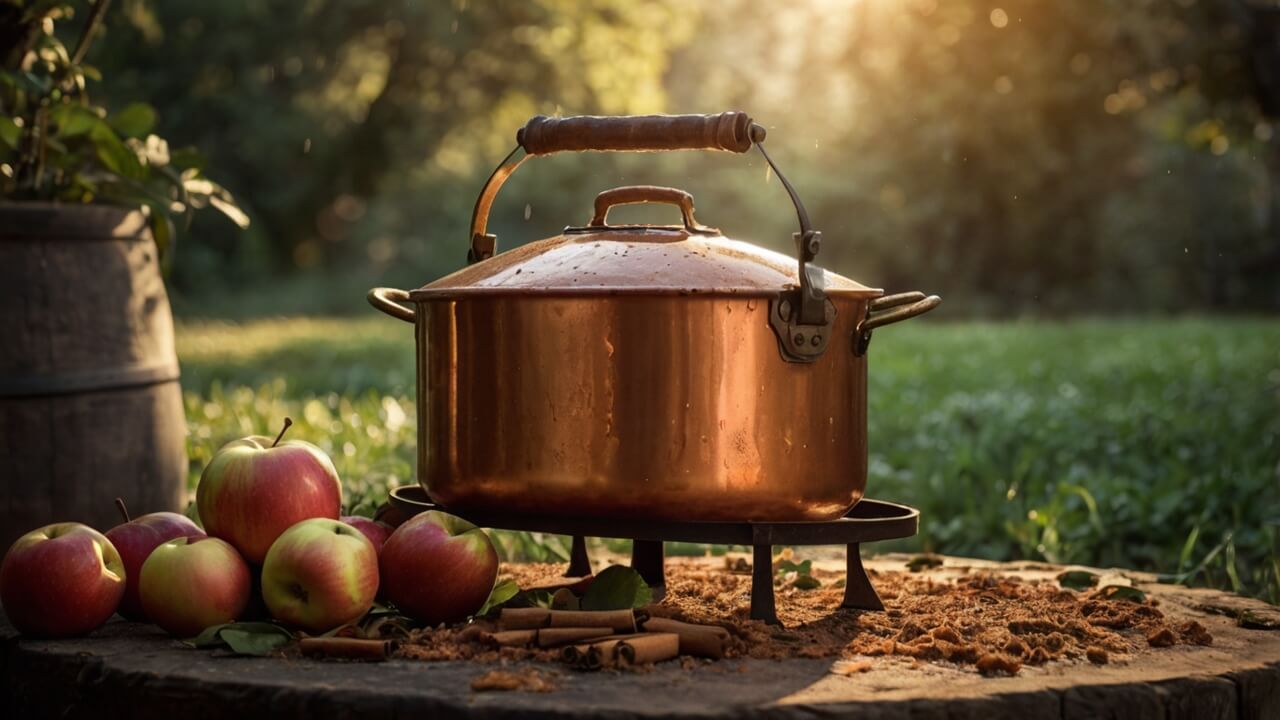
Place the 30-gallon kettle over the fire, ensuring it is level and stable. Use a sturdy metal tripod or bricks to elevate the kettle slightly above the embers, allowing for even heat distribution. Adjust the height as needed to maintain a consistent temperature.
Adding the Apples and Cider
Carefully transfer the pre-cooked apple mixture from the initial simmering into the kettle. Slowly pour in the remaining apple cider, stirring continuously to prevent sticking or scorching. The mixture should be kept at a gentle simmer, with occasional bubbles breaking the surface.
Constant Stirring
Stirring is crucial when cooking apple butter over an open flame. Assign multiple people to take turns stirring with a long-handled wooden paddle or sturdy spoon. Stir the mixture continuously, reaching to the bottom and sides of the kettle to prevent burning or sticking.
Managing the Fire
Maintain a consistent temperature by adding small logs or charcoal to the fire as needed. Avoid letting the fire flare up or die down, as this can cause uneven cooking or scorching. Use a metal rake or shovel to adjust the embers and ensure even heat distribution around the kettle.
Ensuring Even Cooking
Periodically check the bottom and sides of the kettle for hot spots or uneven cooking. Rotate the kettle or redistribute the mixture as needed to ensure even cooking throughout. If any areas start to scorch, quickly move the kettle or adjust the fire accordingly.
By following these steps and maintaining constant vigilance, you can ensure that your apple butter cooks evenly and develops the rich, caramelized flavor that is the hallmark of this traditional treat.
Adding Sugar and Spices
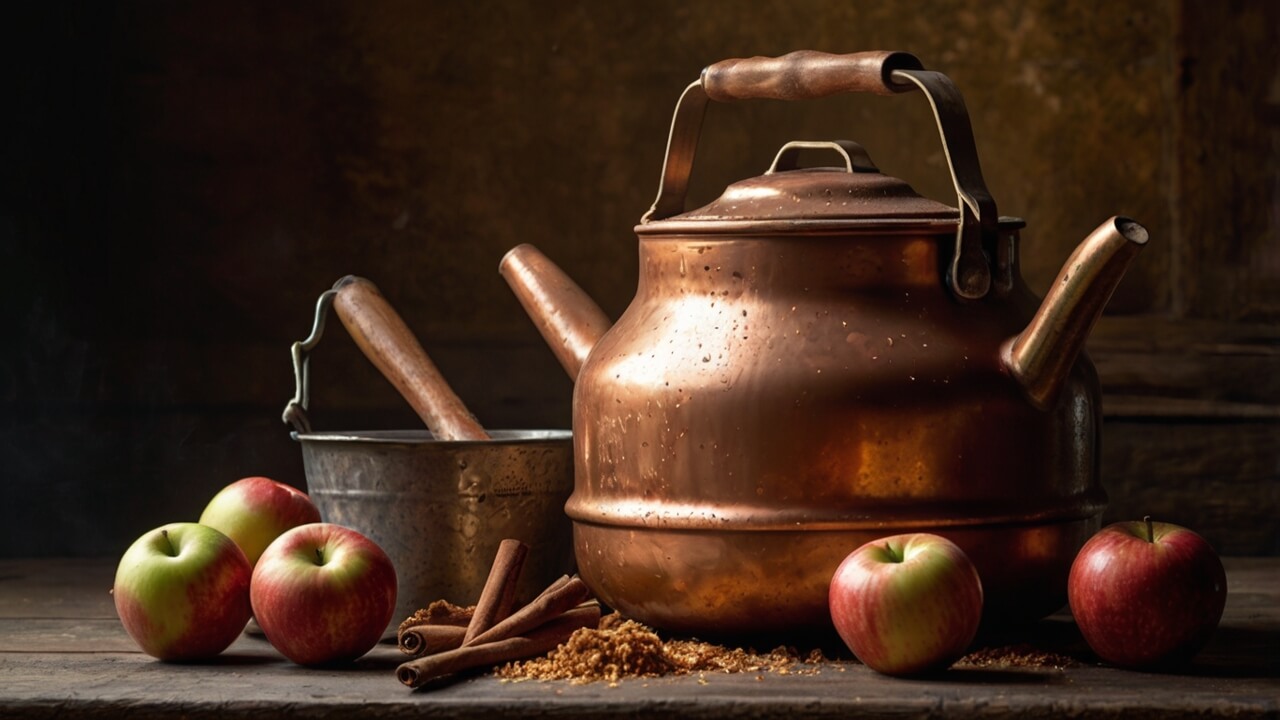
Once the apple butter has simmered and reduced to the desired consistency, it’s time to add the final ingredients that will bring depth and warmth to the flavors. This is where you can truly make the apple butter your own by adjusting the sweetness and spice levels to your taste preferences.
Start by adding the granulated sugar in small increments, stirring continuously to ensure it dissolves evenly. The amount of sugar you’ll need will depend on the natural sweetness of the apples and your desired level of sweetness. A general guideline is to use around 2-3 pounds of sugar per gallon of apple butter, but feel free to adjust to your liking.
After incorporating the sugar, it’s time to add the spices. The traditional blend includes cinnamon, cloves, and allspice, but you can experiment with other warm spices like nutmeg, ginger, or even a pinch of black pepper for a subtle kick. Here’s a basic spice blend to start with:
- Cinnamon: 1-2 tablespoons per gallon of apple butter
- Cloves: 1-2 teaspoons per gallon of apple butter
- Allspice: 1-2 teaspoons per gallon of apple butter
Again, these measurements are just a starting point. Taste the apple butter after adding the initial amounts and adjust the spices to your preference. Some may prefer a more pronounced cinnamon flavor, while others might want to emphasize the warmth of the cloves or the depth of the allspice.
Once you’ve added the desired amounts of sugar and spices, stir the mixture thoroughly to ensure even distribution. Allow the apple butter to simmer for an additional 10-15 minutes to allow the flavors to meld together.
Remember, the beauty of homemade apple butter lies in its ability to capture your family’s unique taste preferences. Don’t be afraid to experiment and make it your own – after all, that’s what traditions are all about.
Pureeing and Canning
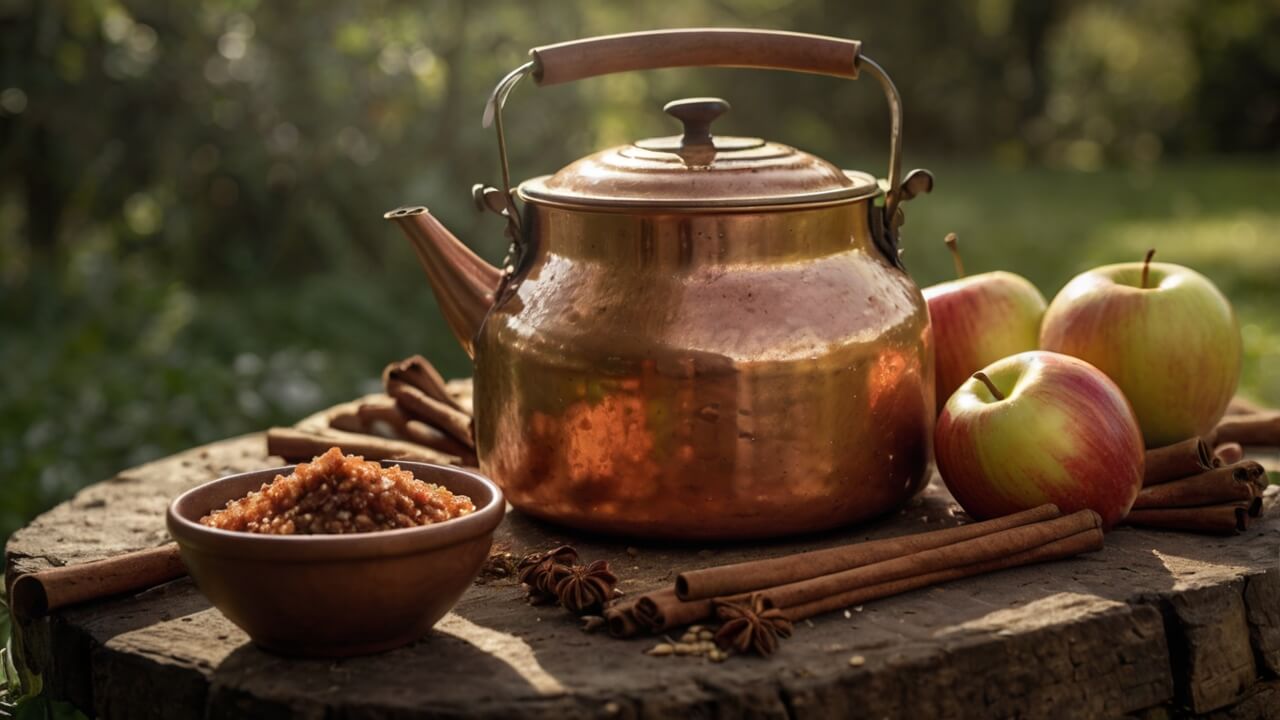
After hours of simmering and stirring, your apple butter will have thickened into a rich, caramelized spread. Now it’s time to achieve the perfect velvety texture and can your bounty for long-term preservation.
First, remove the apple butter from the heat and let it cool slightly. Working in batches, transfer the apple butter to a food mill or high-powered blender. Puree until smooth and free of any remaining chunks or strings. If using a blender, be cautious of hot splatters and vent the lid to allow steam to escape.
Once your apple butter has reached the desired silky consistency, it’s time to prepare for canning. Sterilize your jars by submerging them in boiling water for 10 minutes. Remove with tongs and let air dry on a clean towel.
Carefully ladle the hot apple butter into the sterilized jars, leaving 1/4 inch headspace at the top. Run a butter knife along the inside of the jar to remove any air bubbles. Wipe the rims clean with a damp cloth and secure the lids.
To ensure a proper seal and long-term preservation, process the filled jars in a boiling water bath for 10 minutes. Remove and let cool completely. Any unsealed jars should be refrigerated and consumed within 2-3 weeks. Properly sealed and processed jars can be stored in a cool, dark place for up to 1 year.
With your apple butter safely canned, you’ve not only captured the essence of fall, but preserved a delicious piece of tradition to be enjoyed for months to come.
Tips and Troubleshooting
Preventing Sticking and Burning
One of the biggest challenges when cooking apple butter in a large kettle is preventing it from sticking to the bottom and burning. To avoid this, it’s crucial to keep the mixture stirred constantly, especially during the later stages when the apple butter thickens. Use a long-handled wooden paddle or spoon, and have multiple people take turns stirring in shifts. Additionally, maintain a consistent, moderate heat by carefully tending to the fire and adjusting the fuel as needed.
Achieving the Perfect Consistency
The ideal apple butter should have a velvety smooth texture without any lumps or chunks. To achieve this, you’ll need to puree the cooked mixture thoroughly. An immersion blender can be a handy tool for this task, allowing you to blend the apple butter right in the kettle. Alternatively, you can work in smaller batches using a traditional blender or food mill. If the consistency is too thick, you can thin it out by stirring in a little apple cider or water.
Enhancing Flavor and Aroma
While the primary ingredients are apples, cider, and sugar, you can elevate the flavor and aroma of your apple butter by adding various spices. Common choices include cinnamon, nutmeg, cloves, and allspice. However, feel free to experiment with other spices like ginger, cardamom, or even a touch of vanilla extract. Start with small amounts and adjust to your taste preferences.
Making the Process Enjoyable
Apple butter making is a labor-intensive process, but it can also be a fun and rewarding community activity. Invite friends and family to join in the peeling, slicing, and stirring. Set up a comfortable seating area near the kettle, play some music, and have refreshments on hand. Take breaks and rotate tasks to prevent fatigue. Most importantly, embrace the tradition and create lasting memories together.
Efficient Workflow
To streamline the process, consider setting up multiple stations for different tasks. Have one area dedicated to peeling and slicing apples, another for measuring and preparing the other ingredients, and a third for canning and jarring the finished apple butter. Assign roles and responsibilities to ensure a smooth workflow. Additionally, prepare all the necessary equipment and supplies in advance to avoid delays or disruptions.
By following these tips and troubleshooting techniques, you’ll be well-equipped to tackle the challenges of making apple butter in a 30-gallon kettle, ensuring a successful and enjoyable experience while preserving this cherished tradition.
Continuing the Tradition
Making apple butter in a 30-gallon kettle is a labor of love, but the rewards are well worth the effort. This traditional process not only yields delicious, homemade apple butter but also creates lasting memories and strengthens community bonds.
Throughout this guide, we’ve covered every step of the process, from selecting the perfect apples to canning the finished product. While it may seem daunting at first, with proper preparation and a helping hand from family and friends, this age-old tradition becomes an enjoyable and rewarding experience.
We encourage you to gather your loved ones and embark on this journey, preserving the rich heritage of apple butter making for generations to come. Don’t be afraid to put your own spin on the recipe, experimenting with different spice combinations or apple varieties to make it truly your own.
Once you’ve experienced the satisfaction of stirring that bubbling cauldron and tasted the fruits of your labor, we know you’ll be hooked. Share your stories, tips, and triumphs with us, and let us know how you’ve made this tradition your own.
And for those seeking more traditional recipes and cooking wisdom, be sure to subscribe to our newsletter. We’ll keep you updated with the latest tips, techniques, and recipes to help you continue exploring the world of heritage cooking.

