
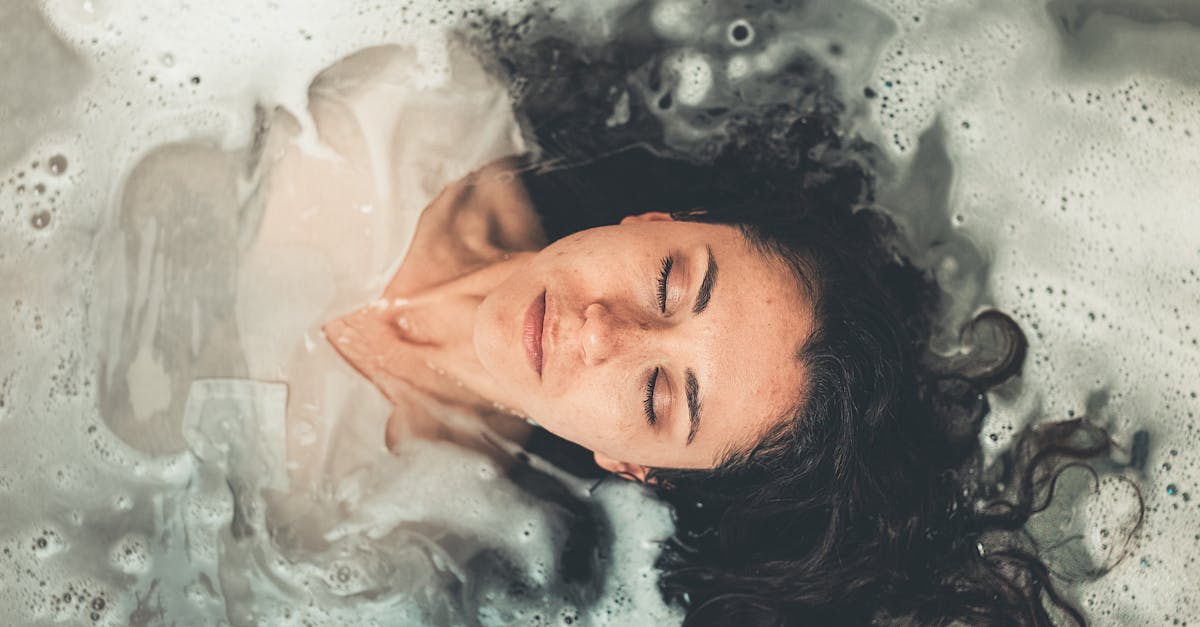
We love how pure and soothing this homemade face soap feels on our skin. It’s packed with easy to find ingredients that help cleanse and hydrate without harsh additives so our faces always glow with confidence.
We discovered that mixing natural oils and beneficial extracts creates a gentle beauty essential that rivals many store-bought washes. We love knowing exactly what’s in our soap and ditching the hidden chemicals for good.
Gather Your Equipment
We rely on precise tools for our homemade face soap process. Each piece of equipment helps us measure and mix our ingredients safely and accurately.
- Protective gloves for avoiding contact with lye and hot oils
- Protective eyewear for safeguarding our vision
- Digital scale for measuring oils and lye with precision
- Heatproof container for mixing lye solution
- Stainless steel pot or double boiler for melting solid oils
- Long-handled spoon or silicone spatula for thorough blending
- Thermometer for monitoring oil and lye temperatures
- Soap mold or silicone mold for shaping our final bars
| Equipment | Purpose |
|---|---|
| Protective gloves | Shield our skin from harmful splashes |
| Protective eyewear | Prevent soap-making splatters from our eyes |
| Digital scale | Keep measurements precise for each batch |
| Thermometer | Track temperatures for safe saponification |
Ingredients
We use mild and moisturizing ingredients to create our Face Soap Recipe. Each component offers a distinct benefit.
Base Oils
These oils form the main structure and nourish the skin:
| Oil | Amount |
|---|---|
| Olive oil | 6 ounces |
| Coconut oil | 5 ounces |
| Castor oil | 2 ounces |
We love olive oil for its gentle cleansing. We favor coconut oil for a fluffy lather. We include castor oil for a silky feel.
Additional Oils Or Butters
We enrich our formula with extra oils or butters for enhanced hydration:
- Shea butter: Helps lock in moisture
- Almond oil: Boosts emollient properties
Optional Add-Ins
- Essential oils: Like lavender or tea tree for a pleasant aroma
- Oatmeal: Provides gentle exfoliation
- Clay: Improves skin tone
- Dried herbs: Like chamomile petals for a subtle botanical note
Prep Steps
We keep these preparations simple and methodical. We protect our hands and ensure accuracy every step of the way.
Measuring And Mixing Lye Solution
We start by measuring each component with our digital scale. We place our heatproof container on the scale and zero it out. We add the distilled water first. We measure the lye (sodium hydroxide) in a separate container. We wear protective gloves and eyewear at all times. We work in a well-ventilated area to avoid inhaling fumes.
Below is a quick reference table for a 1-pound batch of our face soap:
| Ingredient | Amount |
|---|---|
| Distilled Water | 9 ounces |
| Lye (NaOH) | 4 ounces |
We gently pour the lye into the water. We do not reverse this process. We stir slowly with a heatproof spoon until the lye dissolves. We monitor the temperature with a thermometer. We set the container aside in a safe space. The solution will cool down while we arrange our oils.
Setting Up Your Workspace
We clear a large area on a sturdy countertop or table. We place all required equipment in our reach. We lay out our oils and fats in their labeled containers. We keep our digital scale, thermometer, and protective gear on one side. We keep paper towels or clean rags nearby in case of spills. We remove clutter or extra items from the workspace so we can focus on the soap-making process.
Instructions
We work with steady focus and protective gear. We monitor our temperatures and blend to the right consistency for our Face Soap Recipe.
Combining Oils And Lye
We warm our oils to about 100°F in a heatproof container. We check the temperature with a thermometer. Once the oils reach our target temperature we carefully pour the cooled lye solution into the oils. We stir gently with a spoon or spatula to combine. We switch to an immersion blender and blend until we reach light trace.
| Step | Approximate Range or Time |
|---|---|
| Heat oils to target temperature | 90°F to 110°F |
| Blend oils and lye until light trace | 2 to 5 minutes |
Adding Fragrance And Color
We add essential oils or fragrance oils once we reach light trace. We stir slowly to keep the mixture smooth. We include colorants or natural additives if we want a more personalized finish. We avoid overmixing to maintain a uniform texture.
Pour And Cure
We line our soap molds with parchment paper. We pour the soap batter slowly to reduce air pockets. We cover the molds and let the soap rest for at least 24 hours. We unmold once the soap is firm. We place the bars in a dry area for a proper cure. A full cure usually takes 4 to 6 weeks before our soap is ready.
| Stage | Time Frame |
|---|---|
| Mold setting | 24 to 48 hours |
| Full cure | 4 to 6 weeks |
Storing And Using Your Face Soap
We keep our face soap in a cool and dry place to preserve its natural fragrance and texture. We place each bar on a draining soap dish so it can fully air-dry between uses. We wrap spare bars in paper or lightly perforated plastic to allow some airflow. We label each bar with curing dates when storing multiple batches at once.
We gently wet our face and hands with warm water. We lather the homemade soap between our palms and then massage the suds onto our skin using circular motions. We rinse with lukewarm water and pat dry with a soft towel to keep moisture locked in. We follow with a light moisturizer if needed.
| Skin Type | Usage | Notes |
|---|---|---|
| Dry | Once daily | Pair with a rich moisturizer to combat extra dryness |
| Normal | 1 to 2 times daily | Monitor how your skin responds and adjust if irritation occurs |
| Oily | 2 times daily | Focus on the T-zone for an extra thorough cleanse |
Conclusion
We love the simplicity and satisfaction that come from crafting a gentle face soap with natural ingredients. It’s an empowering approach to skincare that offers peace of mind and a sense of accomplishment.
Once we get comfortable with the basics there’s room for creativity like experimenting with fragrance combinations or switching up nourishing add-ins. This mindful process is not just about cleansing. It’s about honoring our skin with something fresh uncluttered and personal.
Frequently Asked Questions
What are the benefits of making your own face soap?
Making your own face soap lets you choose gentle, natural ingredients free from harsh chemicals. You gain control of what goes on your skin, which can help reduce irritation and allergies. Plus, you can customize it to suit your preferences, whether you want a light scent or extra moisturizing oils.
Which basic equipment do I need for soap-making?
You’ll need protective gloves and eyewear, a digital scale, a heatproof container, and a thermometer. Each item helps ensure accuracy and safety when working with lye and heated oils. Keeping these tools on hand makes the entire process smoother and more efficient.
Why is lye necessary in homemade soap?
Lye (sodium hydroxide) is crucial because it reacts with oils to create soap in a process called saponification. This chemical reaction transforms fats into a cleansing bar. When handled properly and measured accurately, lye becomes safe in the final product, giving you a stable and effective face soap.
How do I properly mix oils and lye?
Measure your cooled lye solution and warmed oils accurately, staying within a temperature range around 100°F. Slowly pour the lye solution into the oils while blending. Keep mixing until you reach “light trace,” which means the batter slightly thickens but remains pourable, ensuring consistent curing later.
Can I add extra ingredients or scents?
Absolutely! Essential oils, oatmeal, clay, or dried herbs can enhance aroma and texture. Choose mild scents like lavender for relaxation or tea tree for a fresh, clean feeling. Always add these ingredients at light trace so they blend well and don’t affect the final texture or color.
How long should the soap cure?
After pouring the batter into molds, let it rest for at least 24 hours before unmolding. Then, cure the bars in a cool, dry spot for four to six weeks. This time allows excess moisture to evaporate, making the soap harder, milder, and better for your skin.
What’s the best way to store and use homemade face soap?
Store finished bars in a dry place with good air circulation, like a well-ventilated shelf. Use a draining soap dish so your bar dries between uses, which helps it last longer. When washing, lather gently, massage your face, and rinse thoroughly. Follow with moisturizer for optimal skin balance.