
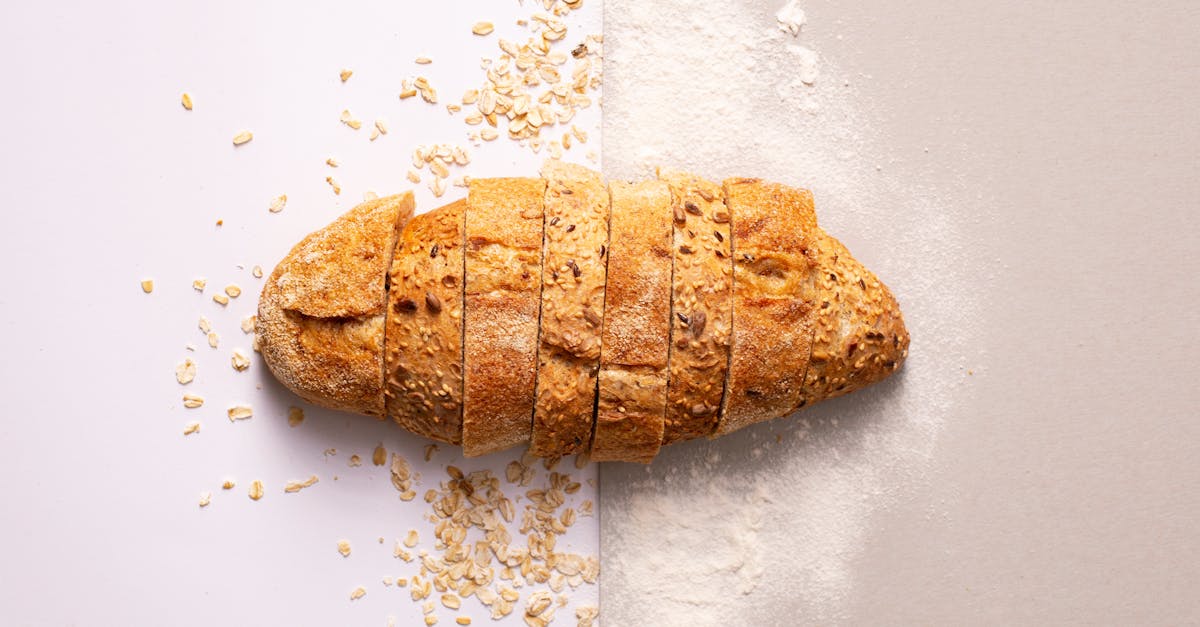
Sheepherders Bread is a hearty, rustic loaf that’s been a staple for outdoor workers and adventurers for centuries. Originating from the rugged landscapes where shepherds needed a durable, filling bread to sustain long days, this recipe combines simple ingredients to create a loaf with a satisfying crust and tender crumb.
Ingredients
To create the authentic Sheepherders Bread, we gather a simple yet powerful blend of ingredients. Each element plays a crucial role in crafting the bread’s hearty texture and robust flavor, perfect for long days outdoors.
Dry Ingredients
- 3 cups all-purpose flour – provides structure and a chewy crumb
- 1 cup whole wheat flour – adds nutty flavor and rustic texture
- 2 teaspoons baking powder – ensures a light rise without yeast
- 1 teaspoon salt – balances flavor and strengthens dough
- 1 tablespoon sugar – activates the baking powder and enhances crust browning
Wet Ingredients
- 1 ½ cups buttermilk – tenderizes the crumb with its acidity and enriches flavor
- 2 tablespoons melted butter – adds richness and moistness
- 1 large egg – binds the dough and contributes to a golden crust
| Ingredient | Quantity | Purpose |
|---|---|---|
| All-purpose flour | 3 cups | Structure and chewiness |
| Whole wheat flour | 1 cup | Nutty flavor and rustic texture |
| Baking powder | 2 teaspoons | Leavening without yeast |
| Salt | 1 teaspoon | Flavor balance and dough strength |
| Sugar | 1 tablespoon | Activates leavening and crust browning |
| Buttermilk | 1 ½ cups | Tenderizes crumb and adds flavor |
| Melted butter | 2 tablespoons | Adds richness and moisture |
| Large egg | 1 | Binds dough and golden crust |
This combination forms the backbone of Sheepherders Bread bringing out its signature crust and tender interior that withstands rugged environments.
Equipment Needed
To bake Sheepherders Bread with authentic texture and flavor, having the right equipment is essential. Here’s what we need to ensure a successful baking session:
- Mixing Bowl: A large, sturdy bowl to combine the dry and wet ingredients efficiently.
- Measuring Cups and Spoons: Precise measurements maintain the balance of flavors and texture in Sheepherders Bread.
- Whisk or Fork: For blending the baking powder, sugar, and salt evenly into the flour.
- Wooden Spoon or Dough Hook: To mix the dough without overworking it—critical for achieving the perfect crumb.
- Loaf Pan or Baking Sheet: Traditionally, a loaf pan with a capacity of about 8.5 x 4.5 inches ensures even baking and proper shape.
- Parchment Paper (optional): Prevents sticking and promotes easy removal from the pan.
- Cooling Rack: Allows air circulation around the loaf for cooling, preserving the crisp crust.
- Oven Thermometer: Validates the oven temperature for perfect baking results.
| Equipment | Purpose | Notes |
|---|---|---|
| Mixing Bowl | Combine ingredients | Use large size for easy mixing |
| Measuring Cups | Accurate ingredient portions | Essential for baking |
| Whisk or Fork | Blend dry ingredients evenly | Helps distribute leavening agents |
| Wooden Spoon/Dough Hook | Mix dough without overworking | Preserve texture |
| Loaf Pan/Baking Sheet | Shape and bake the bread | Use 8.5 x 4.5 inch pan for best results |
| Parchment Paper | Prevent sticking | Optional but recommended |
| Cooling Rack | Even cooling | Maintains crust crispness |
| Oven Thermometer | Confirm baking temperature | Ensures consistent oven heat |
Using the right equipment helps us replicate the sturdy consistency and tender crumb that defines this classic Sheepherders Bread. Proper preparation of tools also streamlines the baking process, allowing us to focus on our dough’s development and final aroma.
Preparation
To craft our Sheepherders Bread perfectly, we must focus on each preparation step with care. Below are the detailed stages to ensure a sturdy loaf with a satisfying crust and soft interior.
Preparing the Starter (If Applicable)
For this classic Sheepherders Bread, we typically rely on baking powder rather than yeast, so a starter is unnecessary. However, if you prefer to add a natural fermentation step for extra flavor and texture, prepare a simple sponge by mixing equal parts of whole wheat flour and water and letting it rest for 8–12 hours at room temperature until bubbly.
| Starter Preparation | Measurements | Notes |
|---|---|---|
| Whole wheat flour | ½ cup (60 g) | Use fresh, organic if possible |
| Water | ½ cup (120 ml) | Room temperature |
| Rest time | 8–12 hours | Cover loosely |
We recommend proceeding directly to dough mixing for the traditional method.
Mixing the Dough
Begin by whisking together the dry ingredients to ensure even distribution of leavening.
- In a large mixing bowl combine:
- 2 cups all-purpose flour
- 1 cup whole wheat flour
- 1 tablespoon baking powder
- 1 teaspoon salt
- 1 tablespoon sugar
Whisk these thoroughly to aerate the mixture and evenly spread the baking powder and salt.
Next, create a well in the center and add the wet ingredients:
- 1 cup buttermilk
- ½ cup melted butter (slightly cooled)
- 1 large egg, beaten
Use a wooden spoon or dough hook on low speed to gently incorporate wet and dry ingredients until a rough dough forms. Avoid overmixing to prevent toughening the bread.
Kneading the Dough
Turn the dough onto a lightly floured surface. With clean hands, knead the dough for about 5 to 7 minutes using firm but gentle pressure.
- Fold dough over towards you
- Push away with the heel of your palm
- Rotate 90 degrees and repeat
The dough should become elastic, smooth, and slightly tacky but not sticky. Proper kneading develops the gluten, giving Sheepherders Bread its signature structure that holds up through rugged conditions.
First Rise
Place the kneaded dough in a lightly greased bowl, covering it with a clean kitchen towel or plastic wrap.
- Let it rise at room temperature (70°F/21°C)
- Duration: 1 to 1.5 hours, or until doubled in volume
We know the dough is ready when you gently press a finger into it and the indentation fills back slowly.
| Rise Stage | Time | Temperature | Visual Cue |
|---|---|---|---|
| First Rise | 1–1.5 hours | 70°F (21°C) | Dough doubles, soft to touch |
Shaping the Dough
Once our dough has completed its first rise and doubled in size, we move on to Shaping the Dough to prepare it for baking. This step is crucial to ensure our Sheepherders Bread develops its classic rustic form and even crumb texture.
- Turn the Dough Out
Lightly flour a clean surface to prevent sticking. Gently turn the risen dough onto the floured surface. We handle the dough with care to preserve the air pockets that have developed, which are essential for a tender interior.
- Deflate the Dough
Using our fingertips, press gently to deflate the dough. This step redistributes the yeast and evens out the temperature, preparing it to rise again evenly during baking.
- Shape the Loaf
- Fold the dough edges towards the center, creating a tight, round or oval shape depending on the preference for our loaf.
- Roll the dough to smooth and tighten the surface, which helps in developing a fine crumb and a visually appealing crust.
- Place in the Pan
Transfer the shaped dough into our prepared loaf pan (ideally 8.5 x 4.5 inches). We prefer to line the pan with parchment paper for easier removal and to maintain the crust integrity.
- Final Rest
Cover the dough loosely with a damp cloth or plastic wrap and allow it to rest and rise for 30 to 45 minutes. This second proof helps the dough regain volume and results in a lighter, airier texture.
Key Points for Shaping
| Step | Importance | Tips |
|---|---|---|
| Turning out dough | Preserves air bubbles for tender crumb | Use gentle motions |
| Deflating | Redistributes yeast, evens temperature | Light finger pressure |
| Shaping | Creates loaf form and surface tension | Tighten surface for crumb structure |
| Pan placement | Supports dough during final rise | Parchment paper prevents sticking |
| Final rest | Ensures proper final rise before baking | Room temperature |
“Proper shaping is what transforms our dough into the hearty, resilient loaf that stands up to the rugged demands of Sheepherders Bread.”
By carefully shaping the dough, we set the foundation for an even rise and a beautiful crust that defines Sheepherders Bread. This bold step brings us a stride closer to enjoying the satisfying texture that outdoor workers and adventurers have cherished for generations.
Baking Instructions
Baking Sheepherders Bread to perfection requires precise control over oven temperature and timing. By following these steps carefully, we will achieve the iconic golden crust while preserving the soft, tender interior that defines this rustic loaf.
Preheating the Oven
To start, preheat the oven to 375°F (190°C). This temperature is crucial for developing the sturdy crust without over-baking the interior. We recommend using an oven thermometer to ensure accuracy because oven thermostats may vary. Place the oven rack in the middle position to allow even heat circulation around the loaf.
Before placing the bread inside, make sure the oven has reached the full temperature to guarantee optimal rising and crust formation.
Baking Time and Temperature
Bake the shaped dough for 35 to 40 minutes at 375°F (190°C). During baking, the bread’s crust will develop a deep golden color while the interior becomes light and airy.
To confirm doneness:
- The loaf should sound hollow when tapped on the bottom.
- The internal temperature of the bread should reach 200°F (93°C).
Using a probe thermometer for the internal temperature is the most reliable way to ensure thorough baking without drying out the bread.
| Baking Stage | Temperature (°F) | Temperature (°C) | Time (Minutes) | Notes |
|---|---|---|---|---|
| Preheat Oven | 375 | 190 | Until fully heated | Place rack in center |
| Baking | 375 | 190 | 35 to 40 | Golden crust, hollow sound inside |
| Internal Temp Goal | 200 | 93 | N/A | Use probe thermometer |
After baking, remove the bread from the oven and immediately transfer it to a cooling rack. This step prevents moisture buildup, maintaining the crisp crust and preventing sogginess. Let the bread cool for at least 30 minutes before slicing to allow the interior crumb to set properly.
Cooling and Serving
Proper cooling and thoughtful serving are essential to fully enjoy the hearty flavors and textures of Sheepherders Bread. Let’s explore how to cool and present this rustic loaf perfectly.
Cooling the Bread
After baking, immediately transfer the loaf from the pan to a cooling rack. This step prevents moisture from accumulating on the bottom and keeps the crust crisp. We recommend cooling the bread for at least 30 minutes at room temperature to allow the interior crumb to set fully.
“Cooling on a wire rack is key to preserving the iconic crust and achieving the ideal tender yet sturdy crumb that Sheepherders Bread is known for.”
| Step | Reason | Time |
|---|---|---|
| Remove from pan | Prevents sogginess | Immediately |
| Place on rack | Air circulation around loaf | Throughout cooling |
| Cool at room temp | Allows crumb to finish setting | 30 minutes or more |
Avoid slicing too early. Cutting the bread while still warm can cause the crumb to become gummy and affect texture.
Serving Suggestions
We suggest serving Sheepherders Bread in ways that highlight its rich, rustic character and satisfying texture. This bread shines best when paired with hearty and flavorful accompaniments.
- Spread with butter or honey for a simple yet delicious start.
- Use it as a base for savory toppings like cheese, smoked ham, or roasted vegetables.
- Serve alongside hearty stews, soups, or chili to soak up rich sauces.
- Toast slices lightly to enhance the crust’s crunch, then top with avocado and a sprinkle of sea salt.
“The robust texture and golden crust of Sheepherders Bread pairs beautifully with both sweet and savory ingredients, making it versatile for any meal.“
We recommend cutting the loaf into thick slices about 1 inch (2.5 cm) wide to best appreciate its dense crumb and crunch.
| Serving Tip | Description |
|---|---|
| Thick slicing | Ensures satisfying bite and crust contrast |
| Complement flavors | Pair with butter, cheese, or hearty stews |
| Toasting | Enhances texture and flavor complexity |
By following these cooling and serving steps, we unlock the full potential of our Sheepherders Bread, bringing warmth and satisfaction to every table.
Storage Tips
Properly storing Sheepherders Bread is essential to preserve its signature crust and soft interior for as long as possible. Here are the key steps to keep our bread fresh and flavorful:
Room Temperature Storage
- Allow the bread to cool completely on a cooling rack before storing. This prevents moisture buildup that can soften the crust.
- Wrap the loaf loosely in a clean kitchen towel or place it in a paper bag to maintain the crust’s crispness while preventing excessive drying.
- Store at room temperature in a bread box or a cool, dry place. Avoid plastic bags as they trap moisture and cause the crust to become soggy.
- Consume within 2 to 3 days for the best taste and texture.
Refrigeration
- The refrigerator can dry out bread and toughen the crumb, so we generally avoid refrigerating our Sheepherders Bread.
- If needed, wrap the loaf tightly in plastic wrap or store in an airtight container before refrigerating to reduce moisture loss.
- Refrigerated bread should be eaten within 5 days.
Freezing
- To extend shelf life beyond a few days, freeze the bread in slices or as a whole loaf.
- Wrap the bread tightly with plastic wrap and then in aluminum foil or place in a resealable freezer bag to protect from freezer burn.
- Thaw at room temperature while still wrapped to maintain moisture balance and softness.
- For a fresh-baked crust, reheat in a 350°F oven for 10-15 minutes after thawing.
| Storage Method | Wrapping Recommended | Storage Time | Key Tip |
|---|---|---|---|
| Room Temperature | Kitchen towel or paper bag | 2-3 days | Keep away from plastic to preserve crust |
| Refrigerator | Plastic wrap or airtight | Up to 5 days | Avoid if possible; dries out crumb |
| Freezer | Plastic wrap + foil or bag | Up to 3 months | Thaw wrapped and reheat for crust crisp |
“For pinnacle results, always cool fully before storing. This simple practice locks in the texture we love about Sheepherders Bread.“
Following these Storage Tips ensures our Sheepherders Bread retains the distinct crunchy crust and moist, tender interior we worked to perfect during baking.
Conclusion
Sheepherders Bread is more than just a loaf—it’s a testament to simple ingredients and thoughtful preparation coming together to create something hearty and reliable. Whether you’re baking for a rugged outdoor adventure or just craving a wholesome homemade bread, this recipe stands up to the task.
With the right tools and attention to detail, achieving that perfect crust and tender crumb is within reach. We encourage you to give this traditional bread a try and enjoy the satisfying flavors and textures that have supported hardworking hands for generations.
Frequently Asked Questions
What is Sheepherders Bread?
Sheepherders Bread is a traditional, hearty loaf known for its crispy crust and soft interior. It was originally made for outdoor workers and adventurers needing a durable, nourishing bread that stands up to rugged conditions.
What ingredients are used in Sheepherders Bread?
The bread uses basic ingredients: all-purpose flour, whole wheat flour, baking powder, salt, sugar, buttermilk, melted butter, and an egg. This mix creates its signature crust and tender crumb.
Do I need a sourdough starter for Sheepherders Bread?
No, a starter isn’t required since baking powder is used for leavening. However, an optional sponge can be added for extra flavor.
What equipment do I need to bake this bread?
You’ll need a large mixing bowl, measuring cups and spoons, whisk or fork, wooden spoon or dough hook, loaf pan (8.5 x 4.5 inches suggested), parchment paper, cooling rack, and an oven thermometer.
How do I shape the dough before baking?
After the first rise, turn the dough onto a floured surface, gently deflate it, then shape it into a tight round or oval. Place it in a parchment-lined loaf pan for a final rest.
How long and at what temperature should Sheepherders Bread be baked?
Bake at 375°F (190°C) for 35 to 40 minutes. The bread is done when it sounds hollow when tapped and reaches an internal temperature of 200°F (93°C).
How should I cool and serve Sheepherders Bread?
Cool the bread on a rack for at least 30 minutes to maintain a crisp crust. Serve thick slices with butter, honey, or alongside soups and stews. Toasting enhances flavor and texture.
What’s the best way to store Sheepherders Bread?
Store completely cooled bread in a kitchen towel or paper bag at room temperature to avoid sogginess. Freeze for longer storage, wrapping tightly and thawing before use; refrigeration is not recommended.